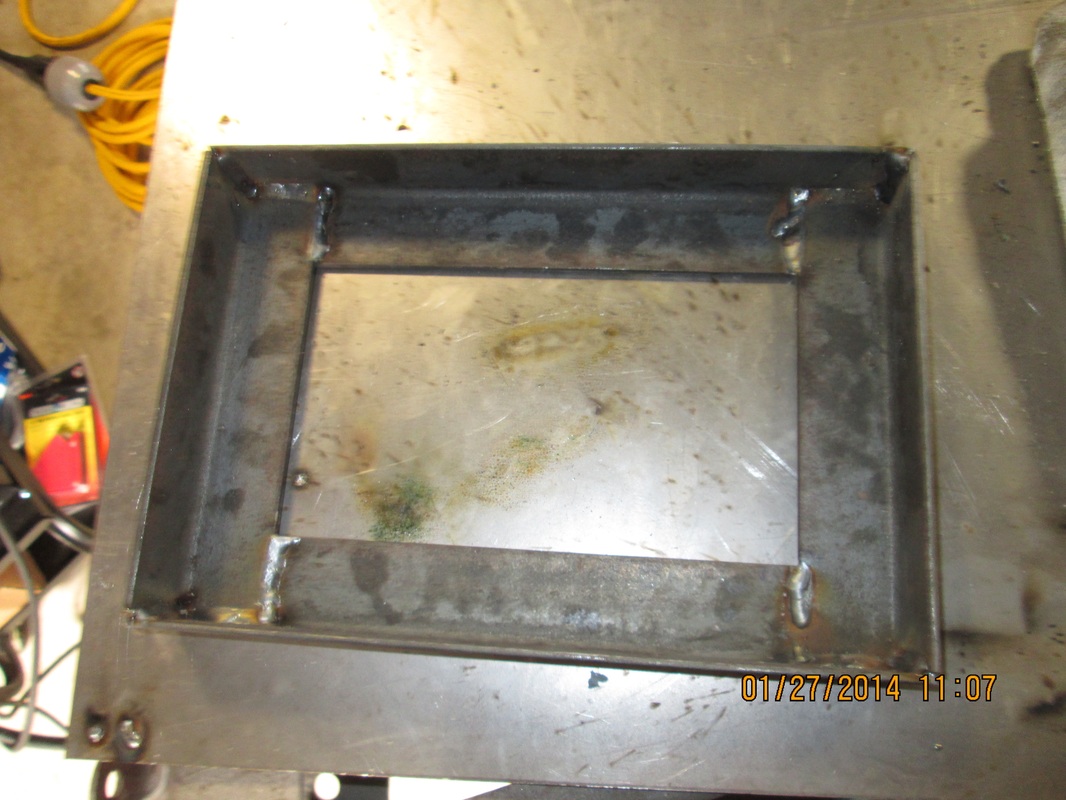
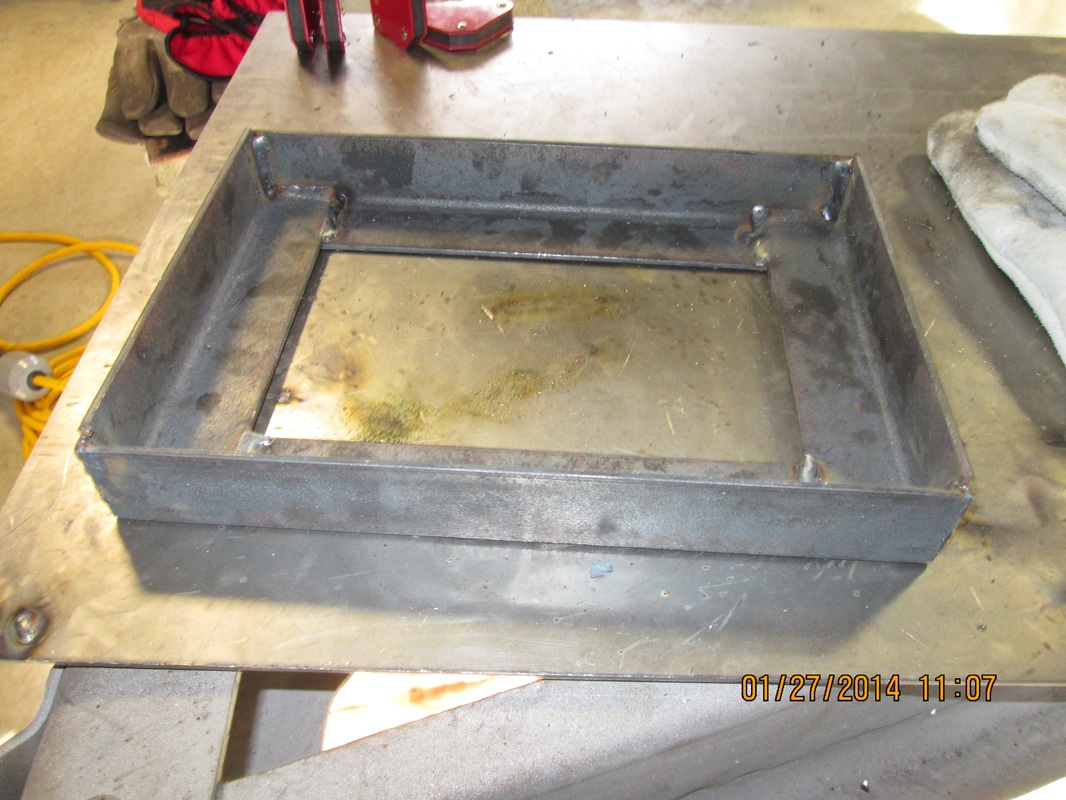
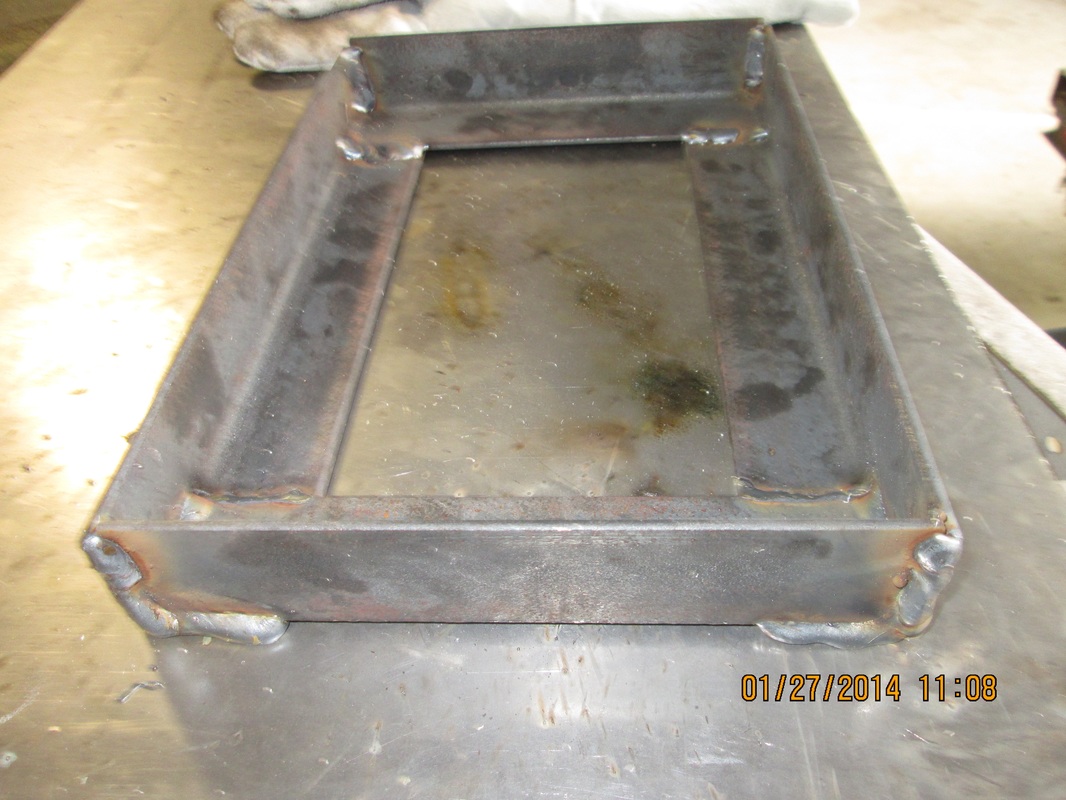
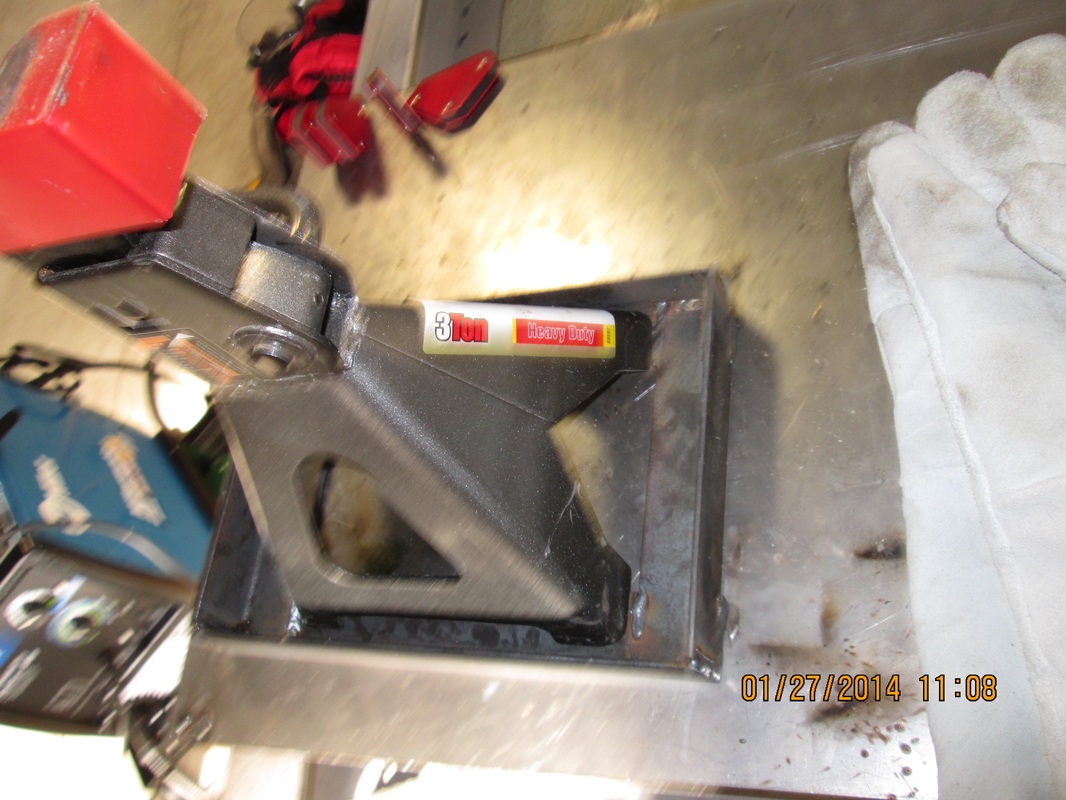
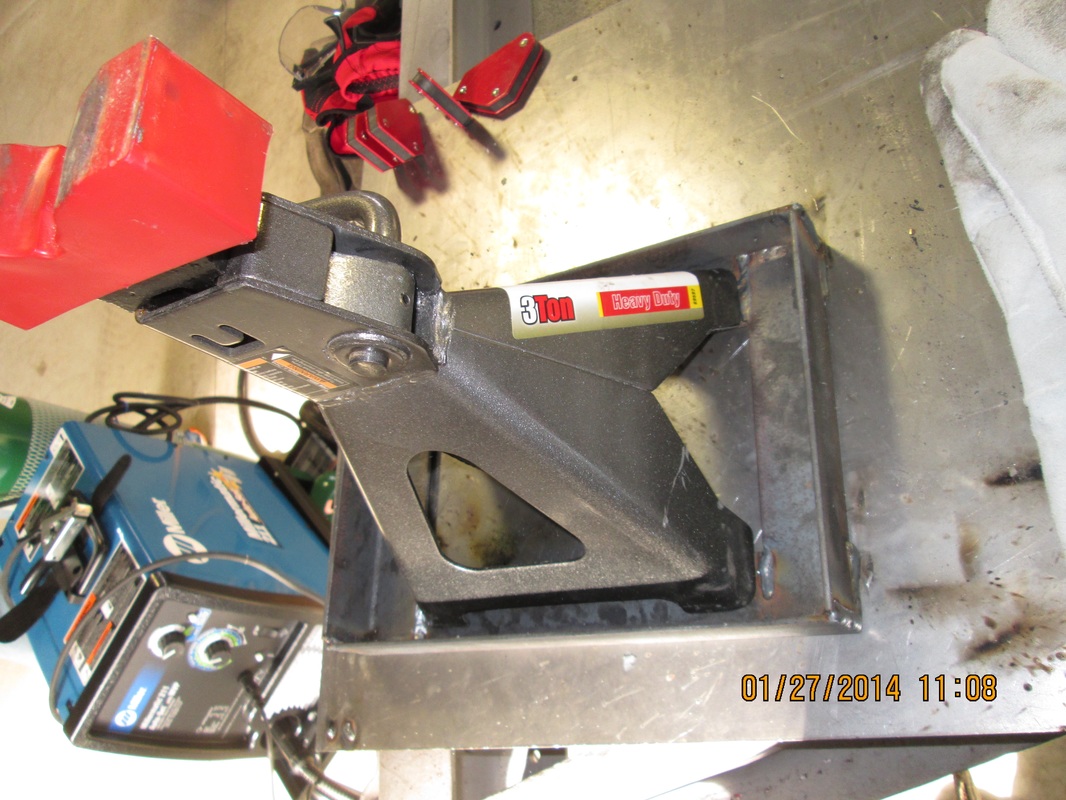
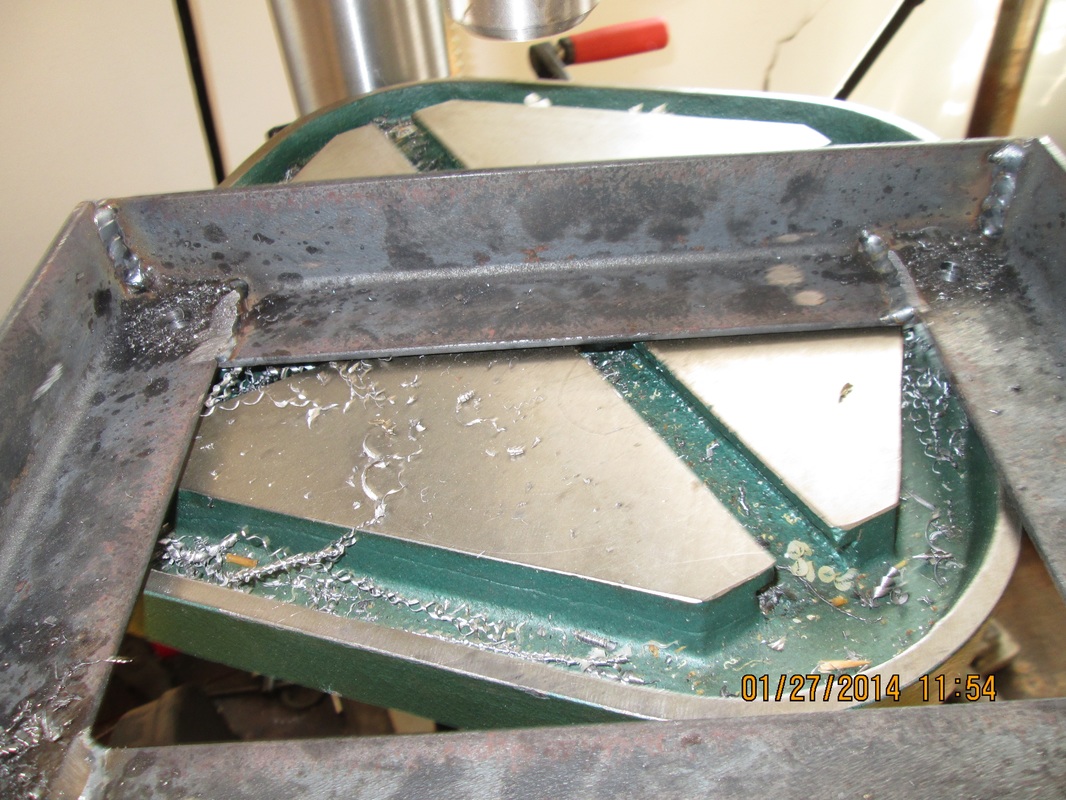
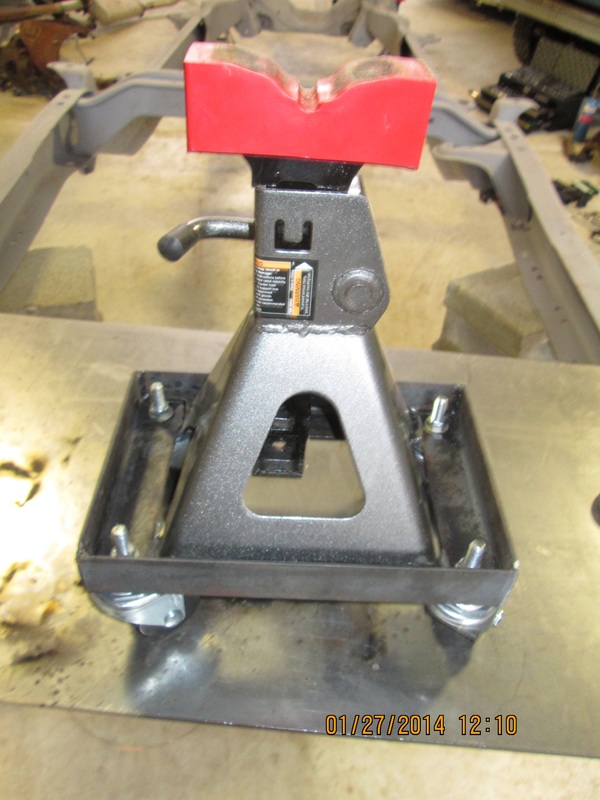
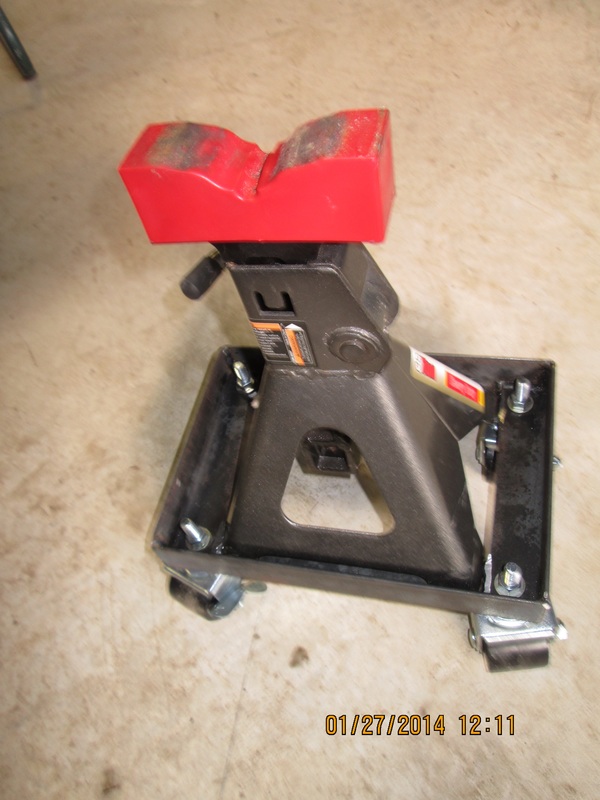
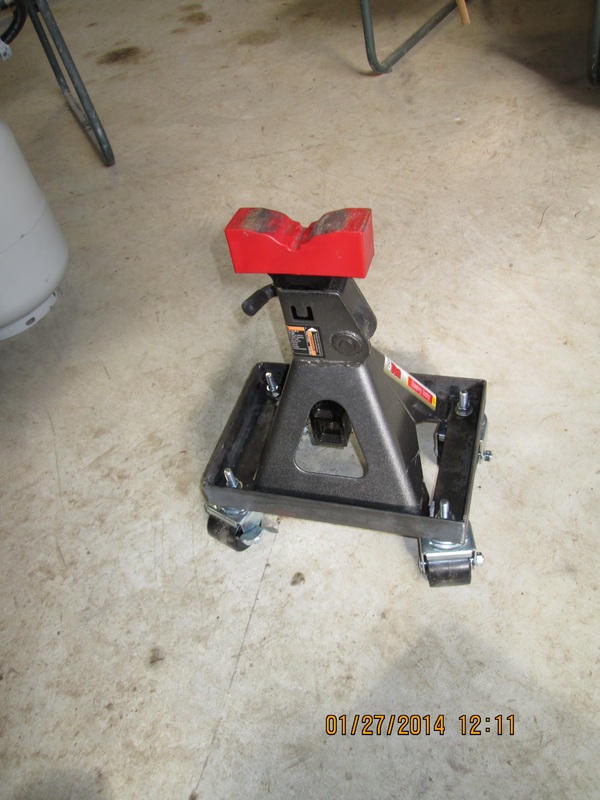
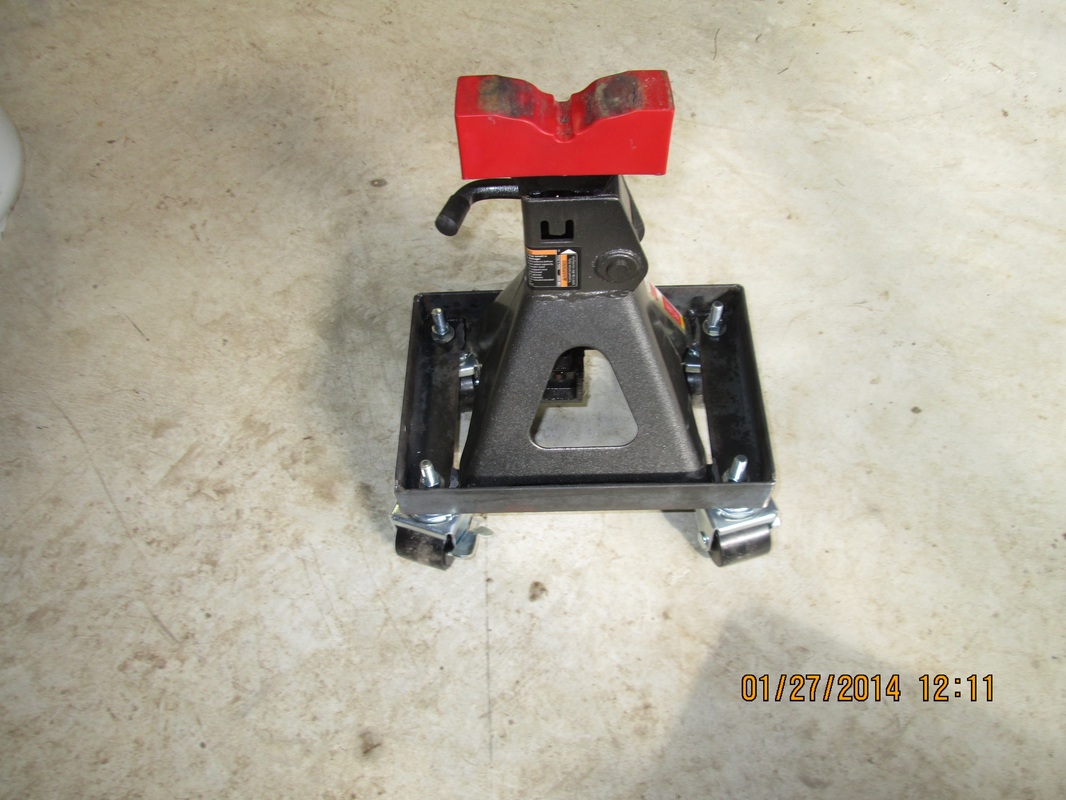
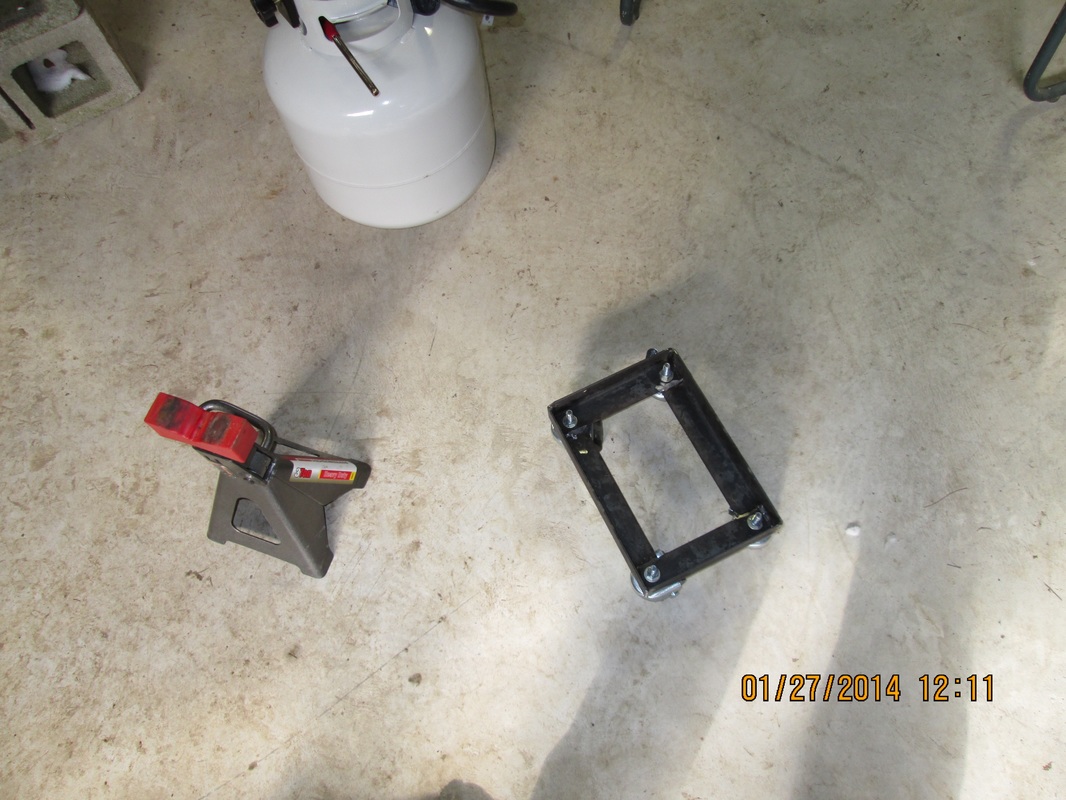
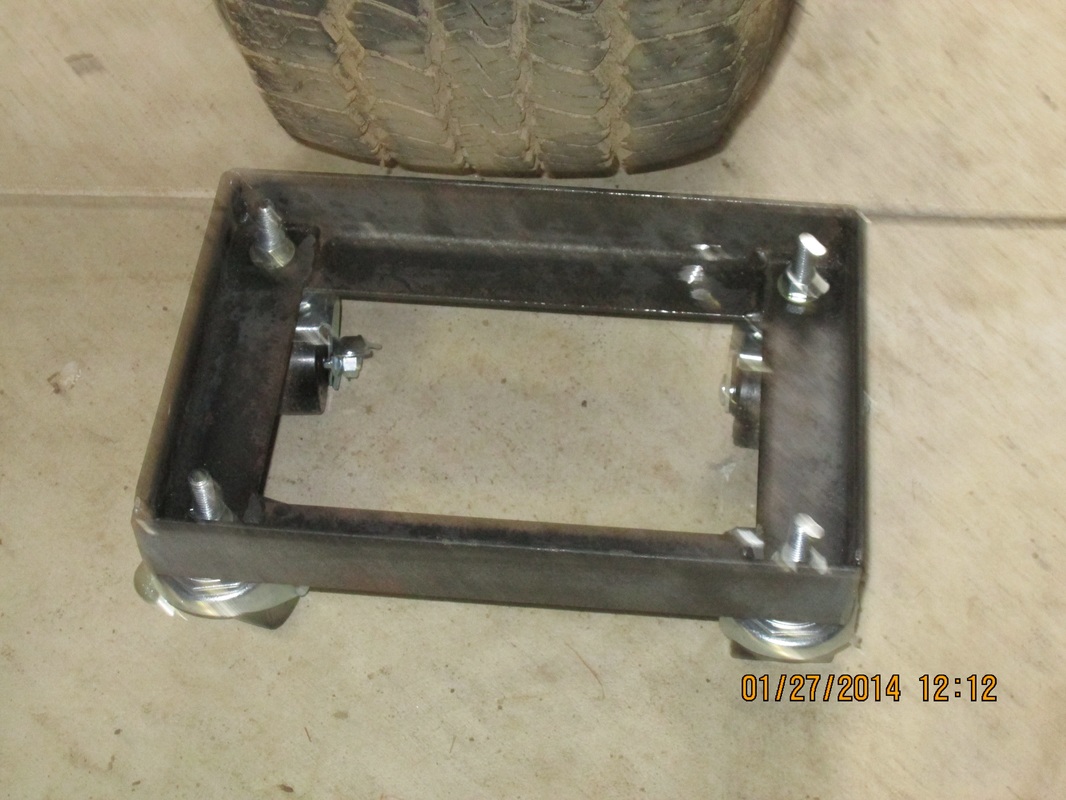
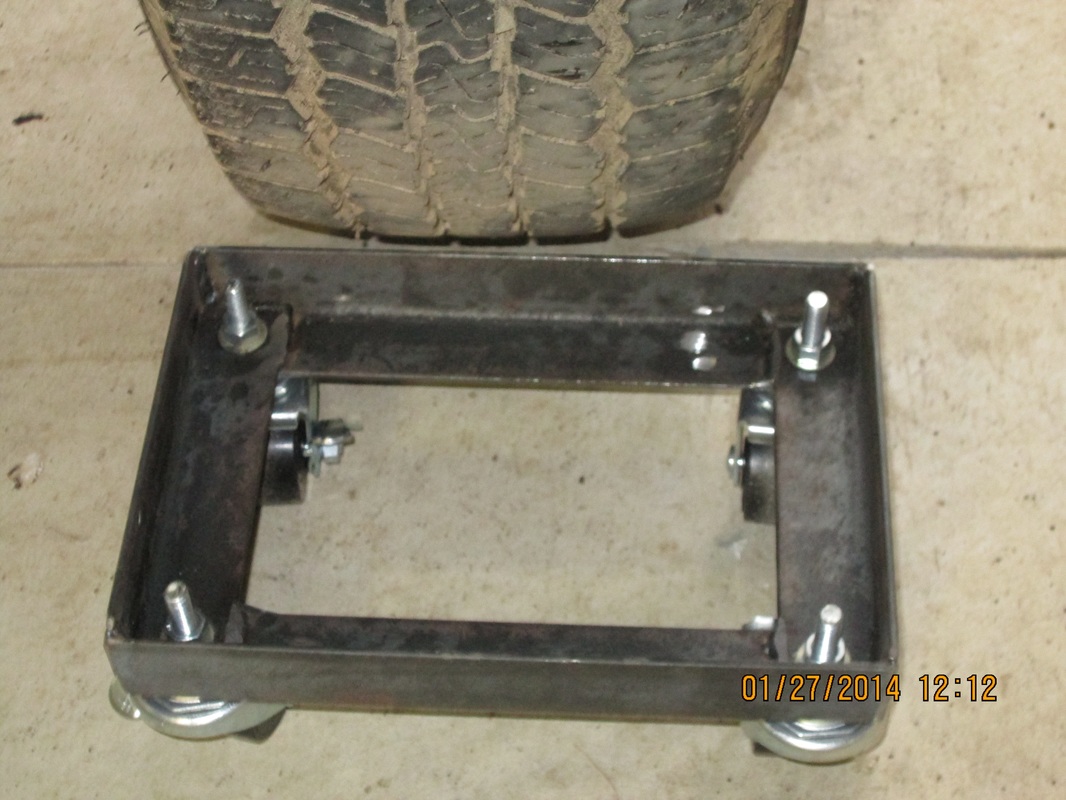
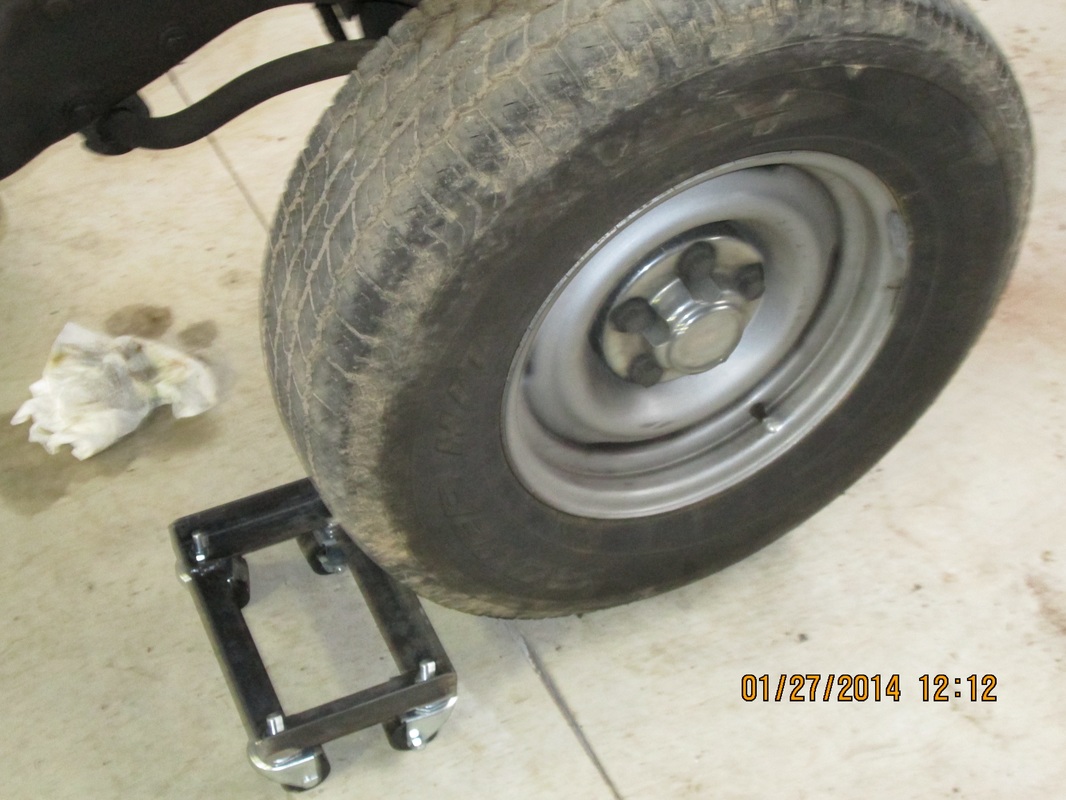
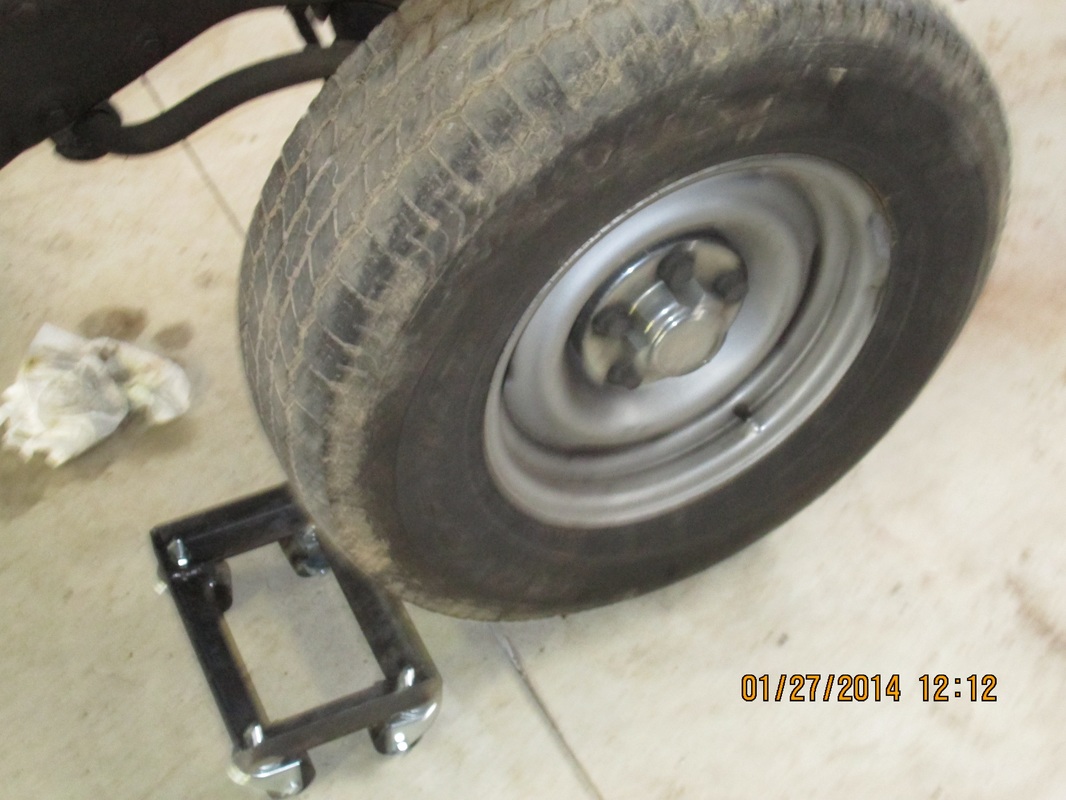
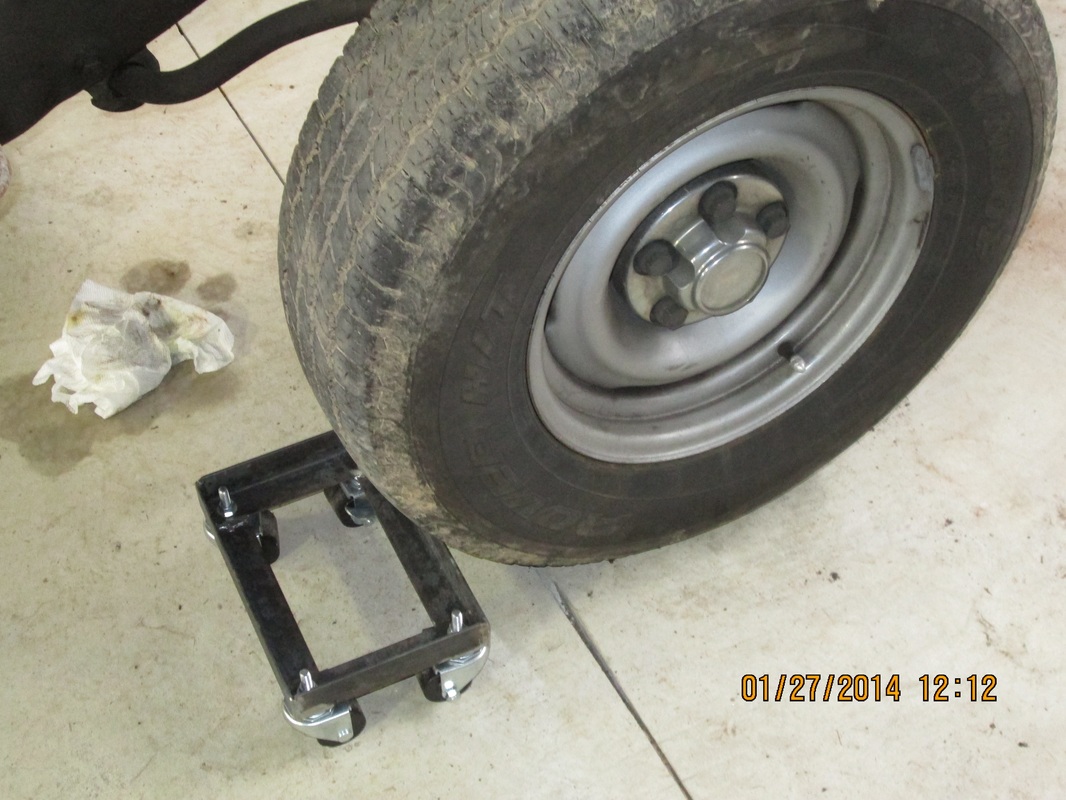
As a first real welding project, I decided to make a set of jack stand dollies. These were designed to accept the ubiquitous 3 ton Harbor Freight jack stands as well as fit nicely under auto wheels. Two birds with one stone, and if the car won't roll, you can always throw a jack stand and dolly underneath it! It took quite a while to locate suitable casters for the dollies, and I suspect most commercial units are overstating their load capacity based on how difficult it was to find suitable casters with a reasonably low profile. The 1.5" angle iron construction is very robust and relatively insensitive to welding quality. Perfect for a new welder. They were finished in Rustoleum "Topsail Blue" which I think came out really sharp.
|
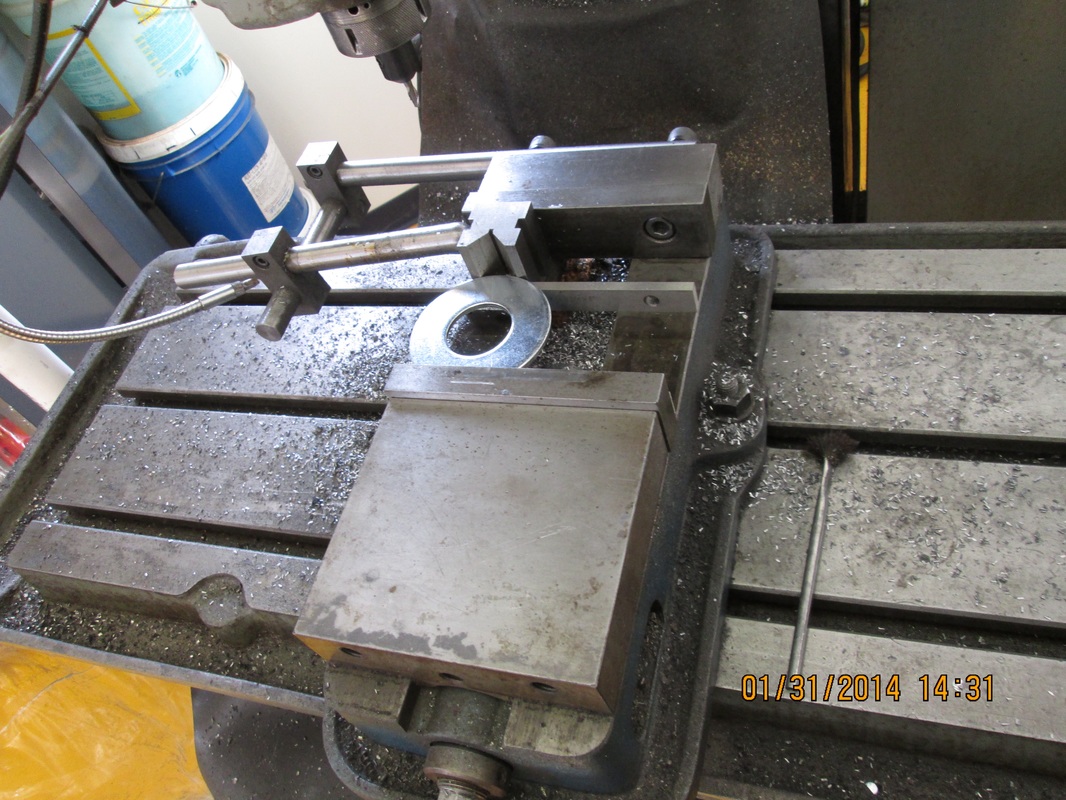
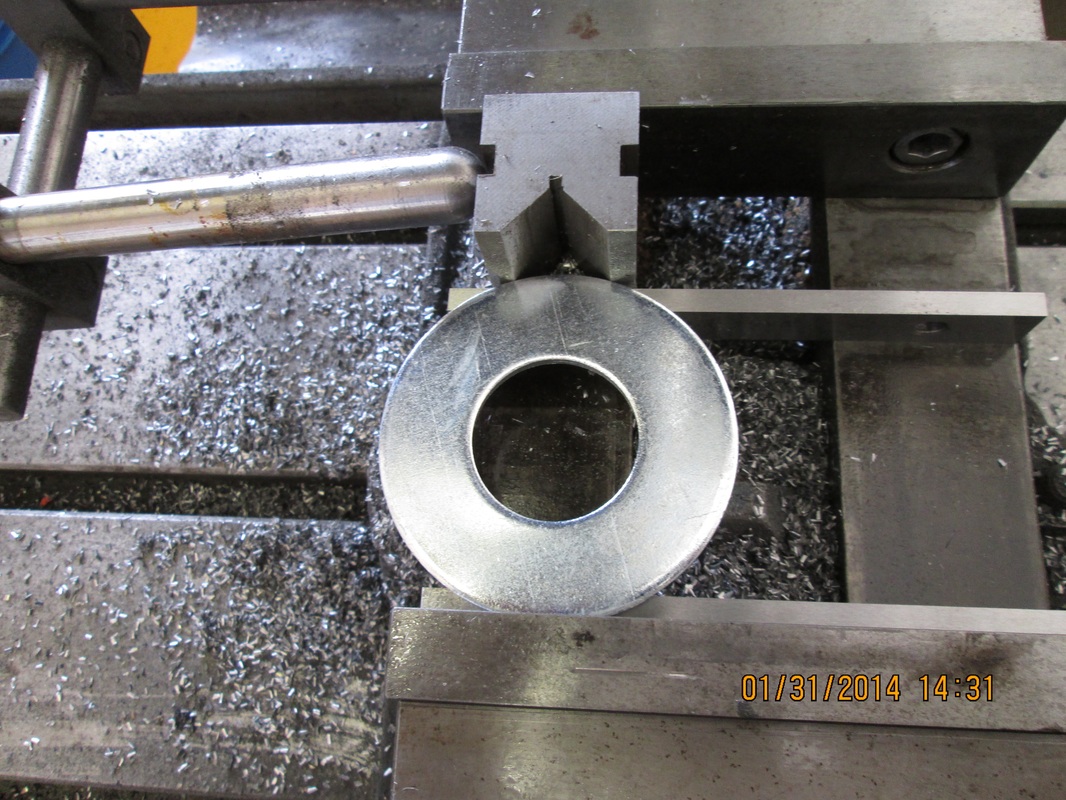
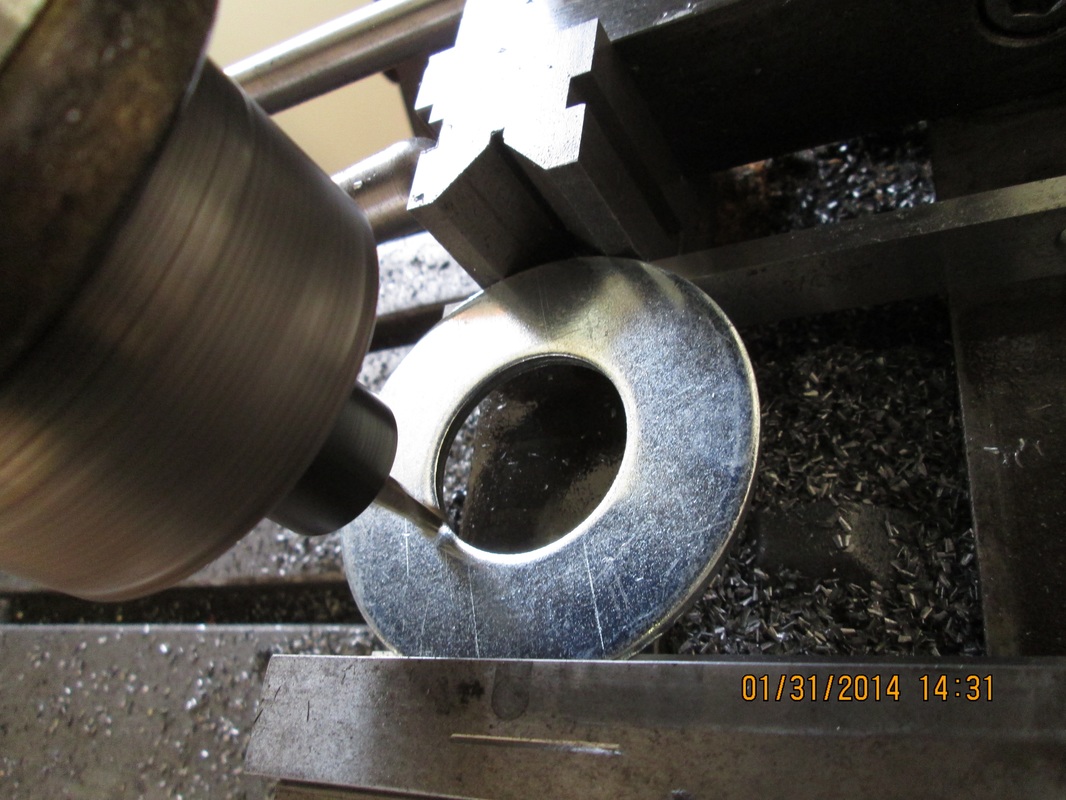
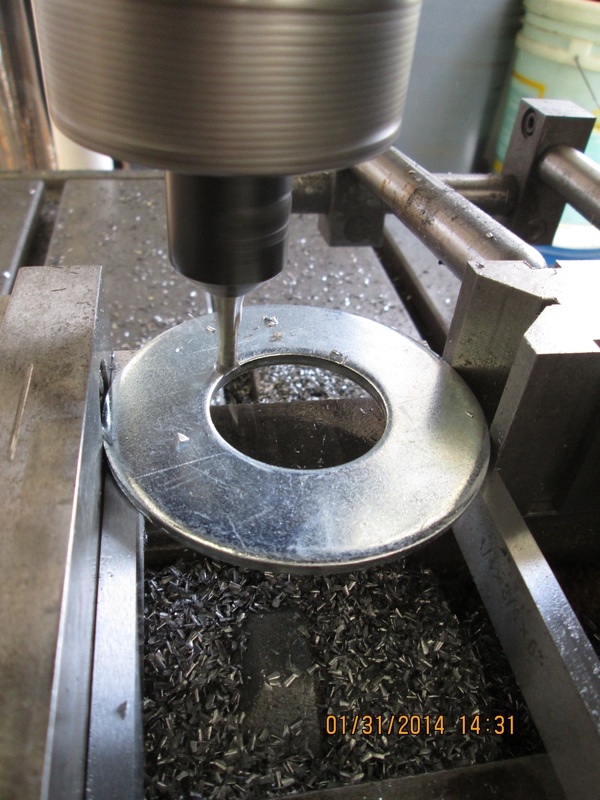
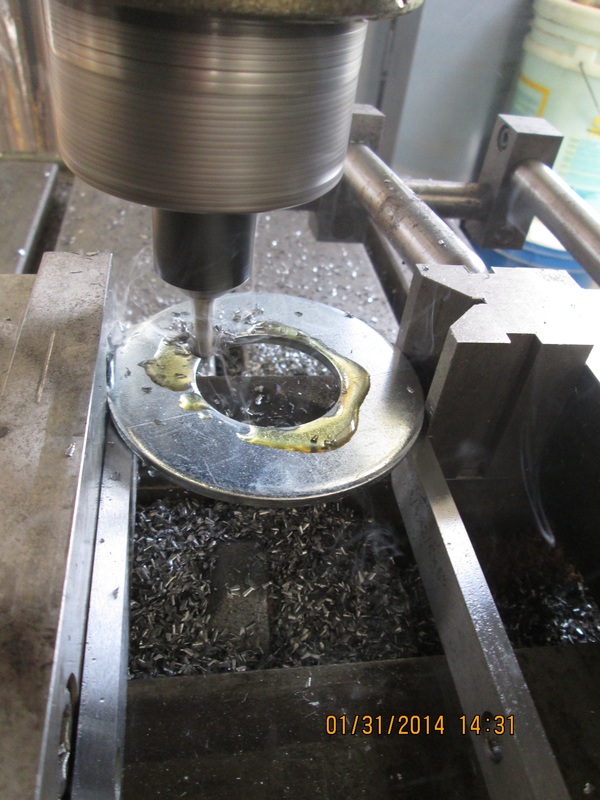
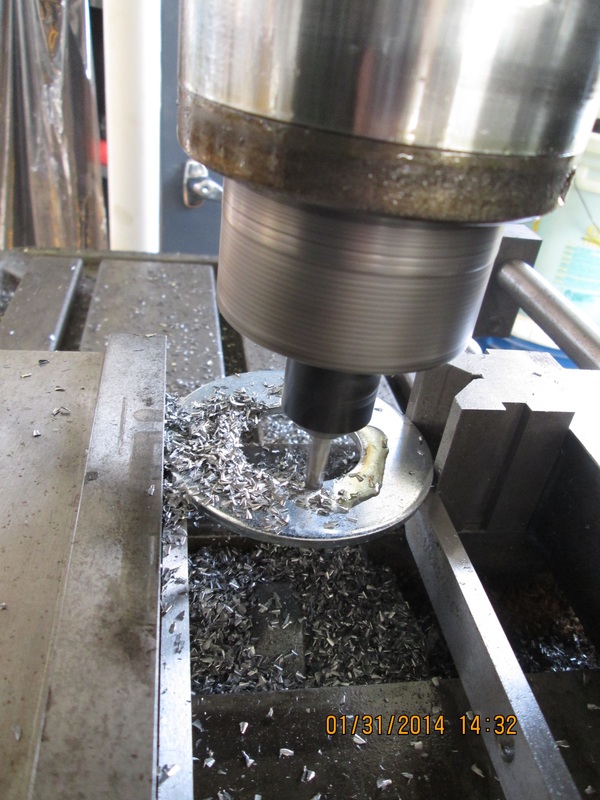
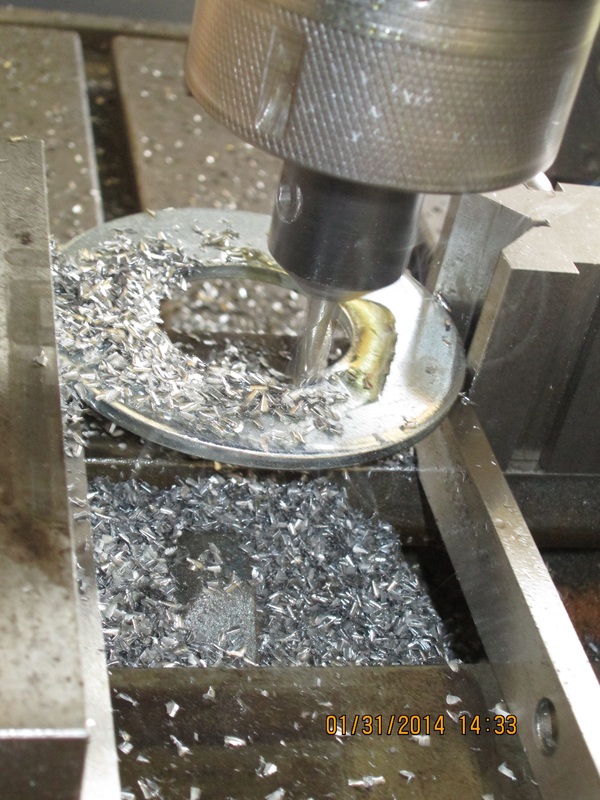
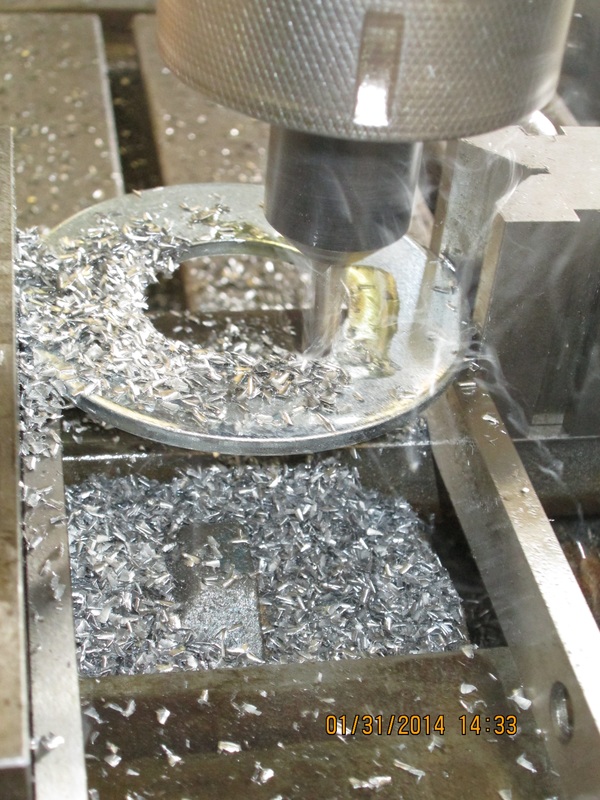
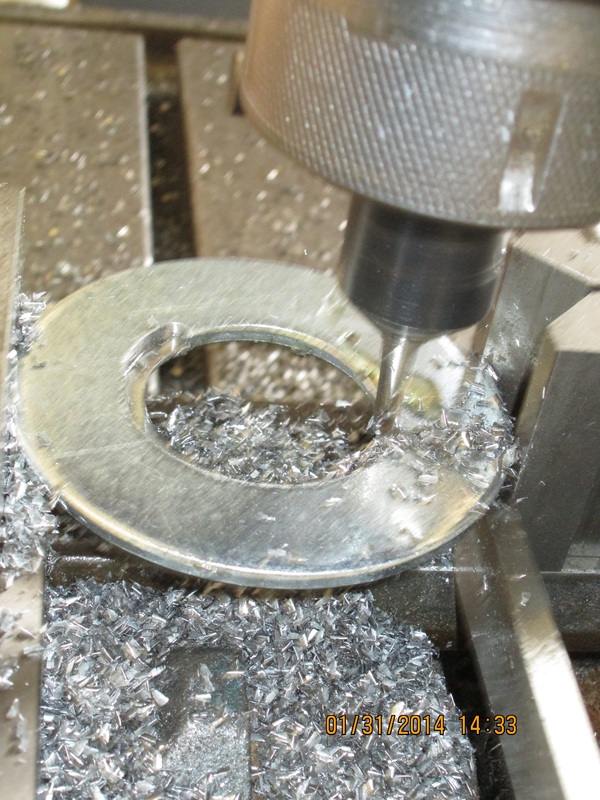
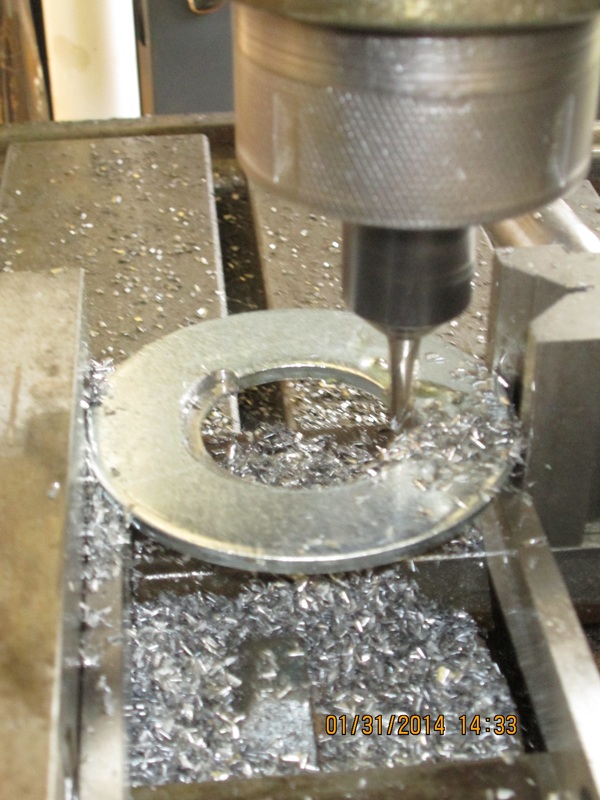
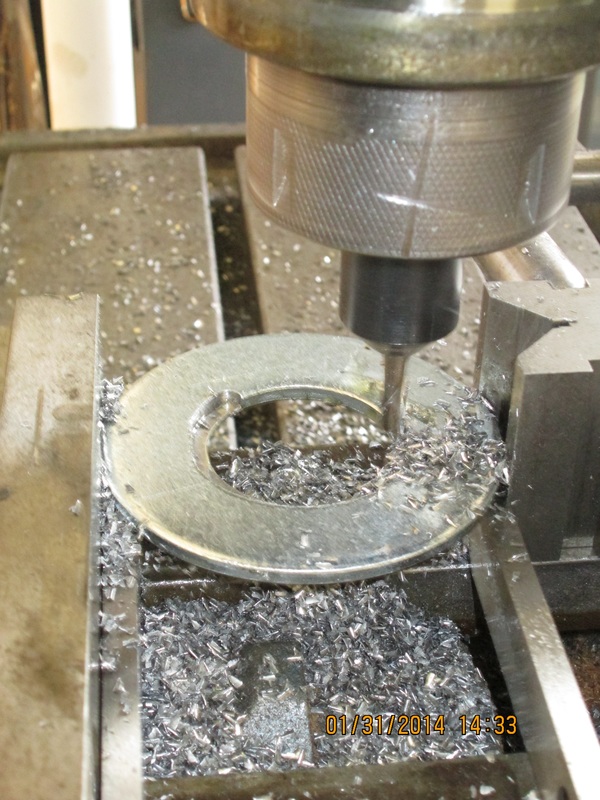
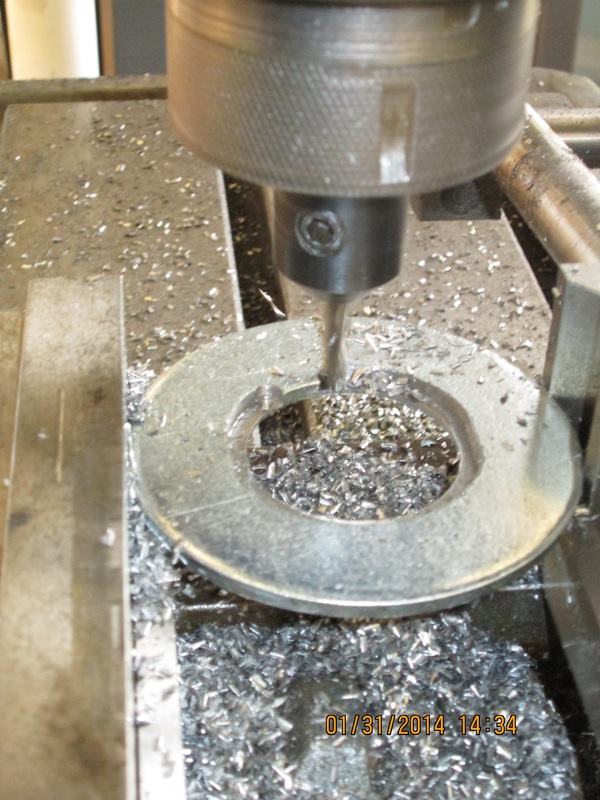
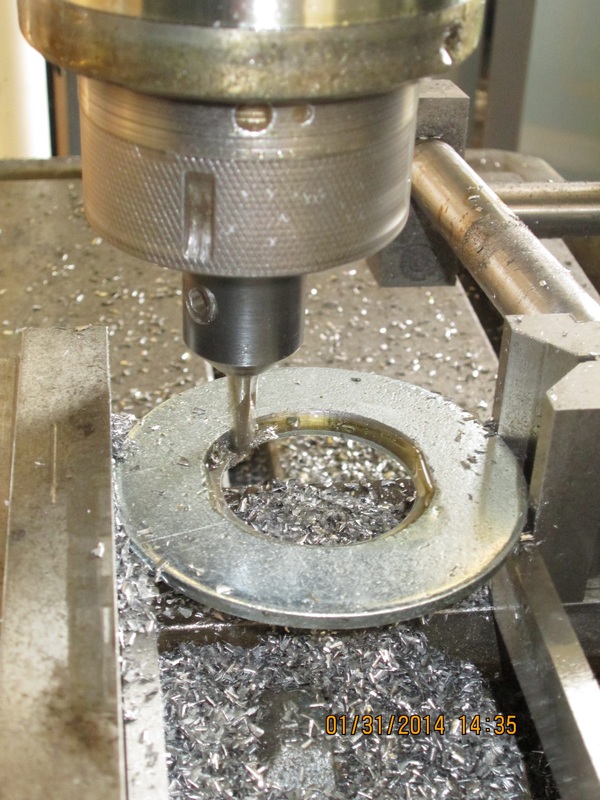
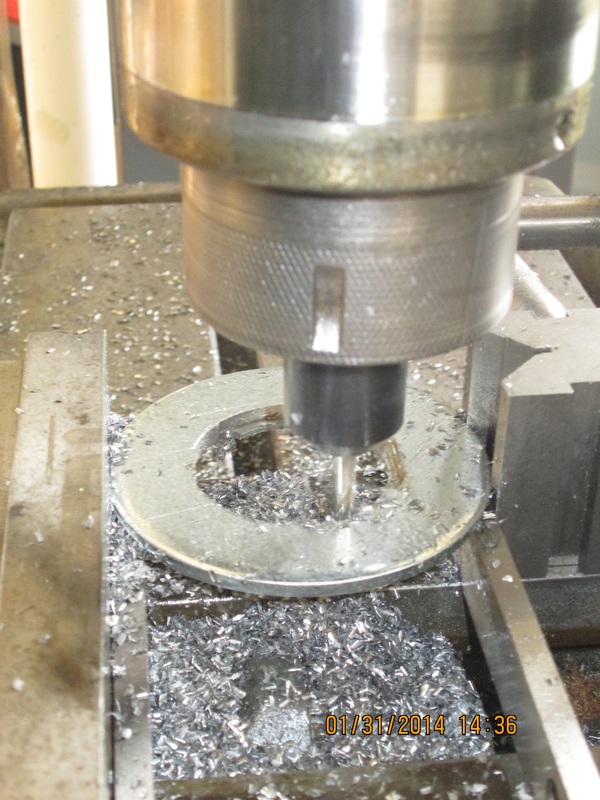
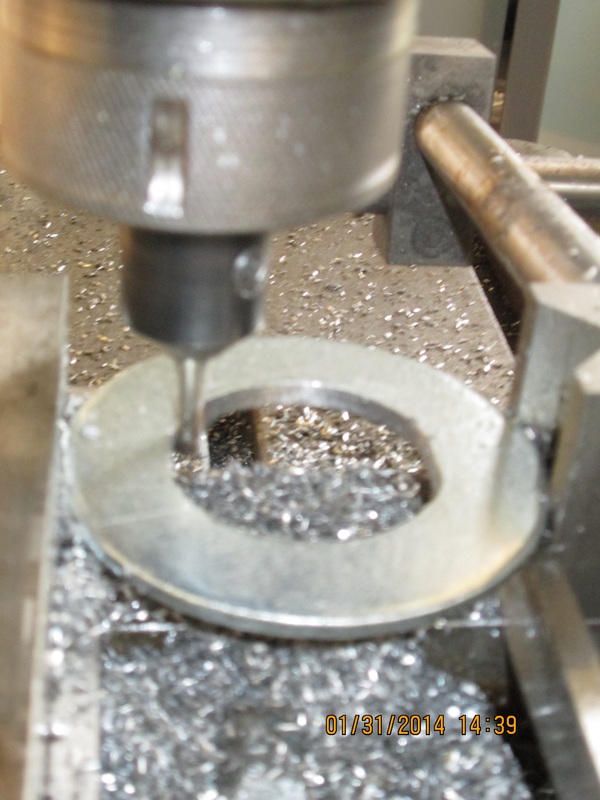
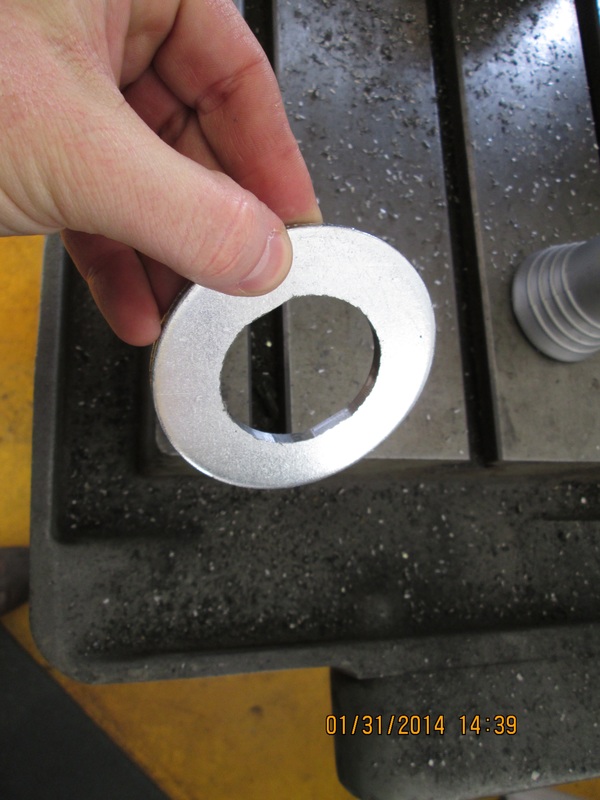
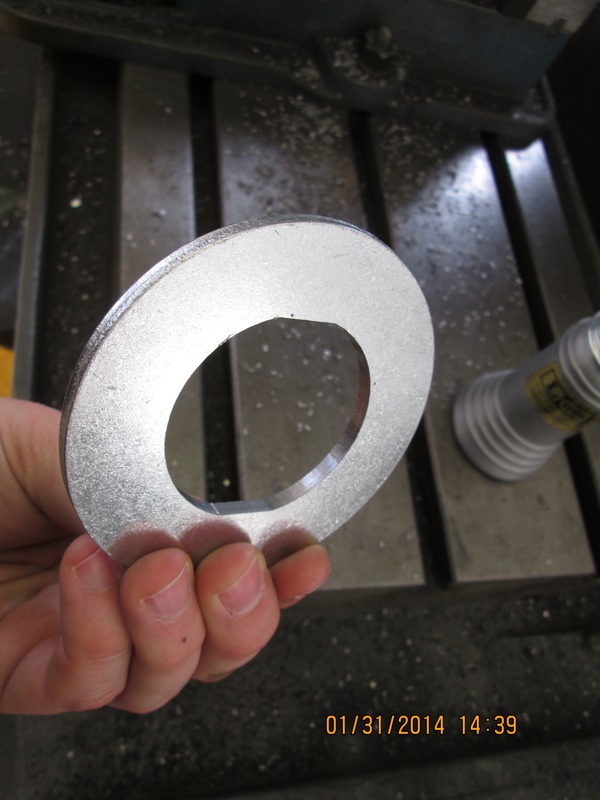
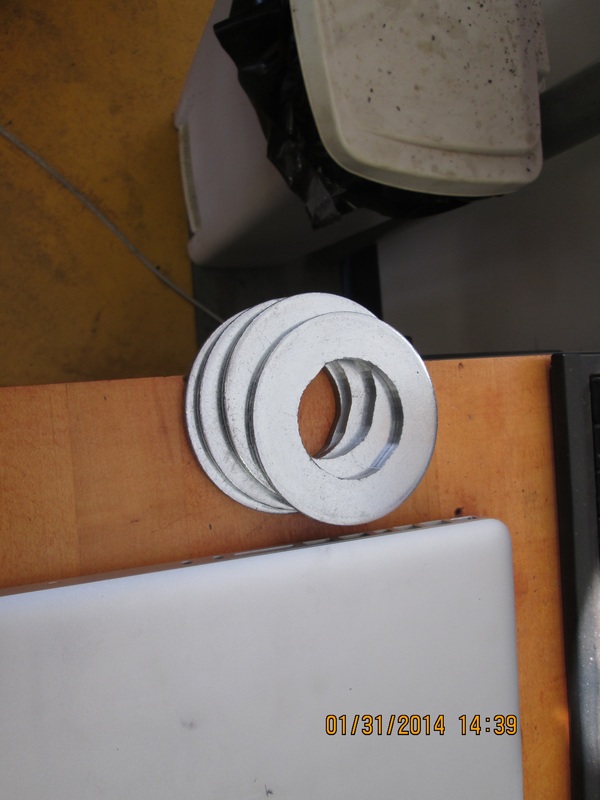
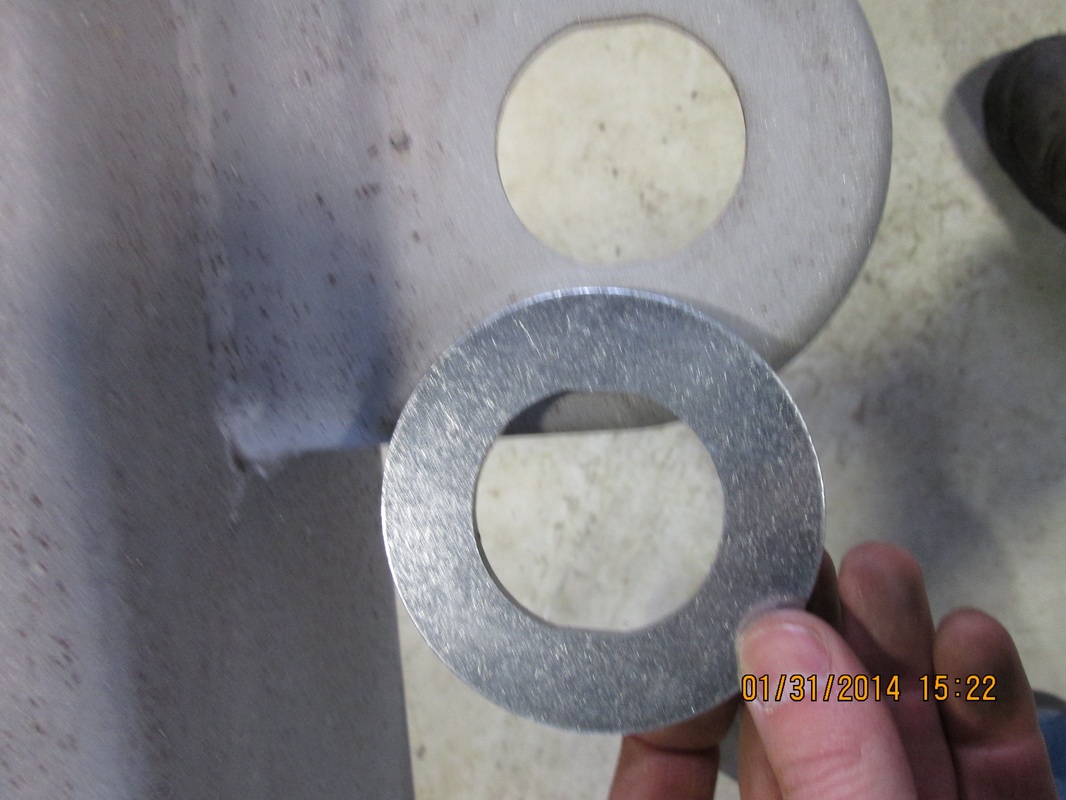
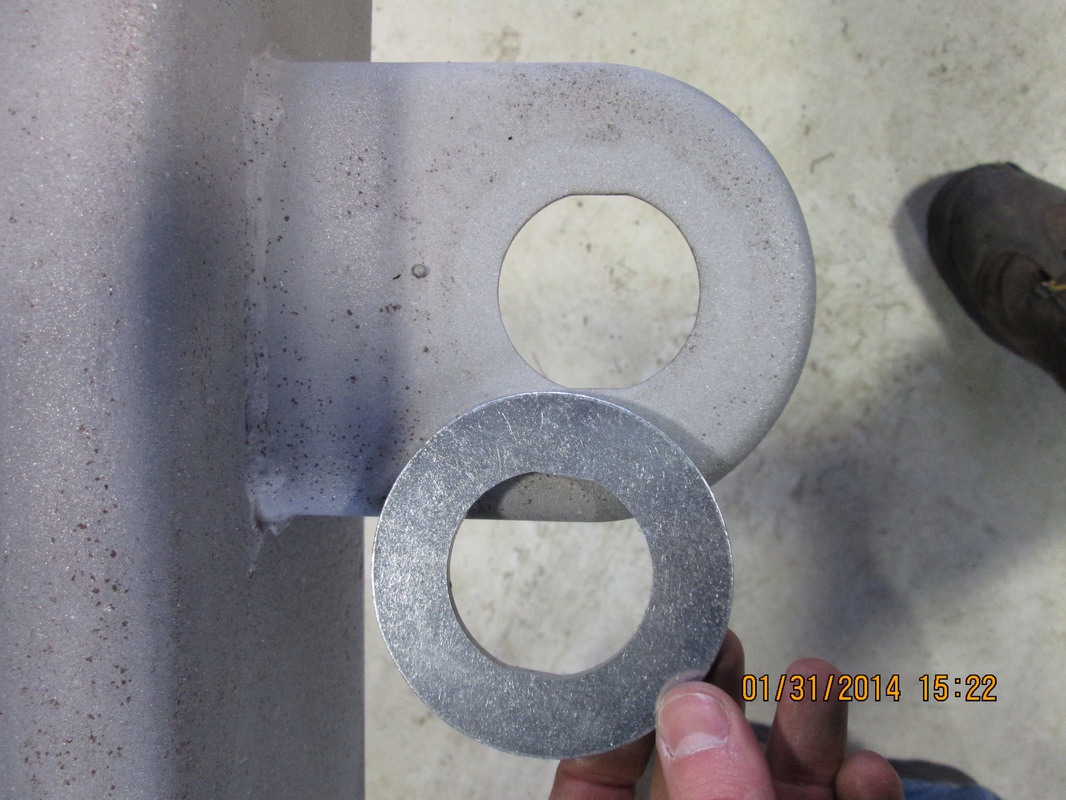
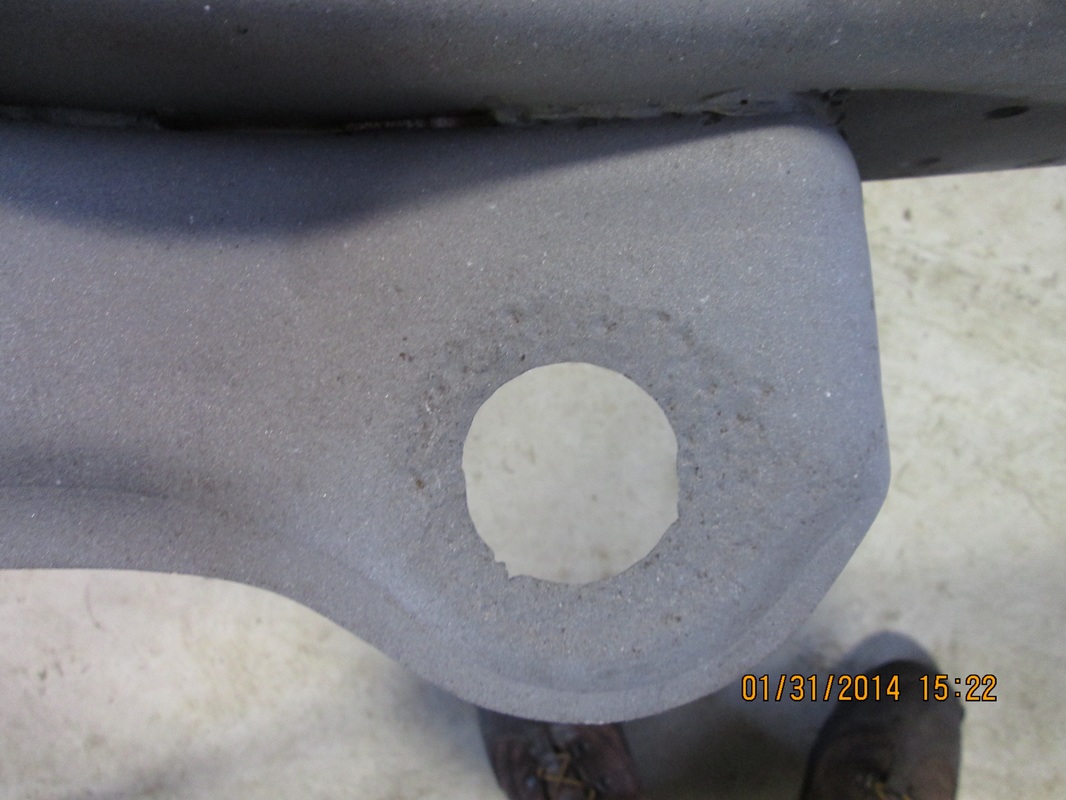
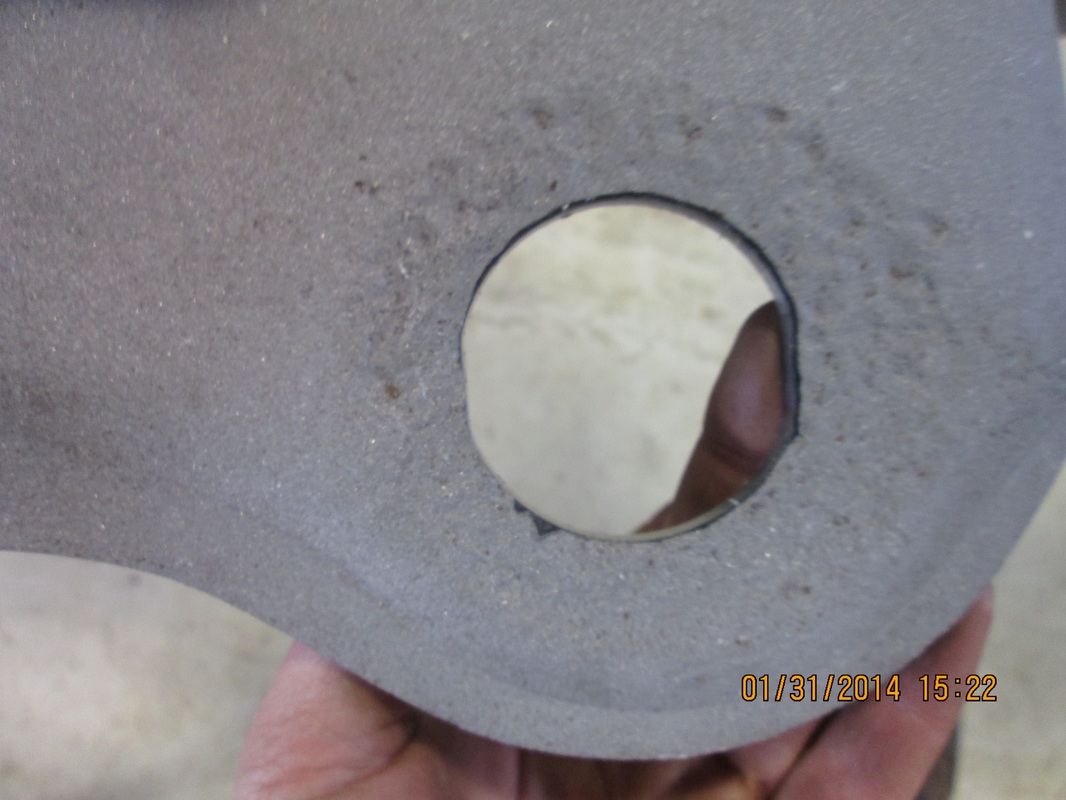
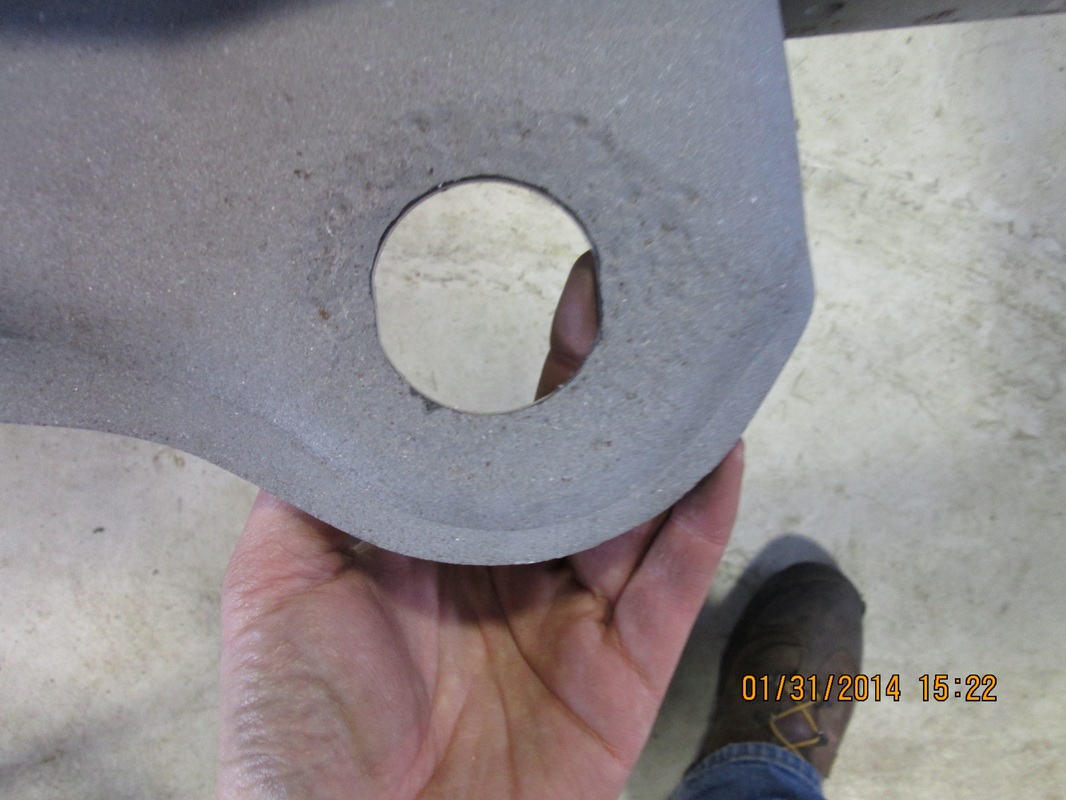
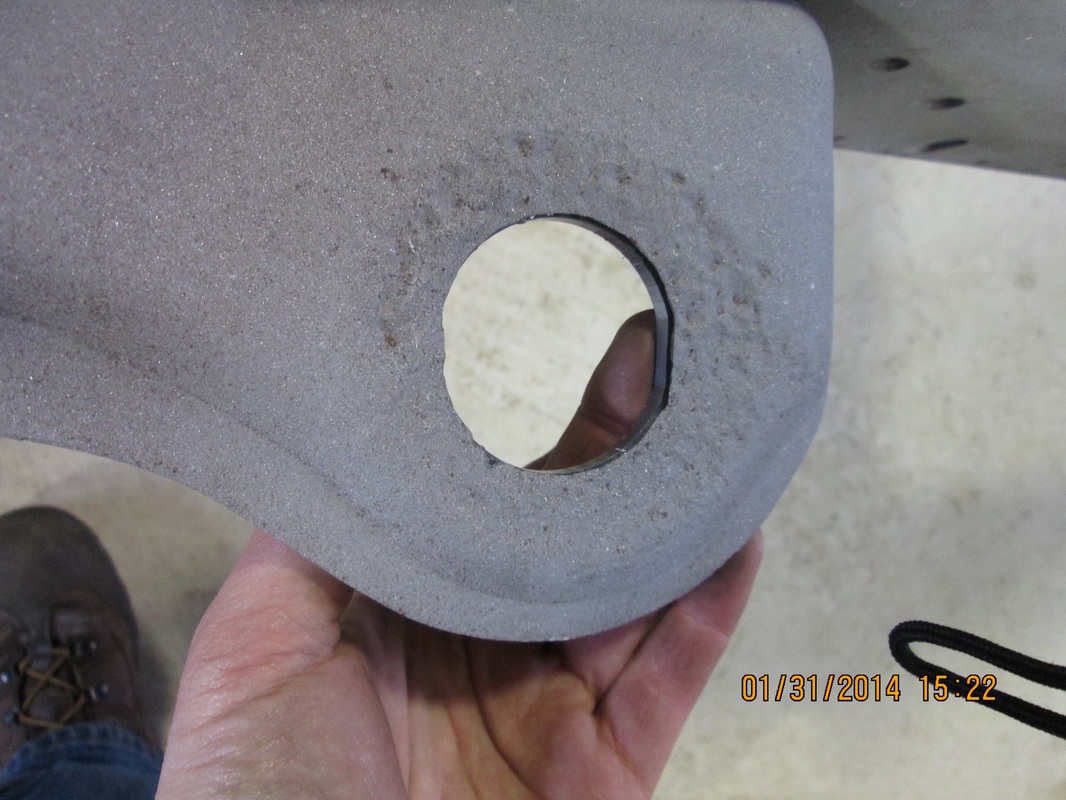
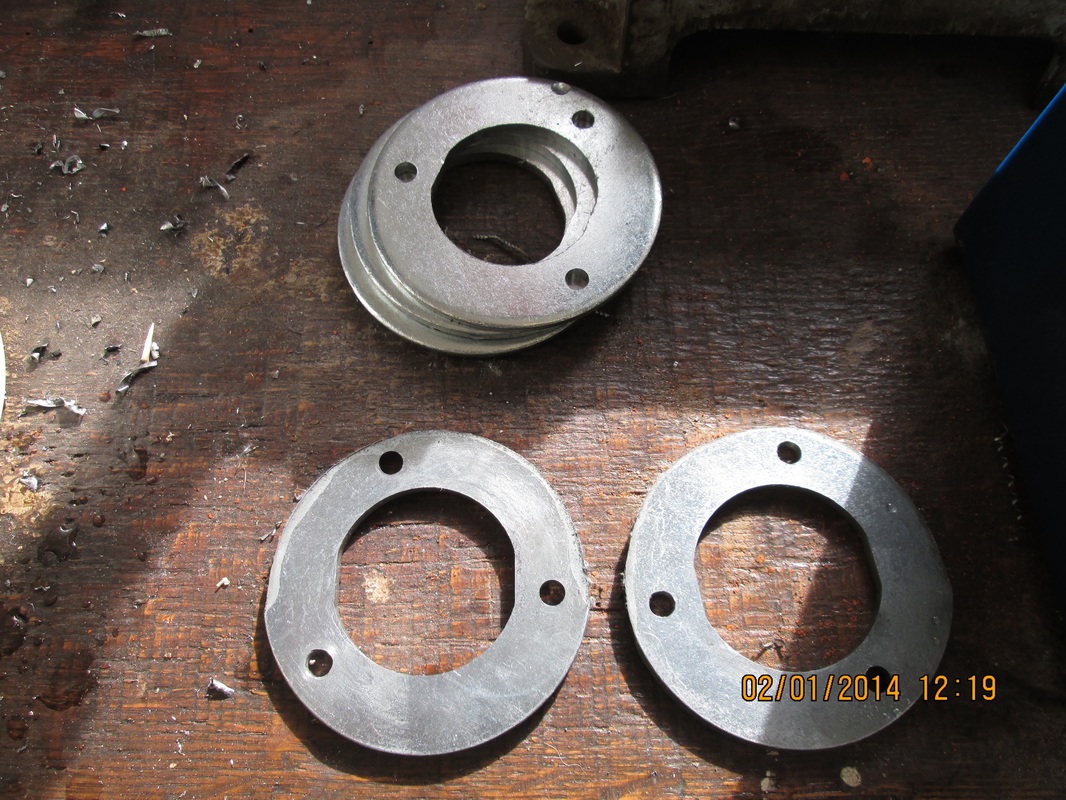
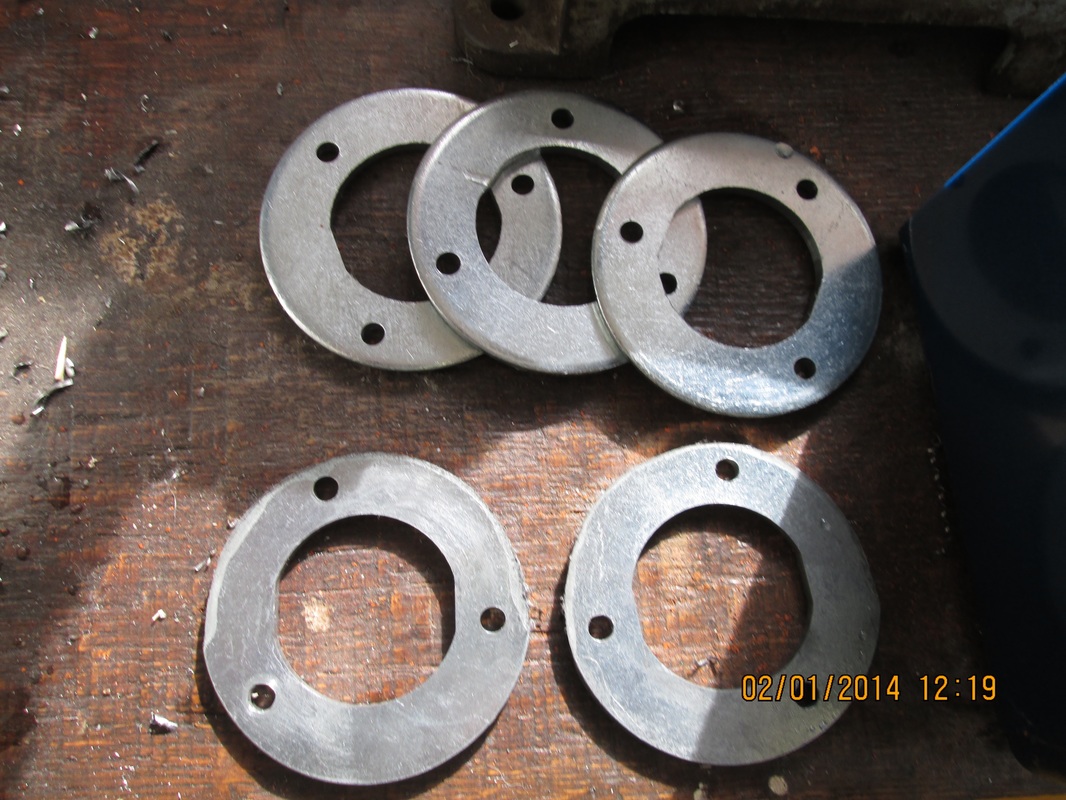
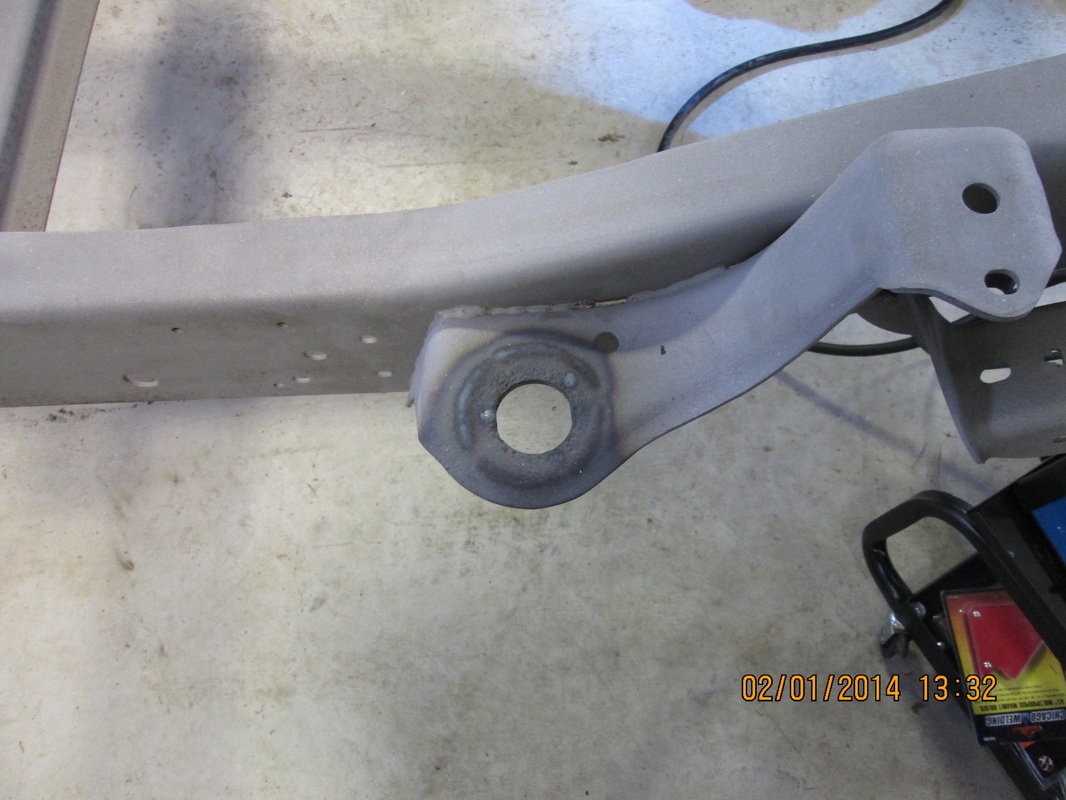
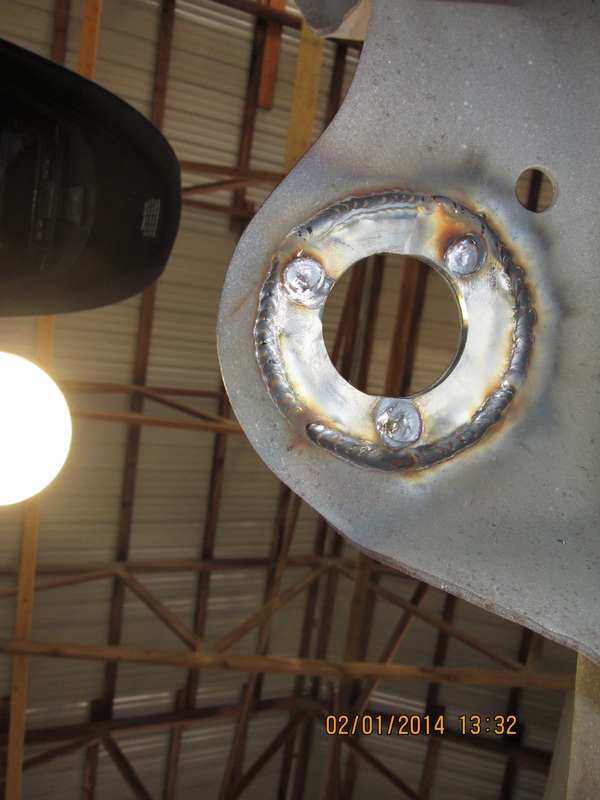
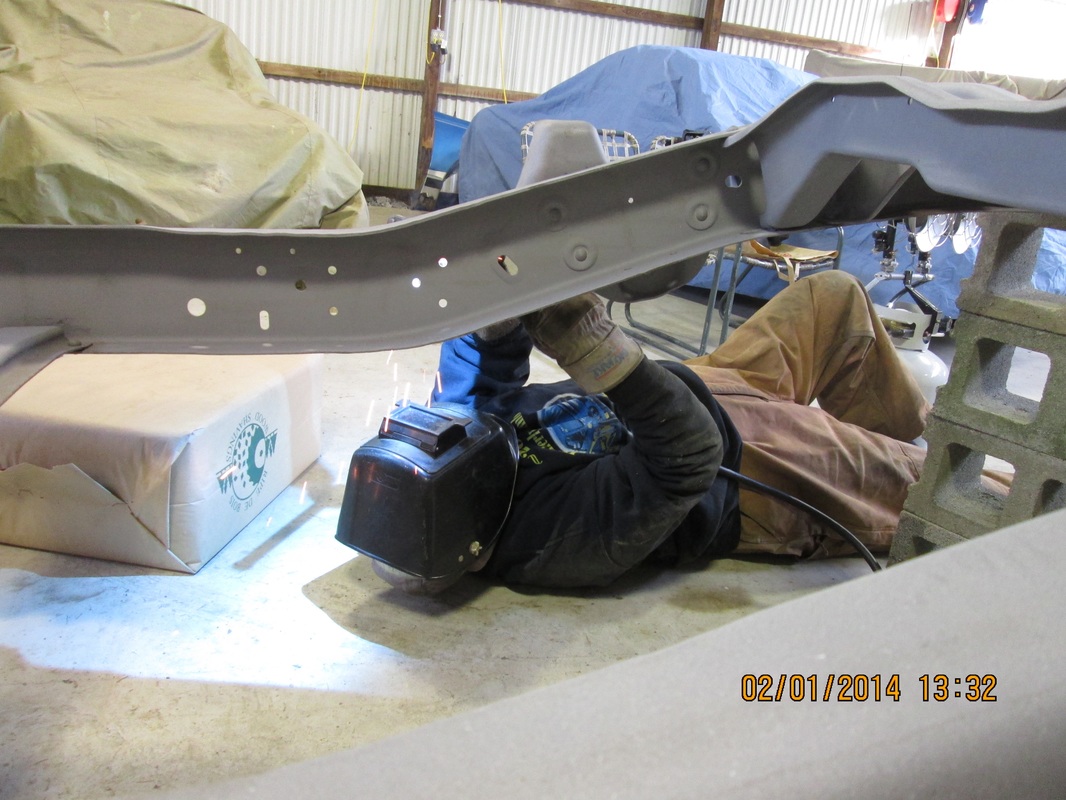
Though I haven't yet organized all my material on the '91 Chevy 1500 restoration I'm working on, I decided to post a little project I did to reinforce the body mount points on the frame of our '96 frame, which was acquired to replace the incredibly rusty '91 frame that was original to the truck. I bought large diameter washers from McMaster Carr and machined the inside profile to match that of the body mount. They came out great! I only needed one, and a racer friend of mine came and welded it in for me. Since he's a professional welder, he did a much better job than I could have. After discovering an issue with excessive toe out in the rear of my race car, I decided to drop the whole rear suspension and rebuild it. As another SpecE30 racer once said, "Toe out in the rear of an E30 will scare God." Seemed drivable to me!  The bushings were pretty worn out and I found I had a bent left trailing arm when I went to reassemble everything. Fortunately I had a spare left trailing arm. It just needed reinforcements welded, bearings removed, and a little painting. I had to modify a pitman arm puller to get the subframe bushings replaced and the bearing replacement required a harbor freight service tool kit and my 20 ton press. But it went smoothly after some finagling.
 Back in early September, 2015, I decided to try out one of SCCA's new "Track Night in America" events. These events start around 3PM at various tracks around the country. I left work around noon, drove (from Philadelphia) in my FR-S to NJMP, unloaded my tools and the rest of my loose bits, and off we went! I bought a camera mount for the passenger headrest to mount my GoPro, and 3D printed mounts for my RaceCapture data logger. I have updated the design since, but haven't yet gotten around to printing and testing it, so if anyone's interested, feel free to contact me. 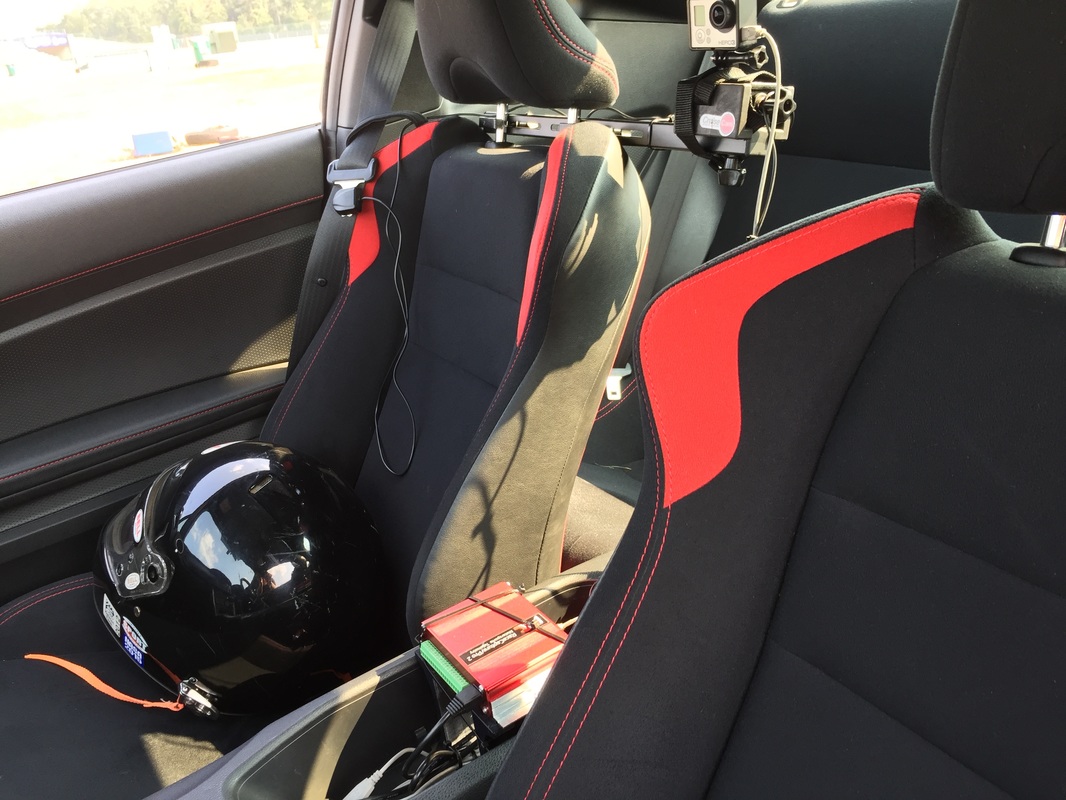 So I'd never driven Lightning before, and was driving my bone-stock FR-S. The first session I got acclimated to the track, even though I only got one hot lap before two knuckleheads in the advanced group ran into each other.
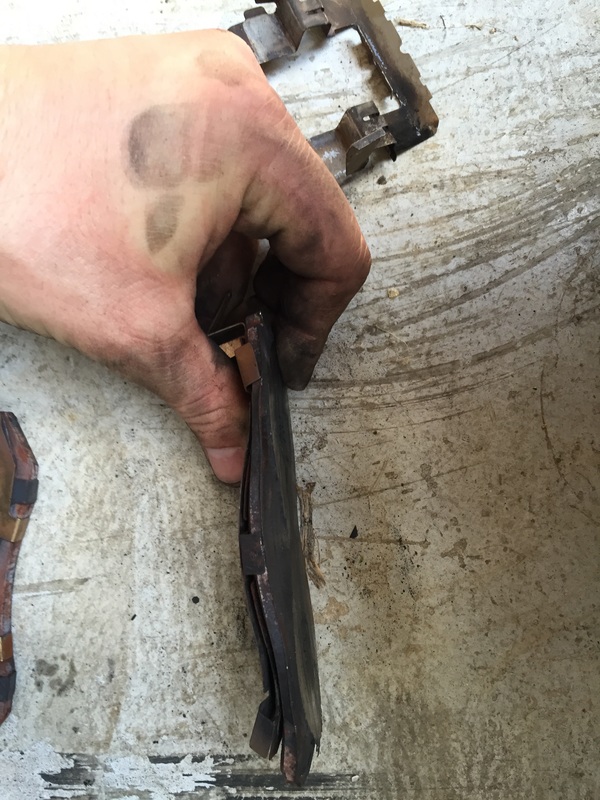
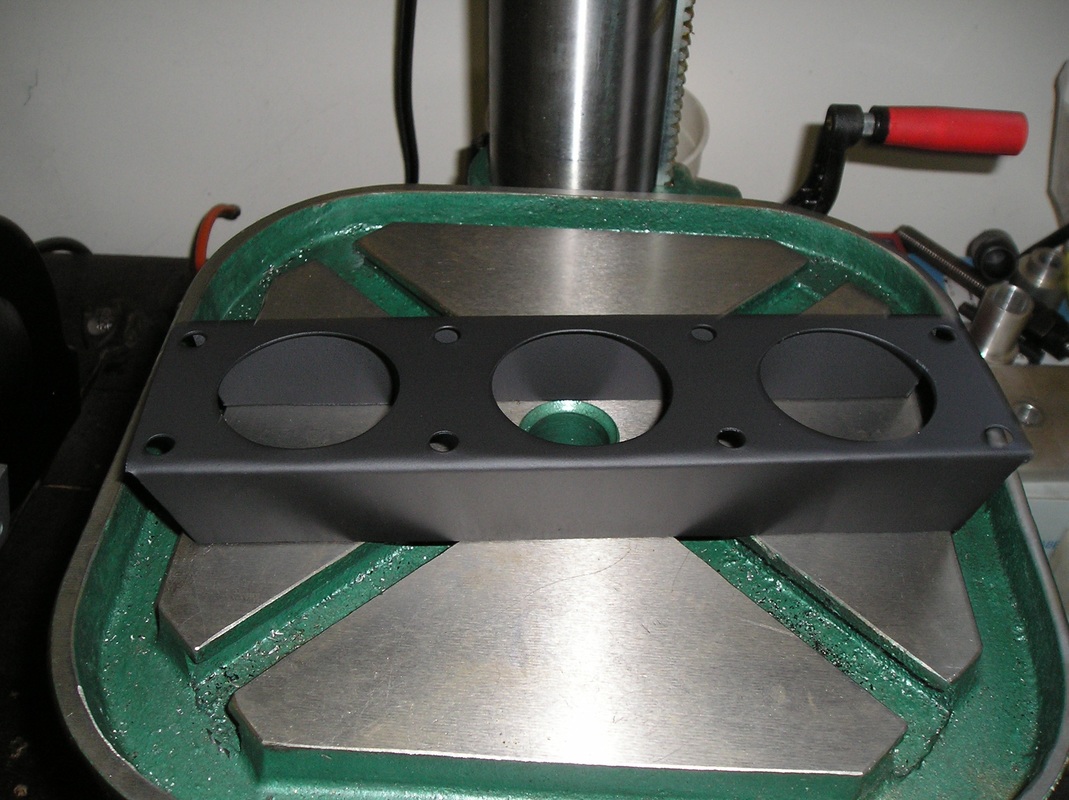
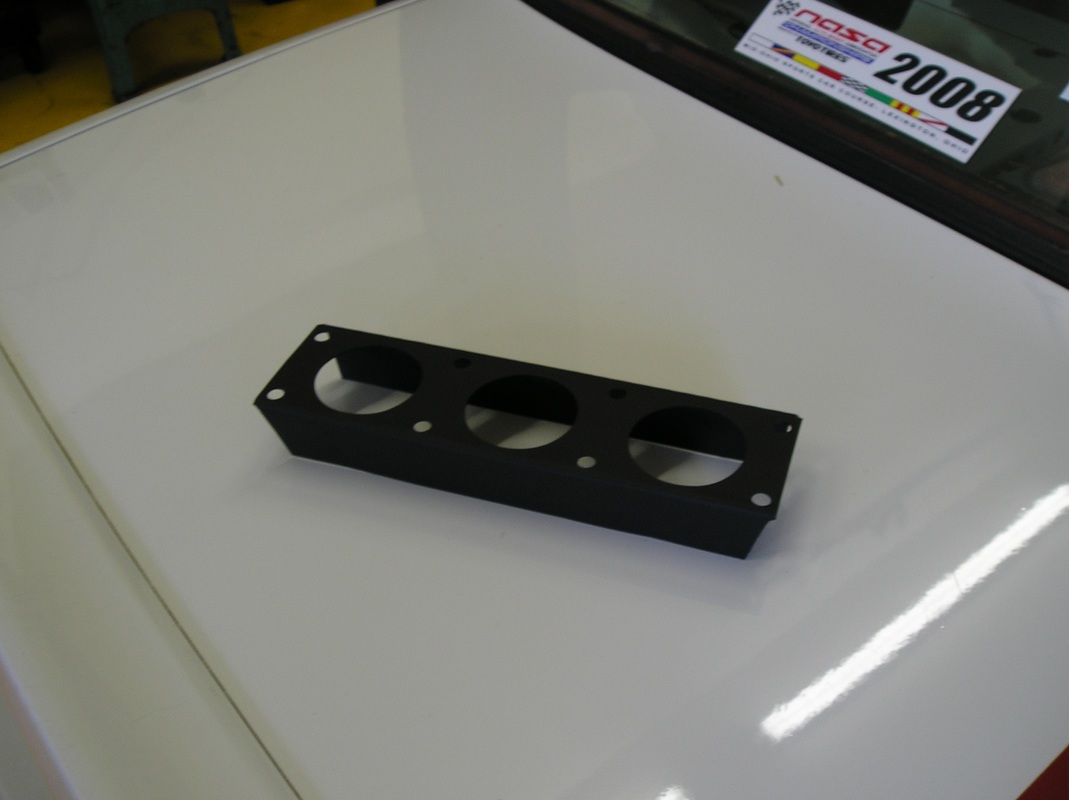
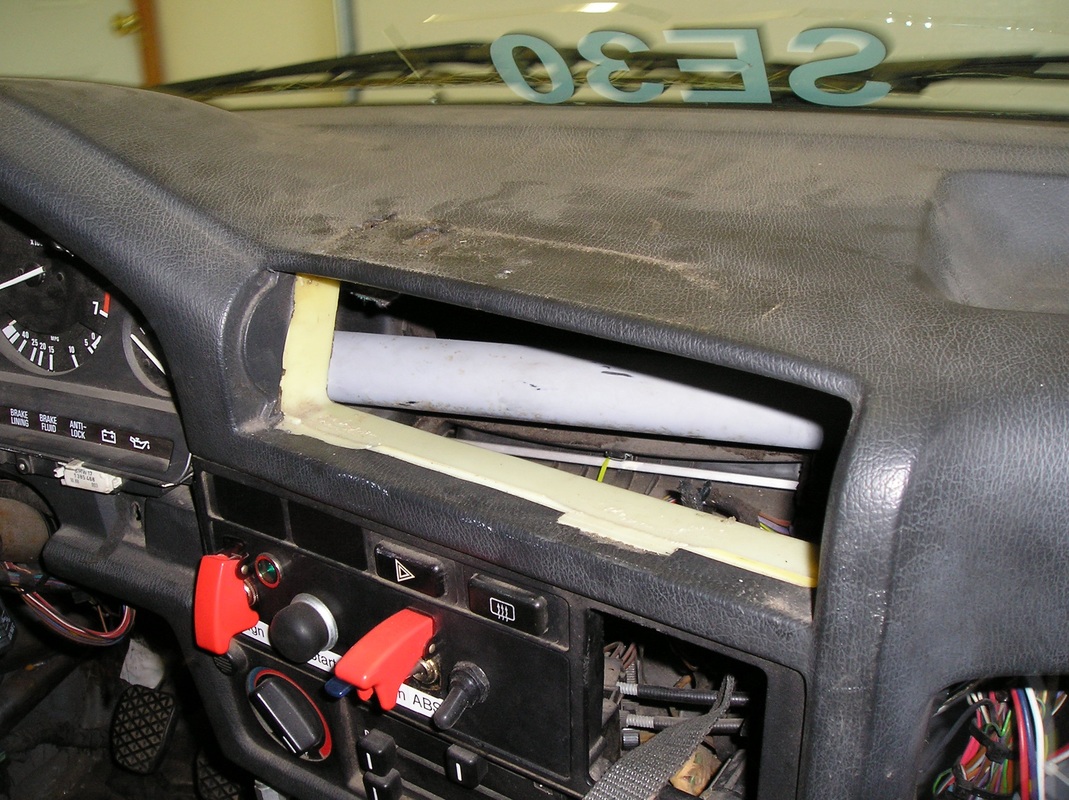
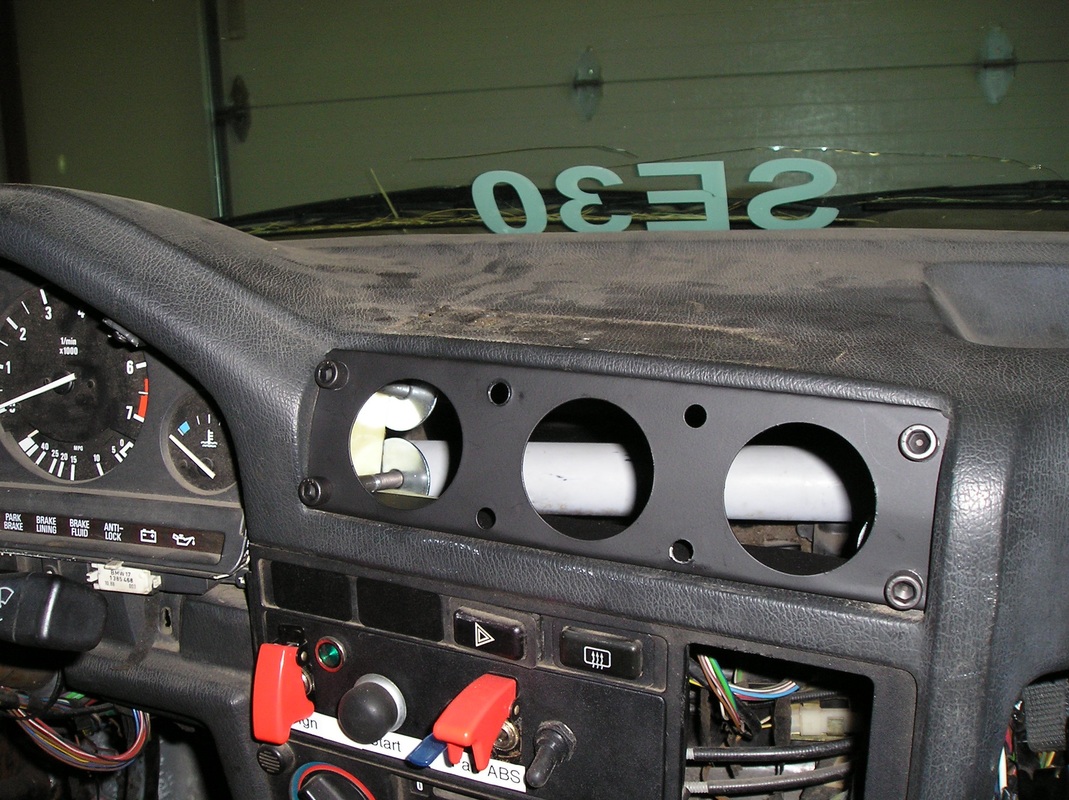
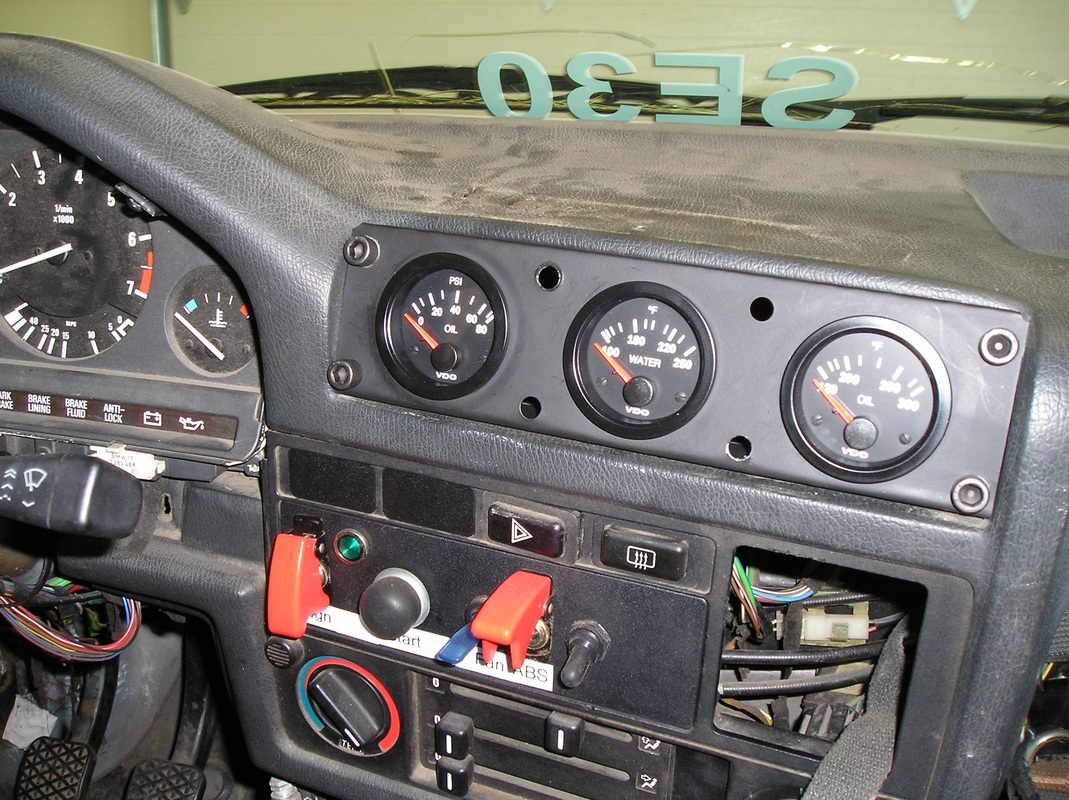
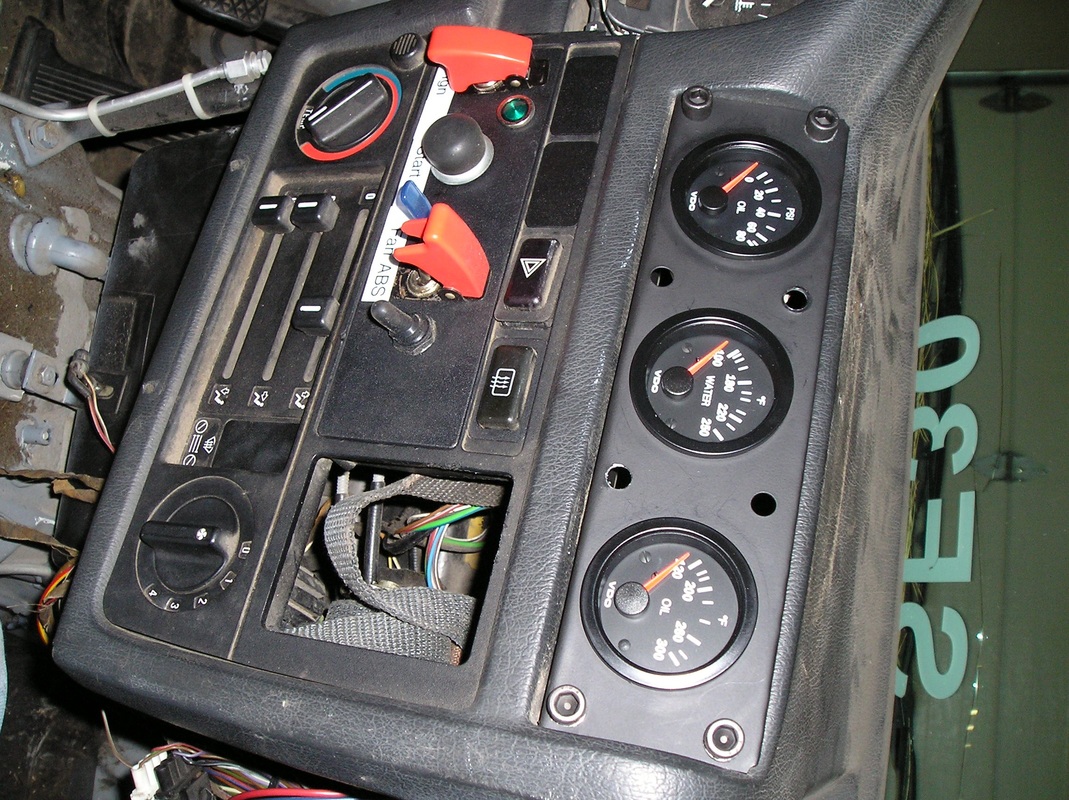
During the second session, I noticed the brakes fading pretty severely. I adjusted my braking distance and pressed harder. Some of the entries into turn 1 were still a bit hotter than I'd have liked ... and this is what I found on the wheels when I pulled into the paddock. A few years back I made this gauge mount in aluminum sheet, milled on the milling machine, and bent it with a 2x4, a vise, and a hammer. Then spray painted it black. While having some control issues with the mill, I decided to replace the stepper motors with something newer and more powerful. I 3D printed end caps that fit over the ends of the motors and secure a connector so the motors are fully modular. I haven't yet tested the full torque capability of the motors, but I'm pleased with the result. A little silicone holds everything together and seals out liquids. 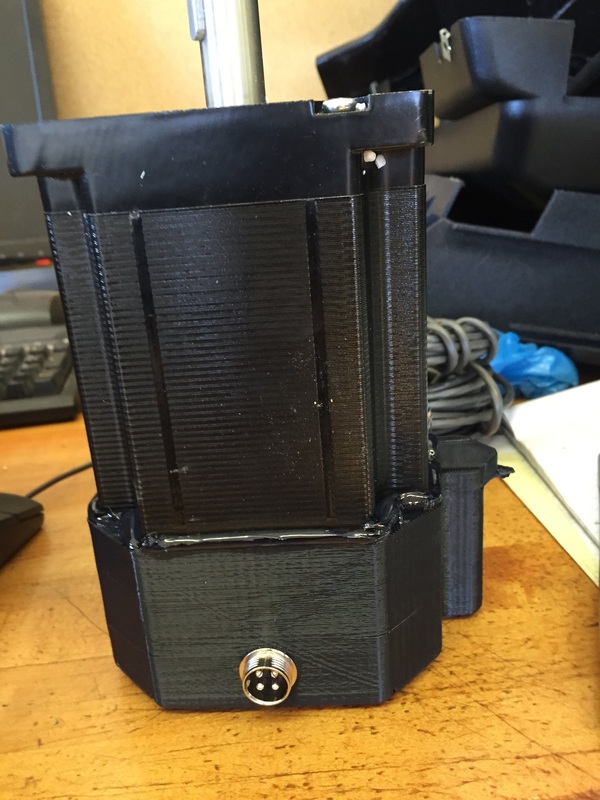 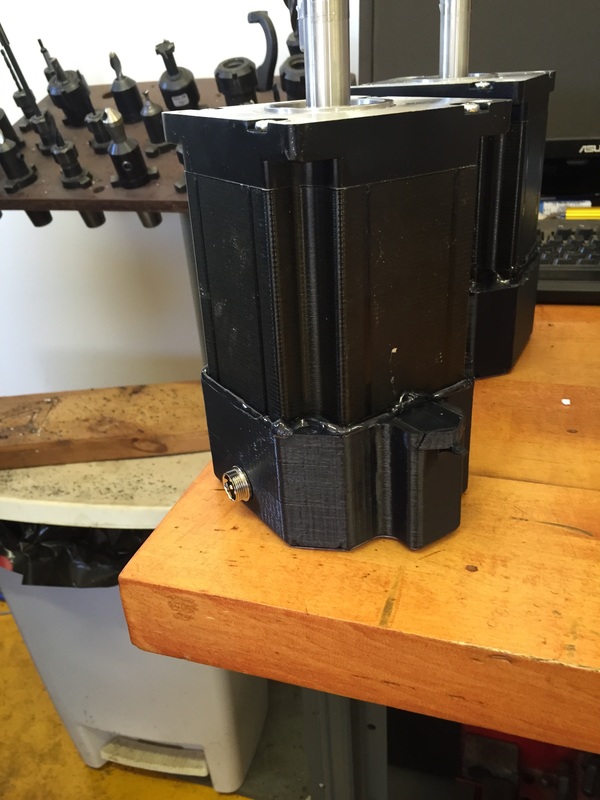 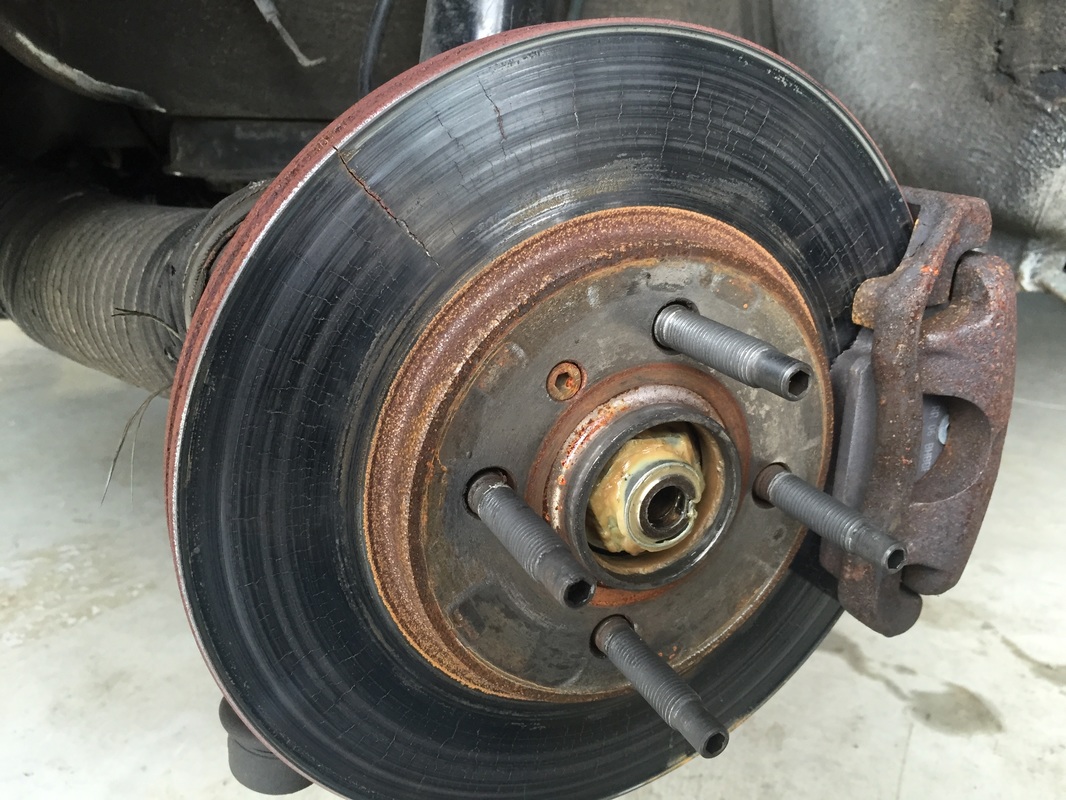 My E30 race car's front rotor came to the end of its life during a race. Stopped OK, but that's that! I buy rotors by the dozen, and they're inexpensive, so no need to play games!
I started off making a few bolts based on the plans from Tom's Techniques for the Atlas micrometer stop. Two (made to the print) are intended to be for a micrometer stop when I get around to making it. The third was made longer for a carriage stop, though the print specification for length would have worked fine in retrospect. My die cut rough threads, but they're acceptable. If I'm ambitious, I'll make another set with a newer (sharper) die. The heads were cut in the CNC mill, easy work to make perfect .375" square heads once I had a good setup to hold them vertical. 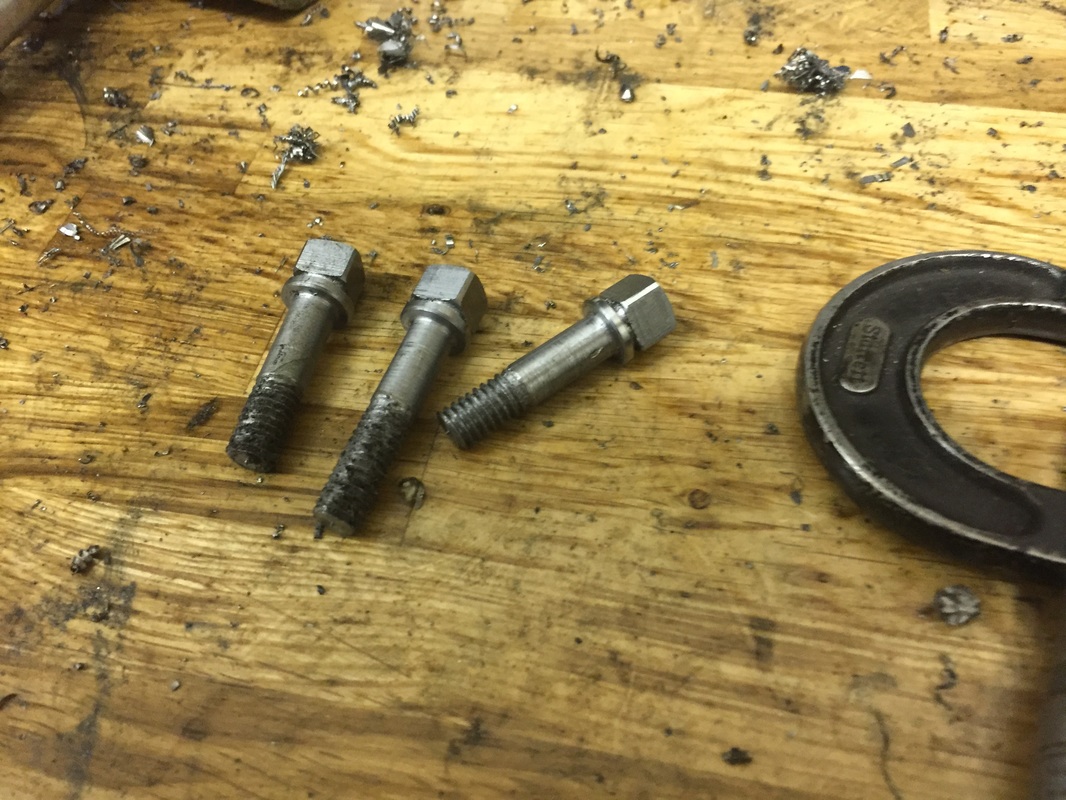 I finally got the compound rest done, so I decided to finish the larger dial kit from Tallgrass Tools. Like the cross slide kit, I bought the dial engraved, which made it a pretty easy job. I had to machine the back plate, including engraving the index mark, and machine the dial and the center part. Overall I think it came out excellently, and once the back plate was done, the rest of the job was easy. 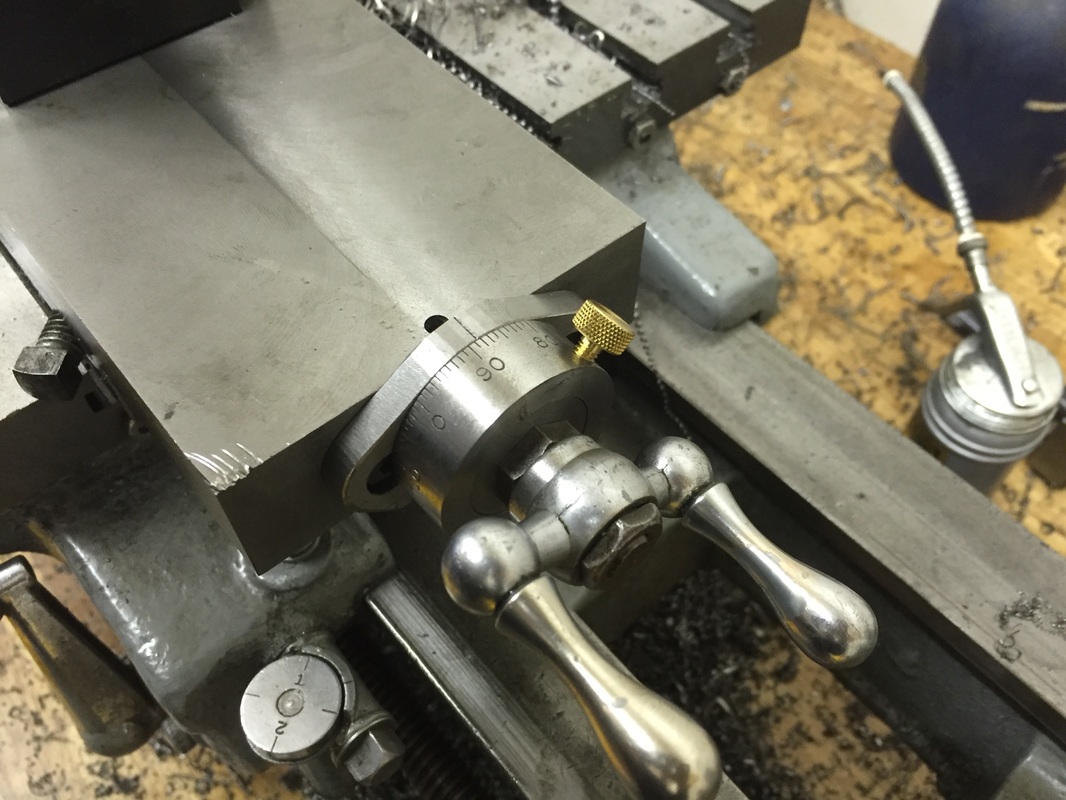 High on my success with the cross slide casting, I decided to pursue a replacement compound rest project. The stock 10" Atlas compound rest is flimsy and has limited travel. I designed it when I should have been doing other things like paying attention in law school classes. The goal for the design was to allow machining of an MT3 taper without a taper attachment. This required an extension of travel, but I didn't want to unduly increase the compound's size to avoid compromising capacity or usability. I also wanted it to be able to use original parts so that I didn't have to make everything from scratch. If anyone is interested, I could generate drawings of the parts. Obviously some adjustment and fitting may be required because I had a few minor revisions based on machining variances. CNC was useful for machining the screw channel in the underside of the top slide, but it could probably be done with a very large ball-mill. 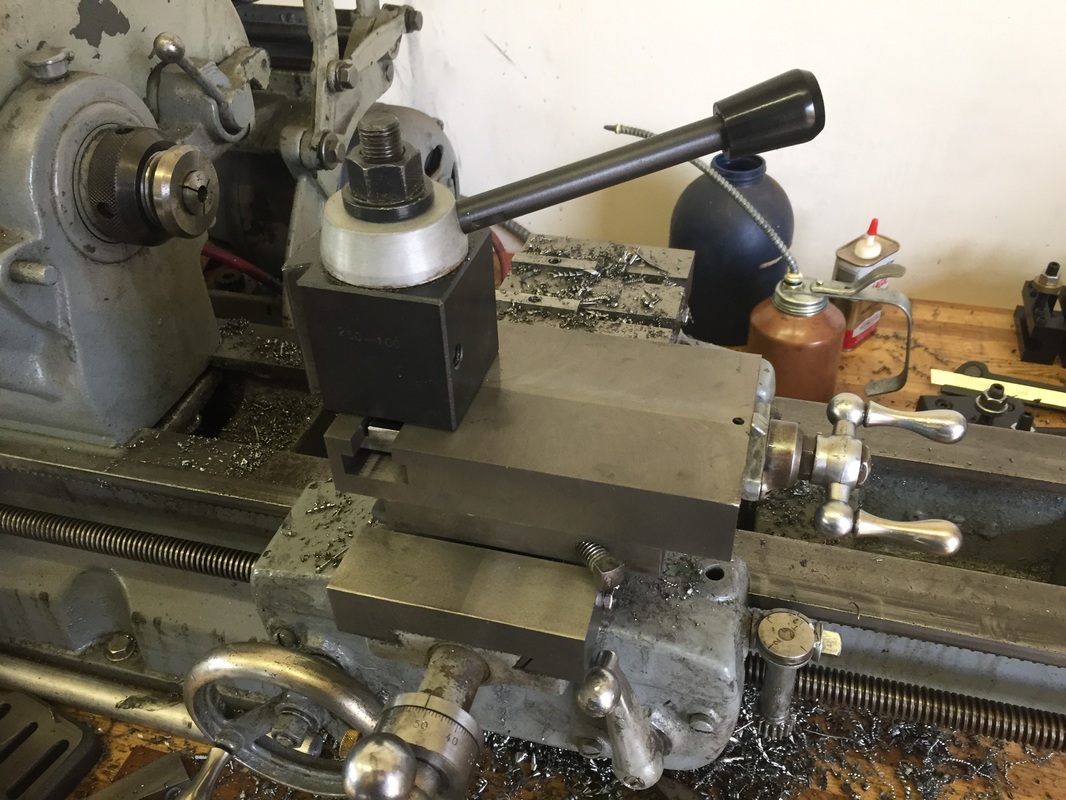 |
About UsImproved Parts is all about exploring interesting and practical manufacturing techniques, solving unique problems that crop up in our everyday life, and GOING RACING! Archives
March 2016
Categories |


 RSS Feed
