|
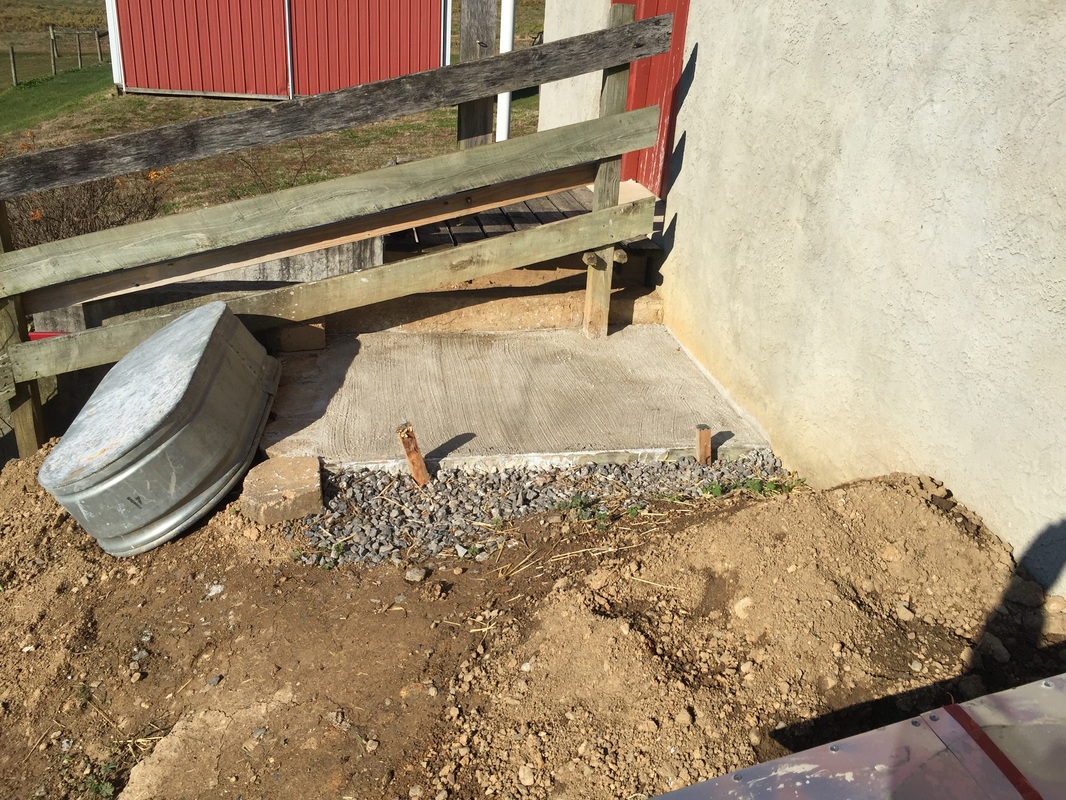
Nothing like some hand mixed concrete to get the blood pumping! My mother's horses have a heated water tank in an insulated box for the winter. It previously sat on dirt, and groundhogs liked to dig holes underneath. We decided to pour a slab for a more permanent installation. Nothing like a Sunday afternoon with 800lbs of concrete mix!
0 Comments
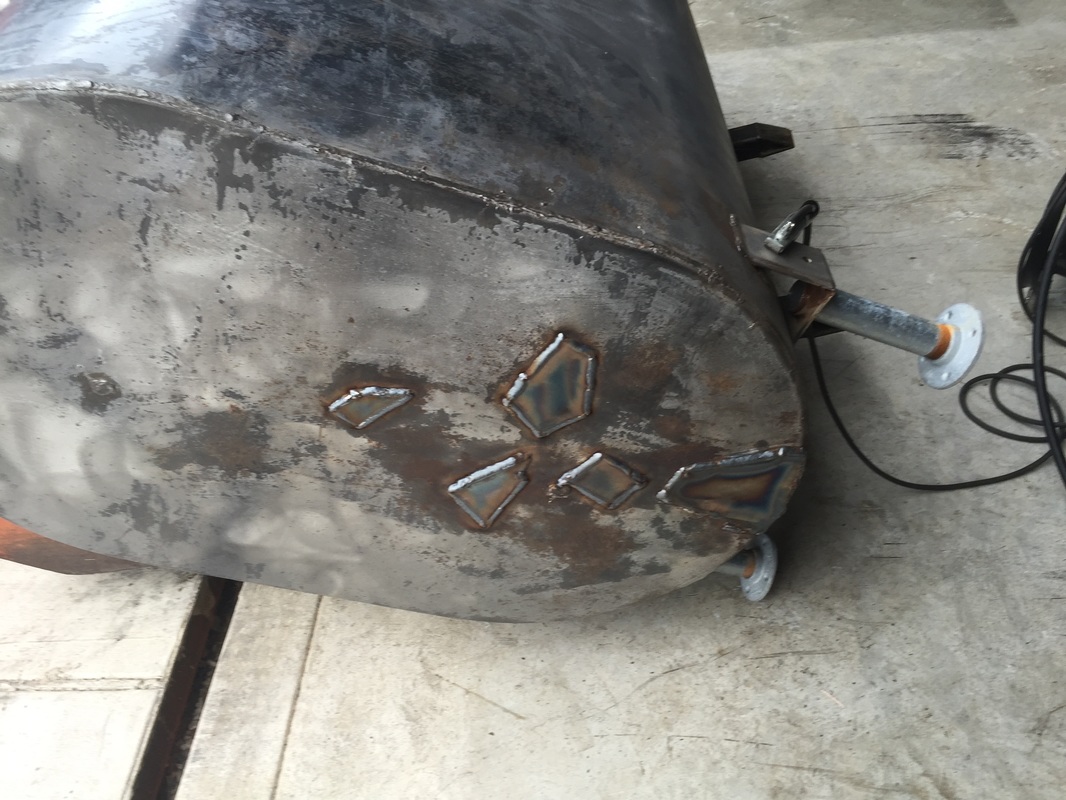
In the spring of 2015, we replaced the two aging oil tanks in the basement of the farmhouse at our family farm with a new oil tank. The old ones were about 75 years old. I picked one to be converted to a waste oil tank. After wire brushing it, I discovered that it had pinholes all over the one end, which was near a stone wall in the basement. I applied a bunch of sheet metal patches (mostly scrap from my collection) and welded them on. Let's just say I welded the heck out of it to patch that baby, and eventually the bit of remaining oil caught fire. I knew this was a risk, and made sure there were plenty of open ports so that it wouldn't go "pop." Don't EVER attempt to weld on a gasoline tank until the fumes are completely removed. In this case, the risk was low because oil is difficult to ignite and there wasn't much of it. But it did make a lot of smoke and rumbled quite a bit!
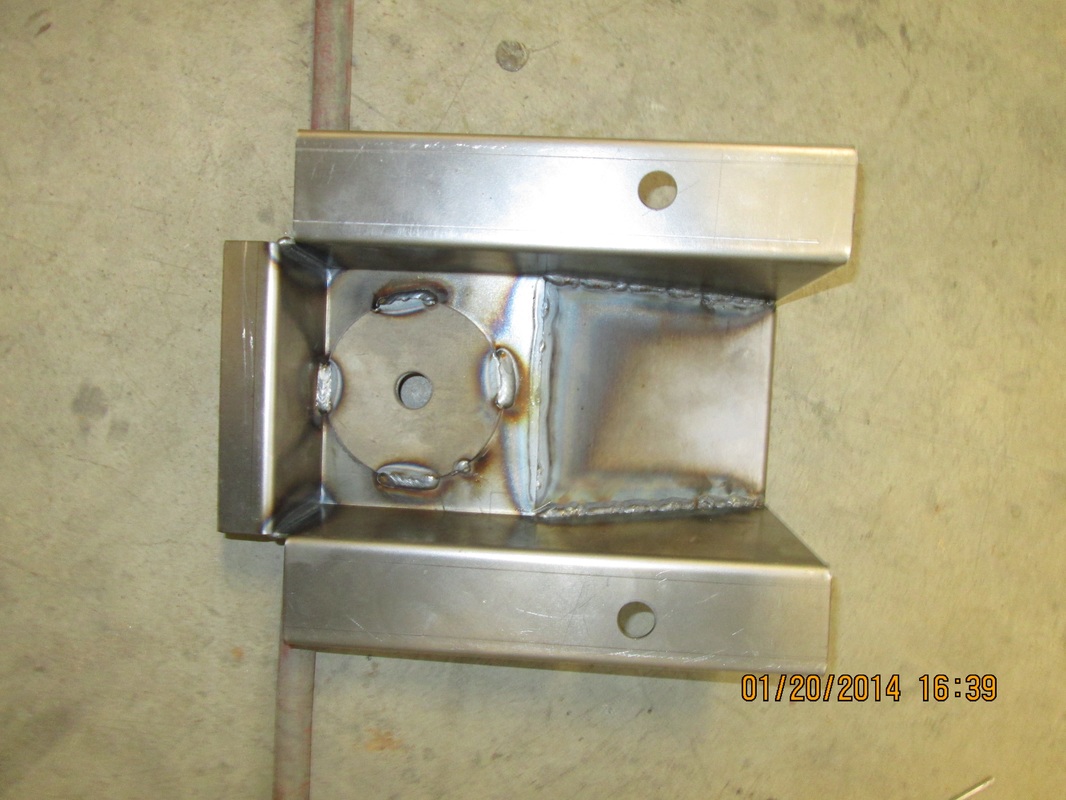
After wire brushing and patching, we degreased, etched, painted with POR-15, primed, and painted barn red. It goes well with our "blue" building, where it sits out front on a slab. It should be good for about 10 years of waste oil. At which point I'll call for a pickup. I suspect the paint job we gave it will be good for most of another 75 years. So during the truck restoration, it became obvious that the cab mounts on the body side were horrendously rotted. The front and rearmost mounts were available, but the extended cab has a middle mount which is specific to the extended cab trucks. This mount wasn't available as a stamping from the usual sources, so I had to design my own. Some time with Solidworks and I drew up replacement cab mounts made from bent 13 gauge steel. My friend Bob at B&S Sheet Metal in Hawthorne, NJ (a fellow racer) agreed to laser cut some blanks and bend them on his CNC bender on a Saturday. The body shop was able to do a little fitting to get them in, and they worked great. Good as new!
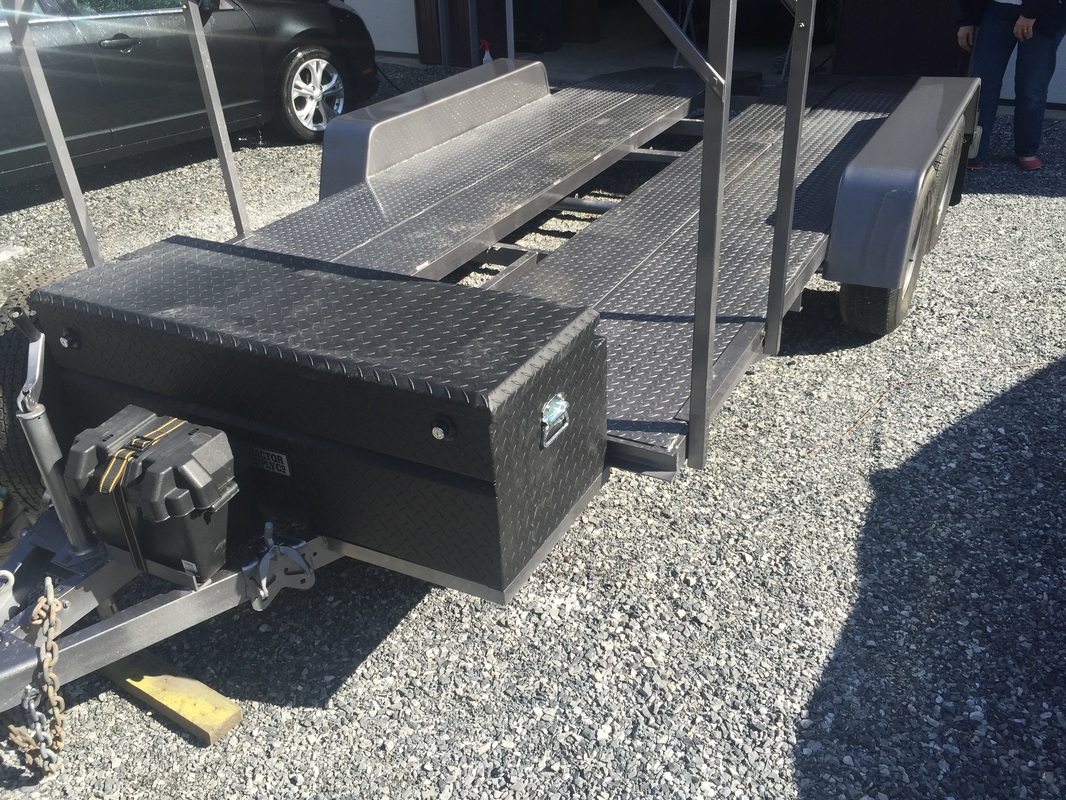
So I decided that my open car trailer needed a refresh. A previous owner had done a roll-on paint job which would routinely peel up as sticky race tires rolled over them. They had also shoddily rewired the trailer, stretching wires taut to make them reach. Very aggravating as I would often have grounding issues with the brake and signal lights. That, plus rotten fenders made for a bit of a project. I had the entire thing painted and rewired by my favorite body shop, Weaverland Custom Paint, in Narvon, PA. I had it and some other race car parts sandblasted and sprayed in a graphite color of their choice. Turned out great! Then got it rewired at my local trailer shop.
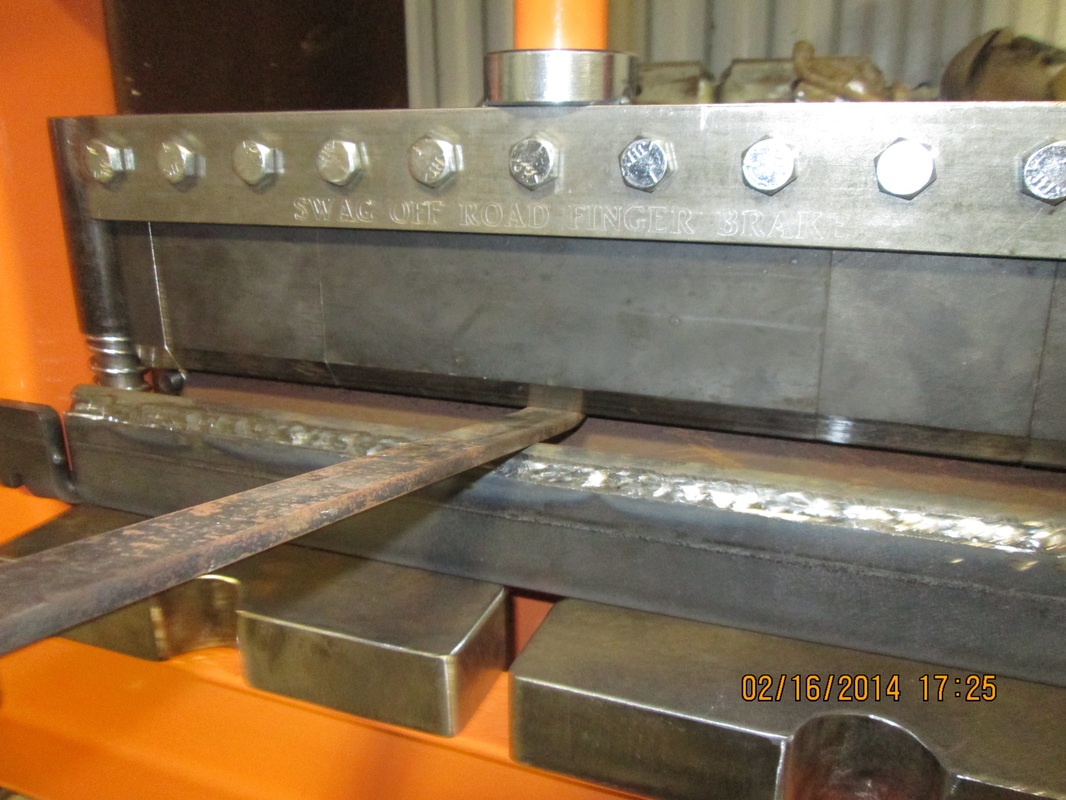
My second major welding project was to build the Swag Offroad Press Brake kit for the 20 ton Harbor Freight press. I wanted a brake, and rarely need anything wider than 18" or so. I liked the finger brake features, and only occasionally need to bend things. It was a great welding project, but I should have bought the light duty model instead of the heavy duty model because it bends a sharper radius, and is more suitable for thinner gauges. You can make up inserts for the bottom die to tighten the radius, but I haven't gotten around to it yet. Like the wheel/jack stand dollies, I finished it in Rustoleum "Topsail Blue." Also came out great.
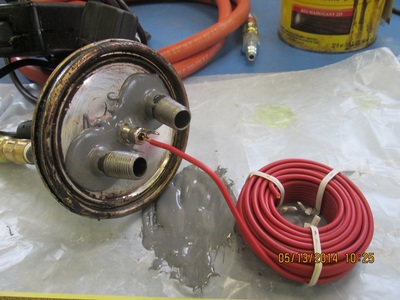
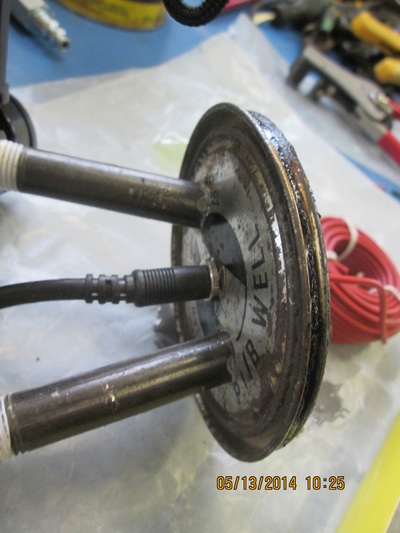
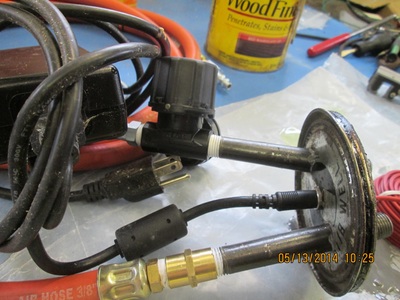
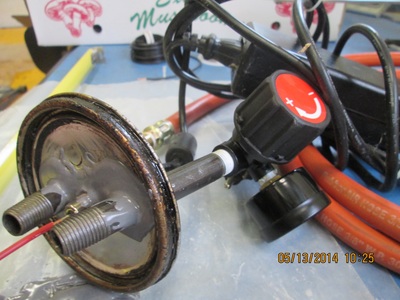
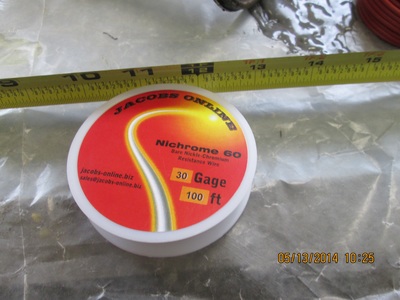
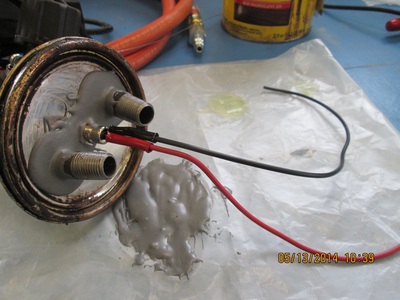
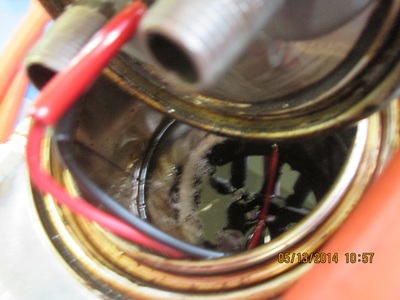
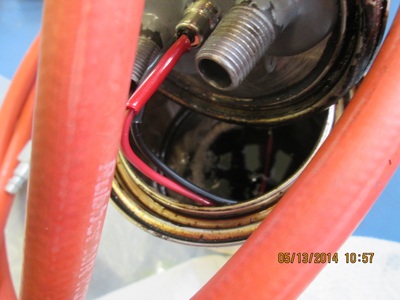
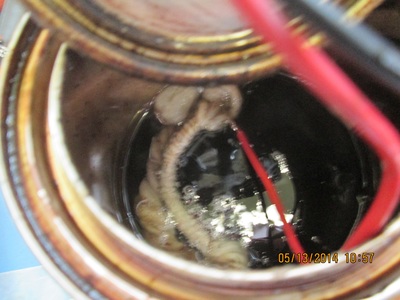
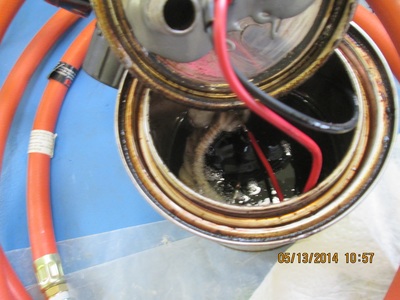
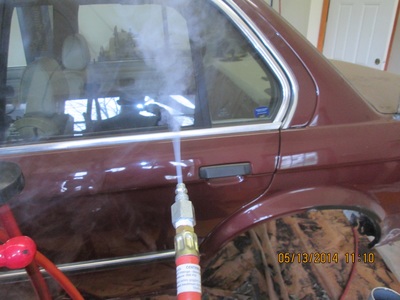
During an aggravating troubleshooting session with the miss on my race car, I decided to build a smoke machine to check for vacuum leaks. A paint can, some NPT fittings, a regulator, a power supply, and some nichrome wire, and some mineral oil. Done deal!
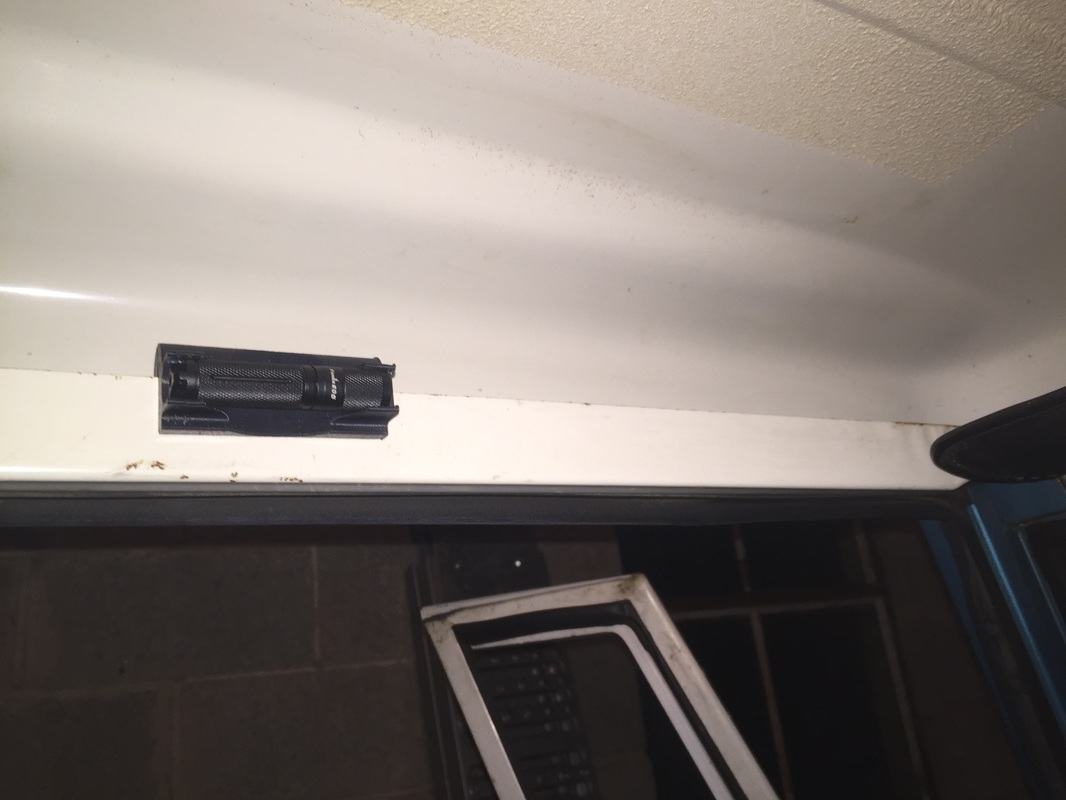
So I decided that the clunky old incandescent flashlight in my International Harvester Scout was in need of replacement. I've been a big fan of the Fenix E05 flashlights. They take a AAA battery and are incredibly bright. 85 lumens on the maximum setting. At $20 each, I consider it a great value. I designed a flashlight holder that snaps over the lip on the travelall top, just above the door. This will fit over any sheet metal lip of about 0.050" thickness or thereabouts. It also has a slot for a magnet to help hold the holder on the sheet metal lip if needed, but it wasn't needed. Very handy, and a snap fit on the flashlight. It took a few design revisions, but I'm thrilled with how it came out. STL files are available on request. If there's interest, I'll post the file on Thingiverse or Repables.
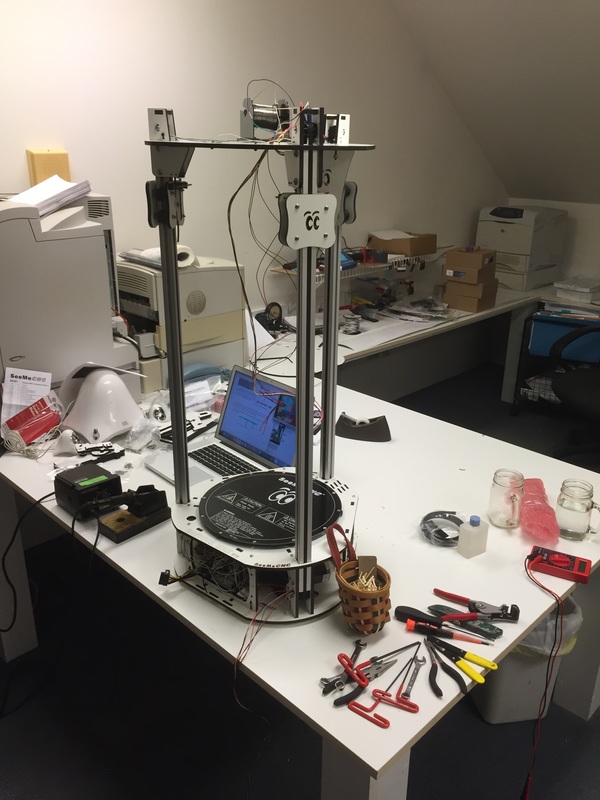
As a Christmas present for my father in December 2014, I decided to get my father a Rostock Max v2 kit. And of course, assembly was included! About 20-25 hours of work, and I got it together. I've attached a few pictures of the process. I'm very pleased with the result, but like any non-commercial product, it's a kit and requires some DIY type fiddling. After assembly I had trouble with the supplied power supply not keeping a constant voltage output under load, so I elected to upgrade to a 24V bed heater and separate 12V hot end power supply. Though the folks at SeeMeCNC happily gave me a replacement supply, I elected for a more "industrial" solution. These heat much more quickly, so it's handy for getting prints started fast. It took a few more hours to get wired up, and there have been plenty of additional improvement projects along the way. Eventually I'd like to do an enclosure because the white ABS I've been working with has been very troublesome.
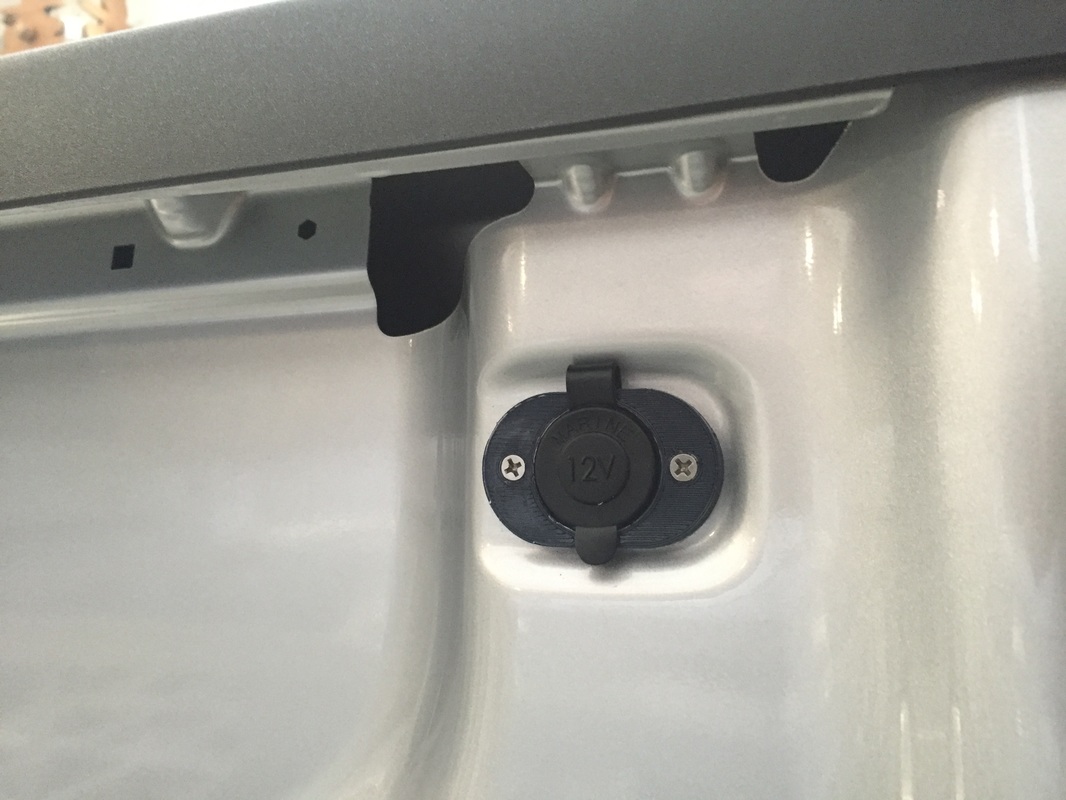
Using the factory openings for added tie down mounts, I 3D printed parts to mount an MPD-212 model marine grade 12V accessory outlet in the opening. The jack has to be sanded down because it's exactly 1mm wider than the opening, but once that's done, the clamps work nicely. I could provide STL files for the parts if anyone's interested.
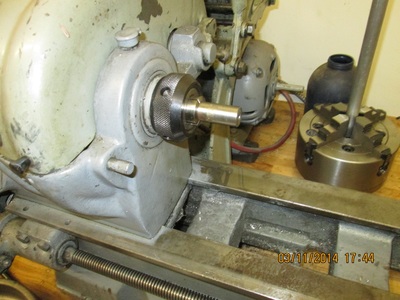
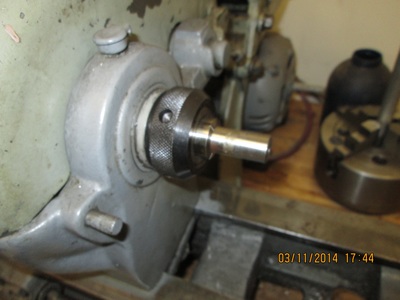
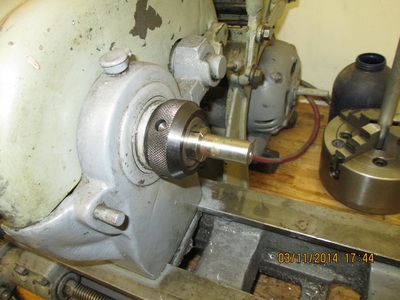
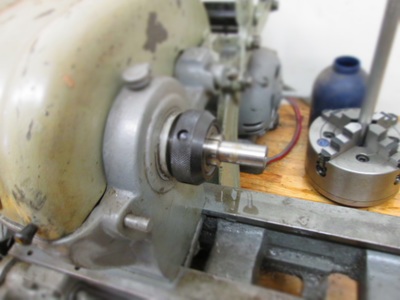
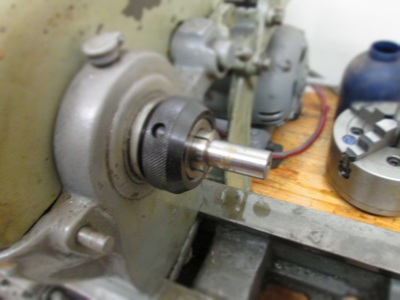
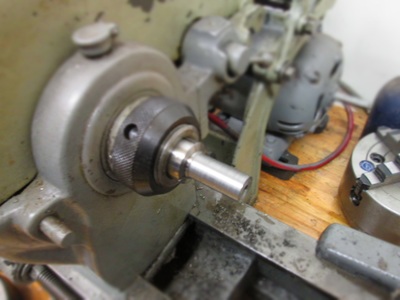
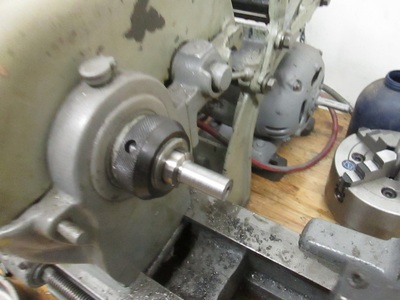
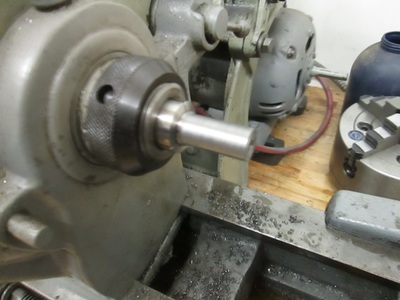
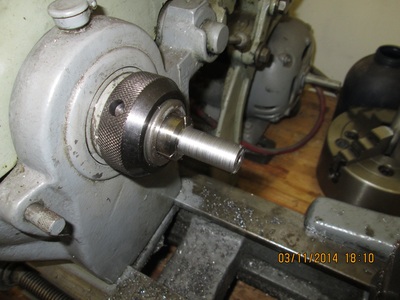
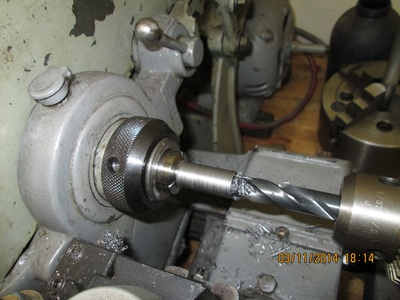
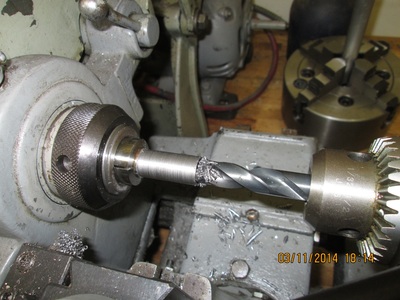
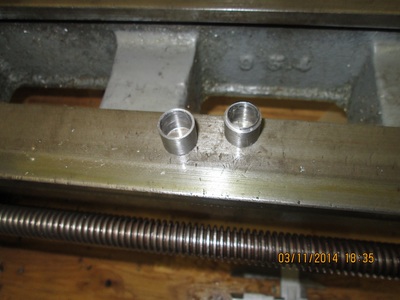
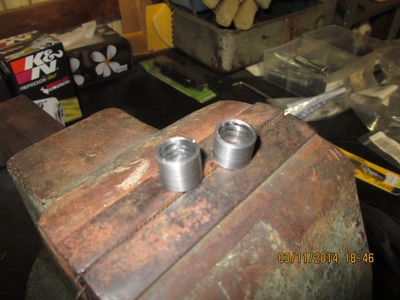
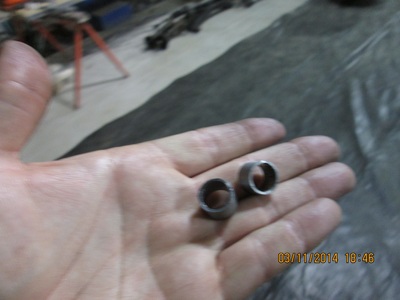
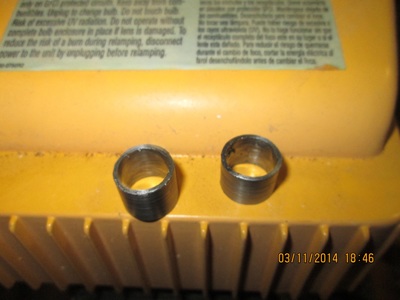
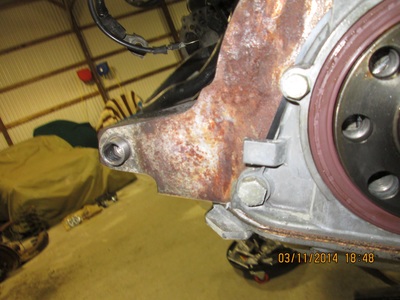
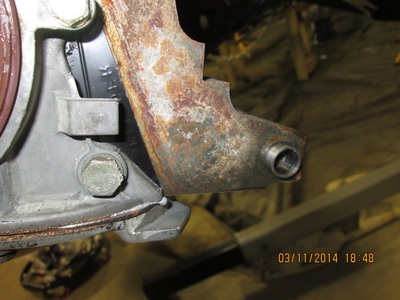
Regarding wiring, I have a factory tow package, so there's already a trailer jack wired up at the back bumper. It uses a Pollack style connector on the vehicle side, so I bought a Pollack gooseneck harness kit that goes in between the trailering harness and the trailer connector on the bumper. I'm tapping into the trailer accessory power wire on the gooseneck harness, then running power and ground from the gooseneck harness around the bed to at least three locations. This isn't done yet, but should be an easy job. For the moment, I'm focused on getting the race car ready. The purpose of this modification? To give me easy to access power for my laptop and such at the track! And DC power adapters for your laptop are a lot less fuss than an inverter and regular laptop power adapter. While swapping an engine in my race car, the junkyard engine I was installing was missing the necessary alignment dowels to align the transmission to the engine. So about 2 hours of lathe work later, and we're all fixed up!
|
About UsImproved Parts is all about exploring interesting and practical manufacturing techniques, solving unique problems that crop up in our everyday life, and GOING RACING! Archives
March 2016
Categories |
 RSS Feed
