|
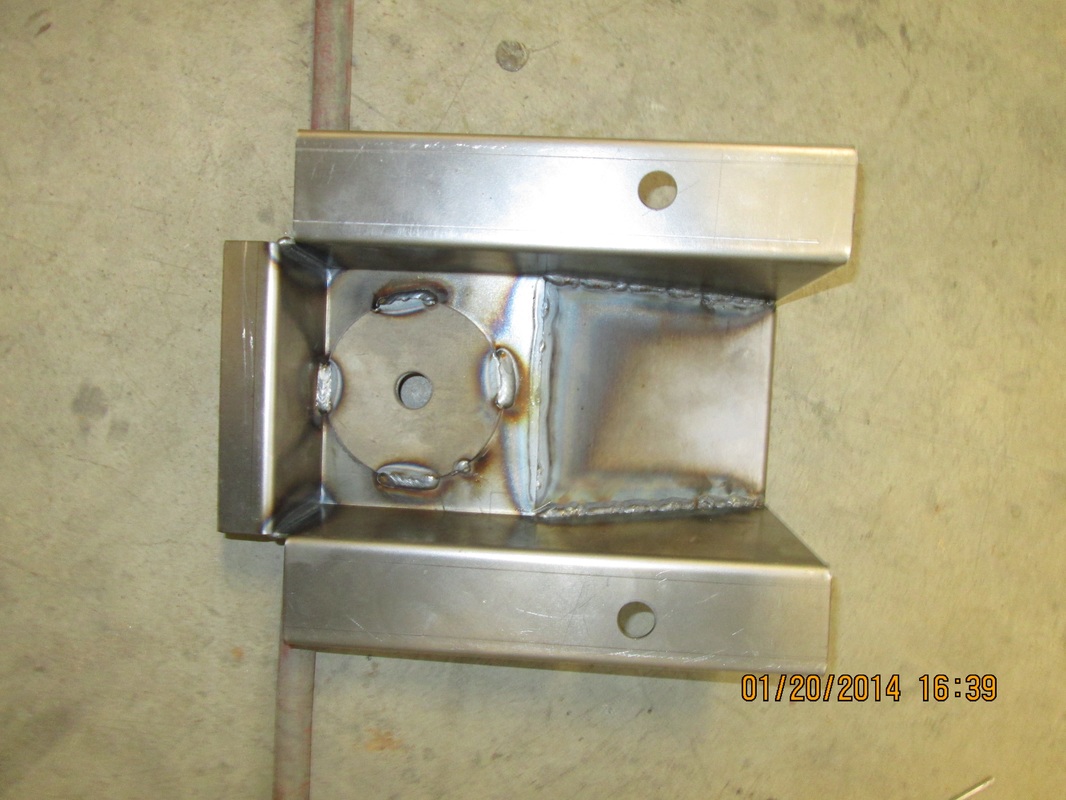
So during the truck restoration, it became obvious that the cab mounts on the body side were horrendously rotted. The front and rearmost mounts were available, but the extended cab has a middle mount which is specific to the extended cab trucks. This mount wasn't available as a stamping from the usual sources, so I had to design my own. Some time with Solidworks and I drew up replacement cab mounts made from bent 13 gauge steel. My friend Bob at B&S Sheet Metal in Hawthorne, NJ (a fellow racer) agreed to laser cut some blanks and bend them on his CNC bender on a Saturday. The body shop was able to do a little fitting to get them in, and they worked great. Good as new!
0 Comments
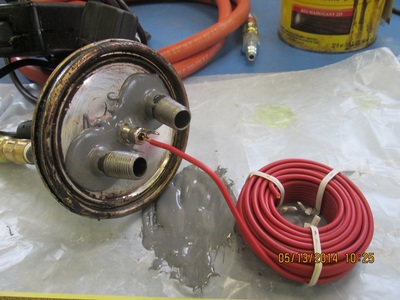
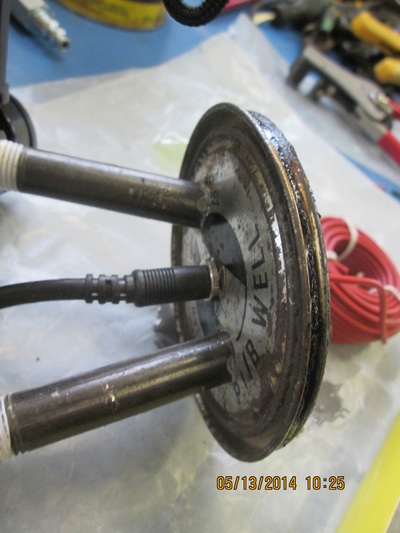
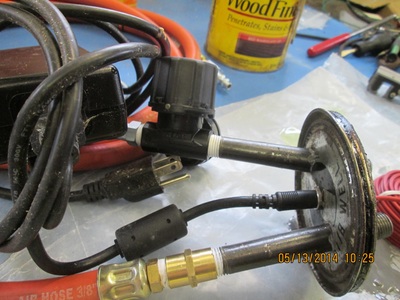
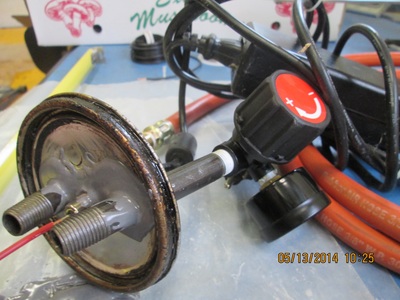
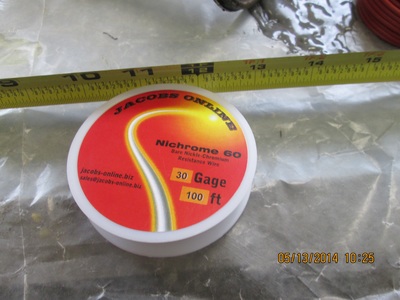
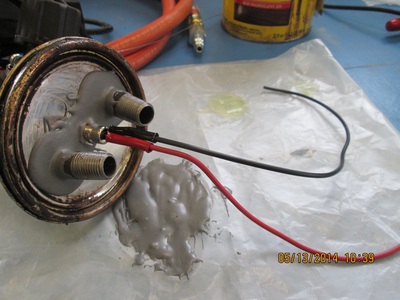
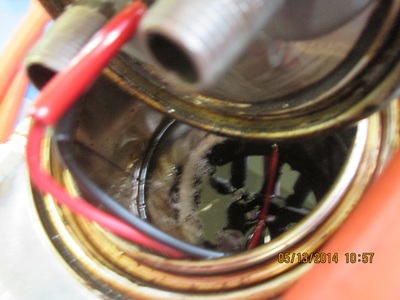
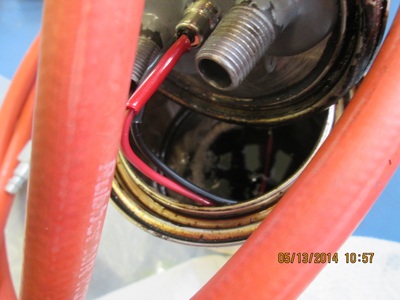
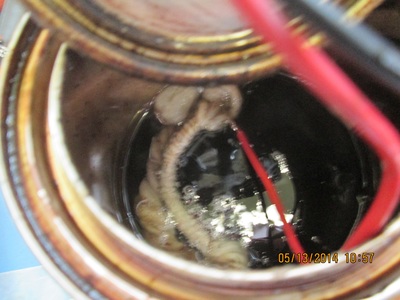
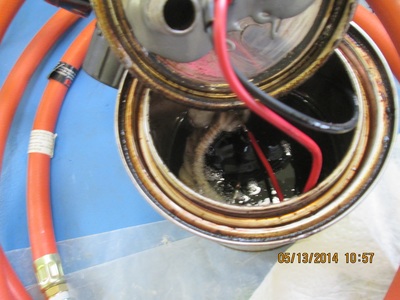
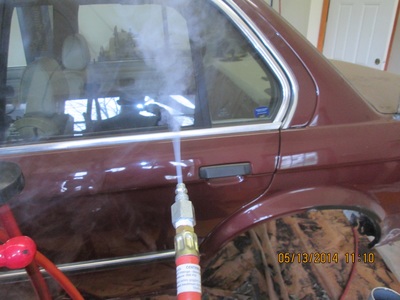
During an aggravating troubleshooting session with the miss on my race car, I decided to build a smoke machine to check for vacuum leaks. A paint can, some NPT fittings, a regulator, a power supply, and some nichrome wire, and some mineral oil. Done deal!
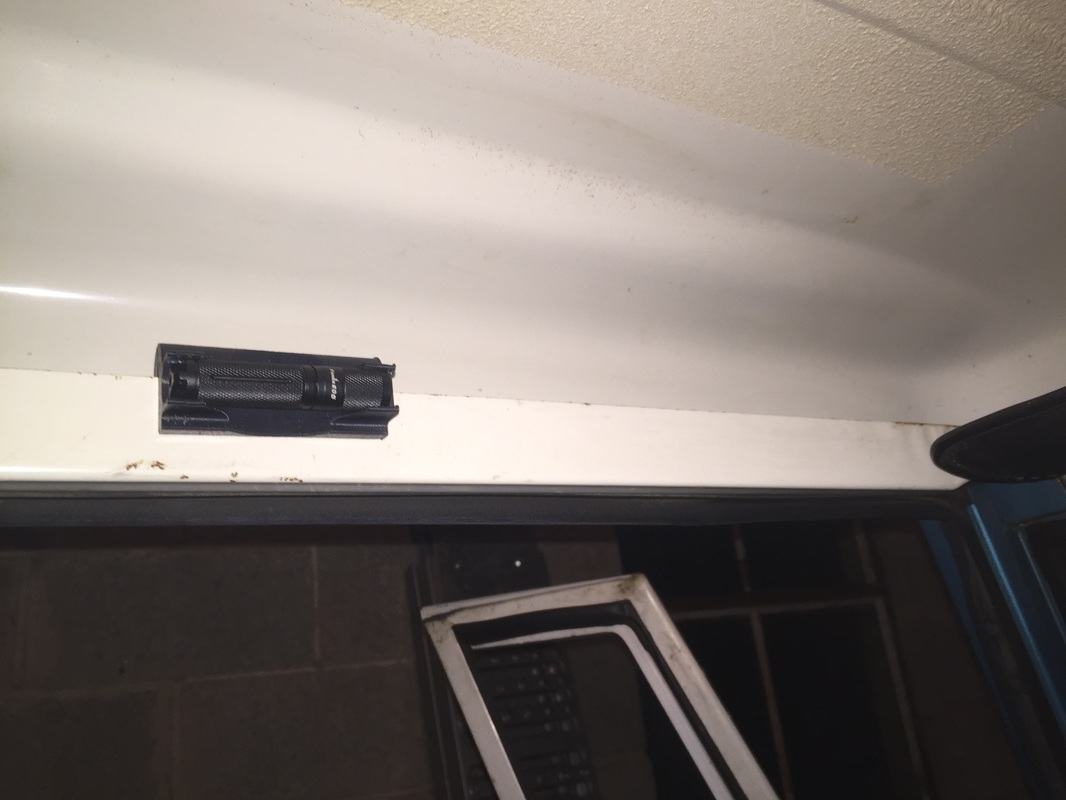
So I decided that the clunky old incandescent flashlight in my International Harvester Scout was in need of replacement. I've been a big fan of the Fenix E05 flashlights. They take a AAA battery and are incredibly bright. 85 lumens on the maximum setting. At $20 each, I consider it a great value. I designed a flashlight holder that snaps over the lip on the travelall top, just above the door. This will fit over any sheet metal lip of about 0.050" thickness or thereabouts. It also has a slot for a magnet to help hold the holder on the sheet metal lip if needed, but it wasn't needed. Very handy, and a snap fit on the flashlight. It took a few design revisions, but I'm thrilled with how it came out. STL files are available on request. If there's interest, I'll post the file on Thingiverse or Repables.
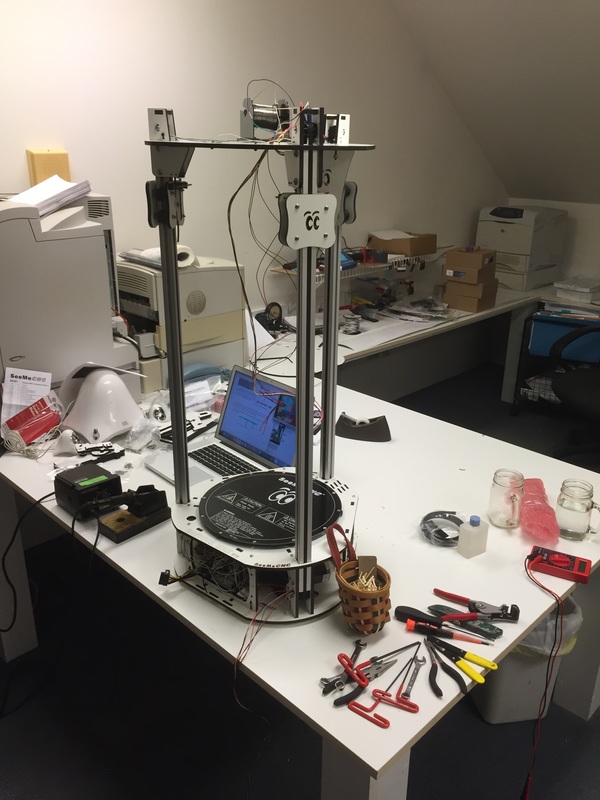
As a Christmas present for my father in December 2014, I decided to get my father a Rostock Max v2 kit. And of course, assembly was included! About 20-25 hours of work, and I got it together. I've attached a few pictures of the process. I'm very pleased with the result, but like any non-commercial product, it's a kit and requires some DIY type fiddling. After assembly I had trouble with the supplied power supply not keeping a constant voltage output under load, so I elected to upgrade to a 24V bed heater and separate 12V hot end power supply. Though the folks at SeeMeCNC happily gave me a replacement supply, I elected for a more "industrial" solution. These heat much more quickly, so it's handy for getting prints started fast. It took a few more hours to get wired up, and there have been plenty of additional improvement projects along the way. Eventually I'd like to do an enclosure because the white ABS I've been working with has been very troublesome.
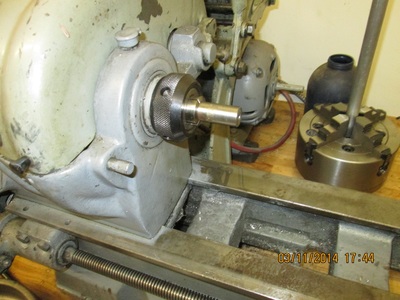
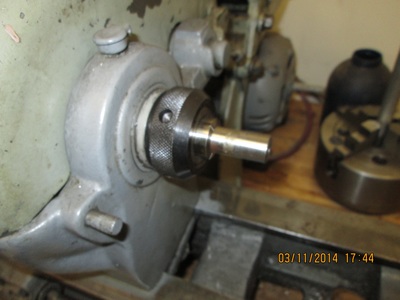
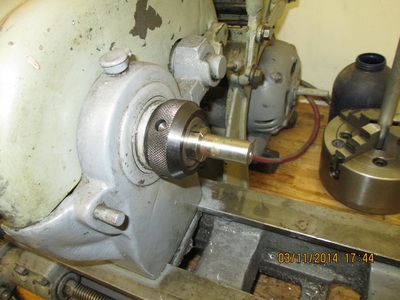
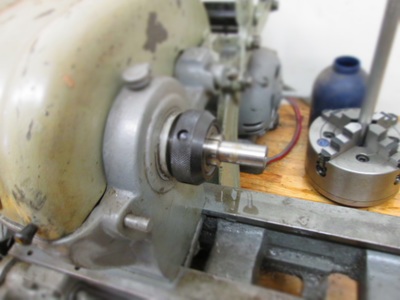
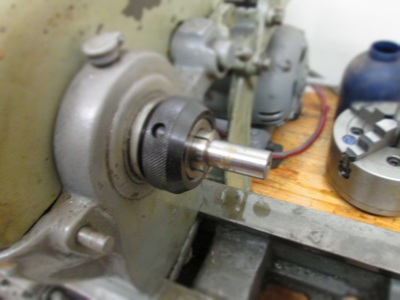
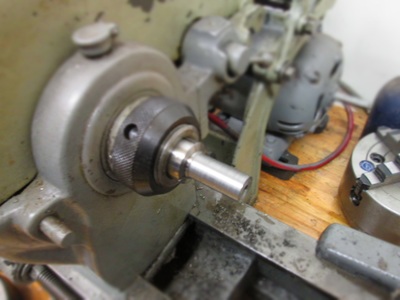
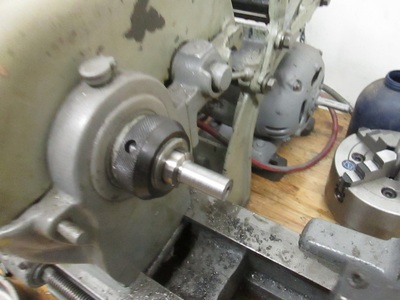
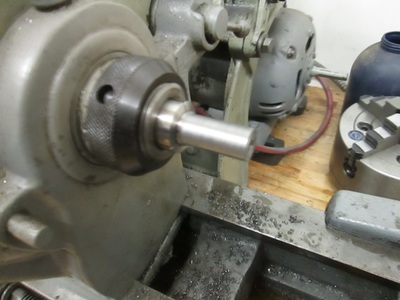
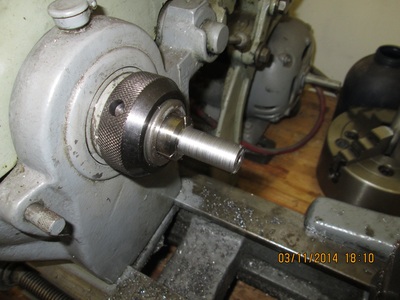
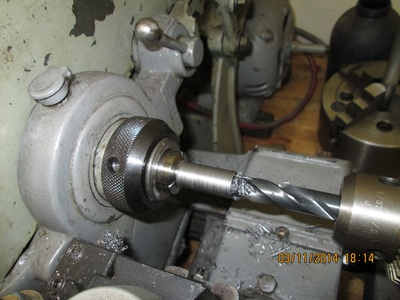
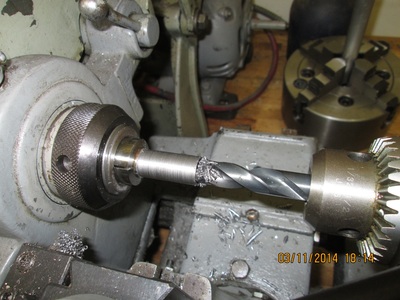
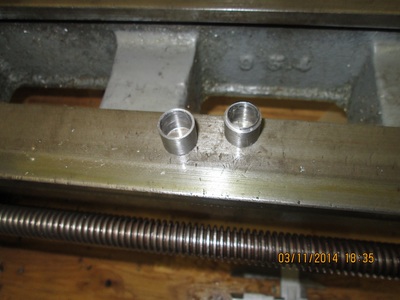
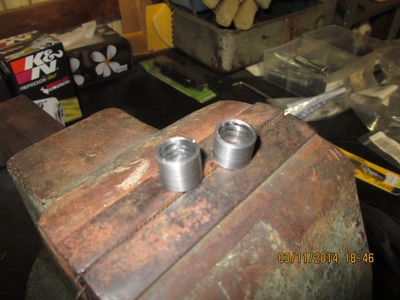
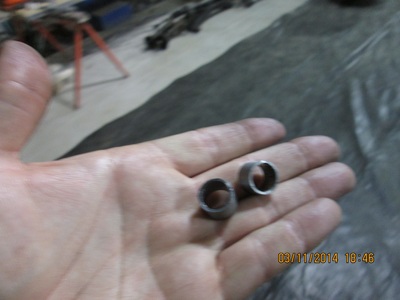
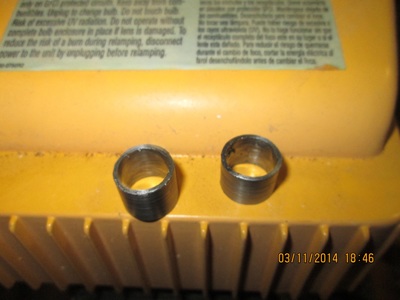
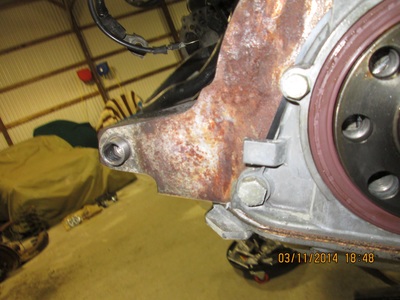
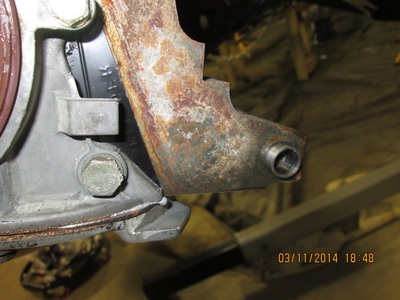
While swapping an engine in my race car, the junkyard engine I was installing was missing the necessary alignment dowels to align the transmission to the engine. So about 2 hours of lathe work later, and we're all fixed up!
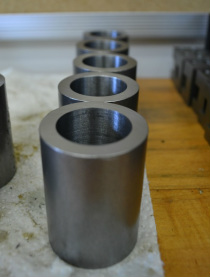
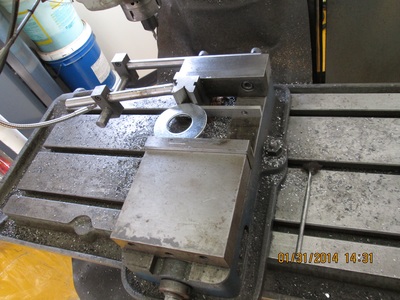
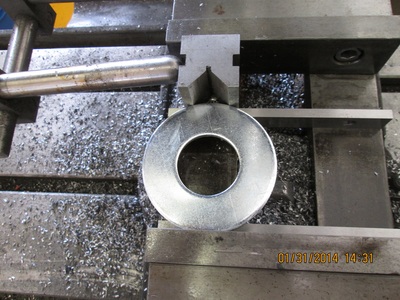
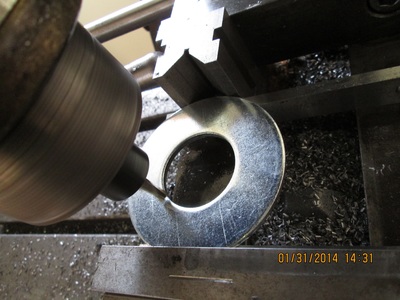
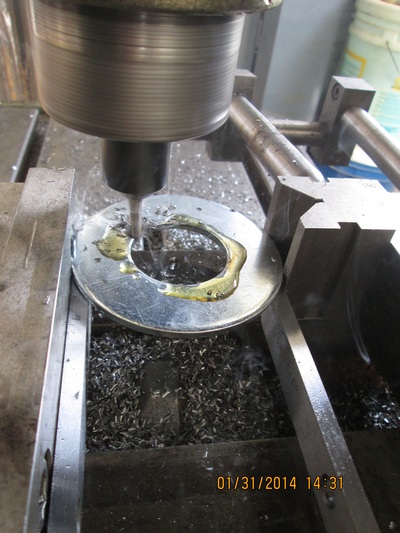
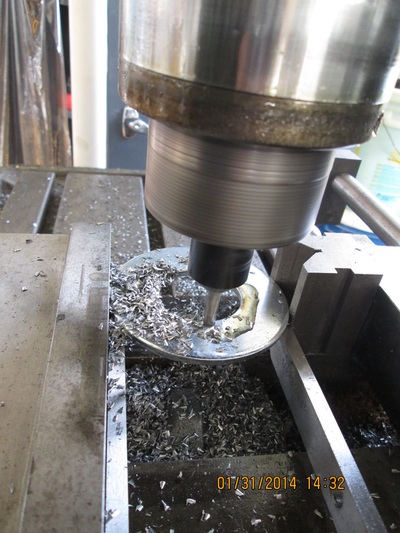
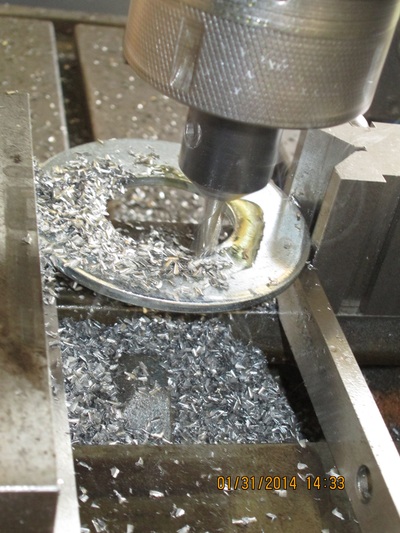
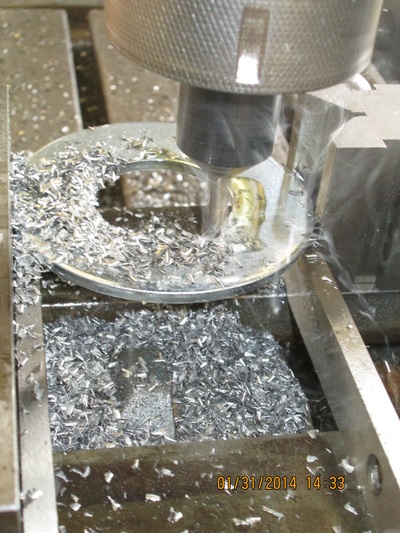
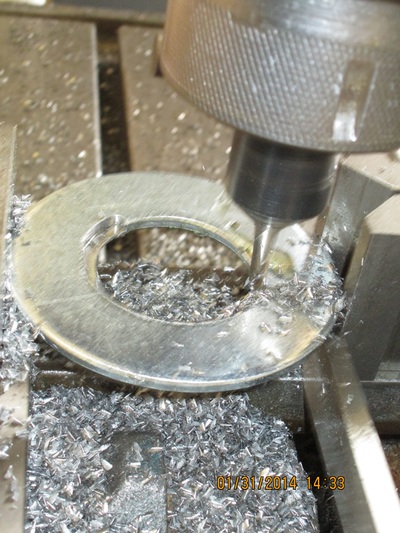
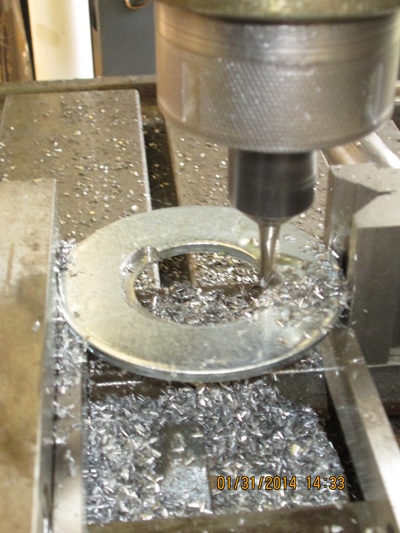
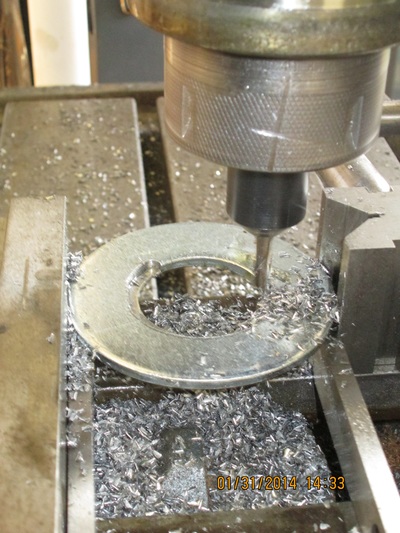
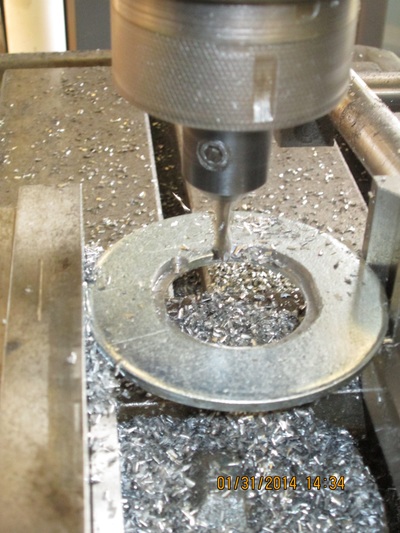
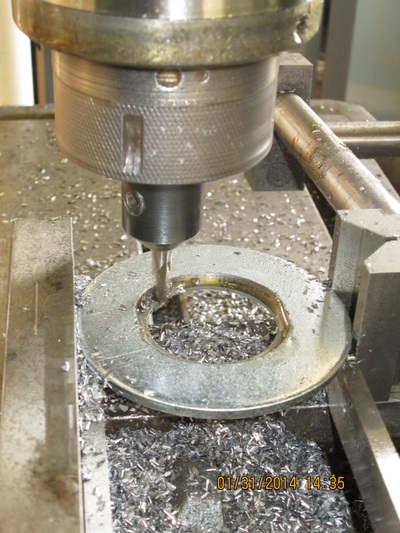
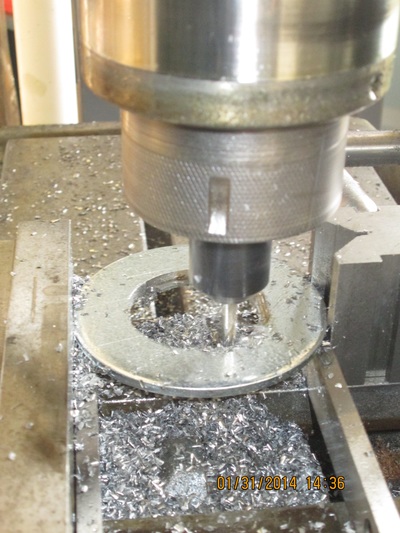
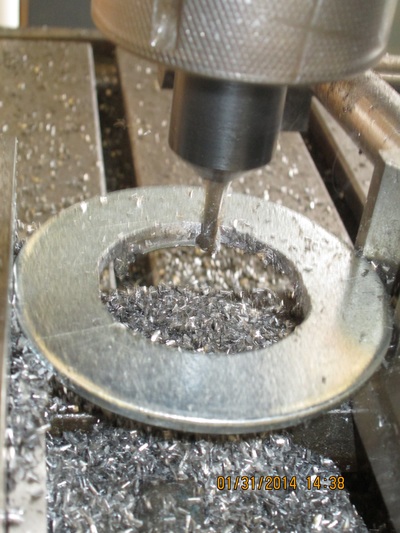
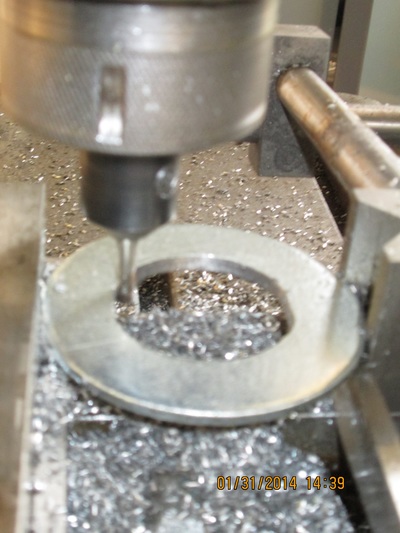
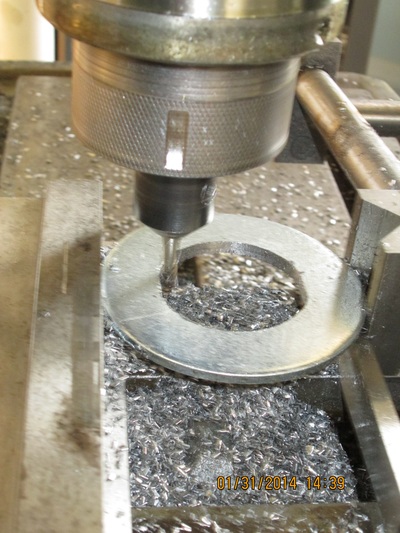
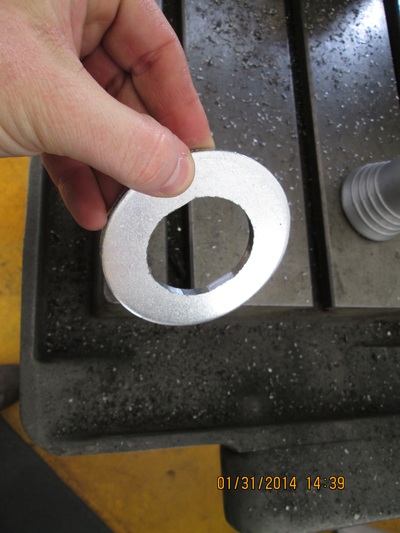
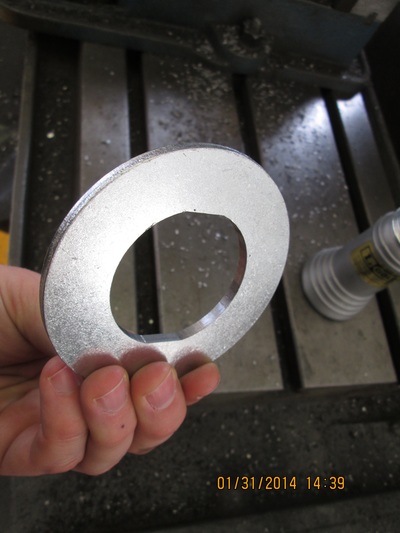
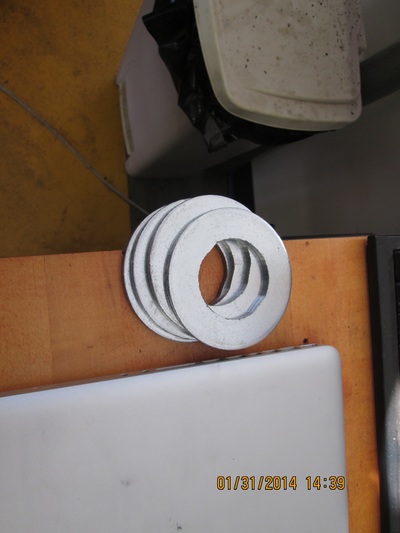
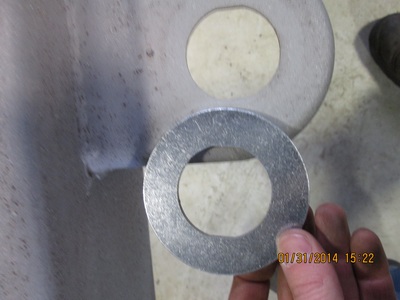
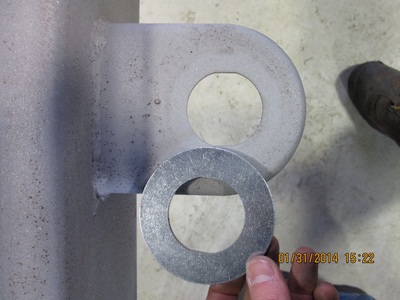
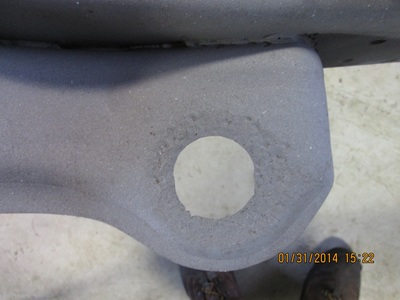
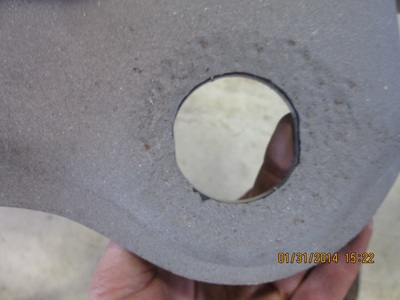
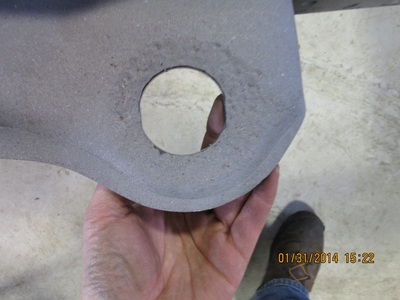
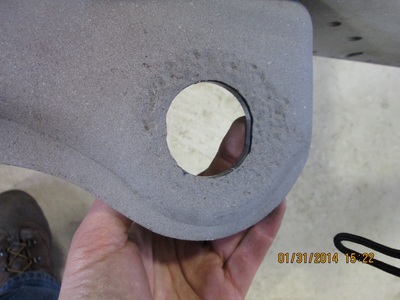
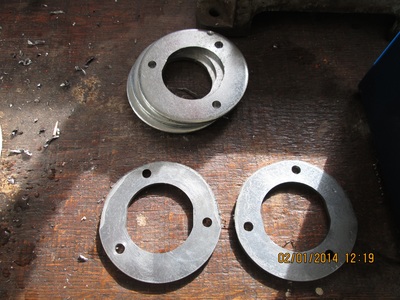
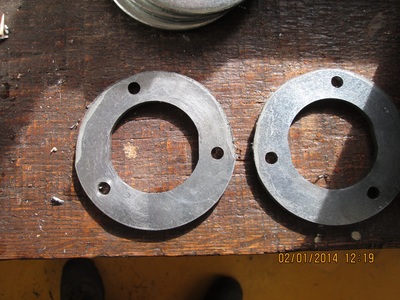
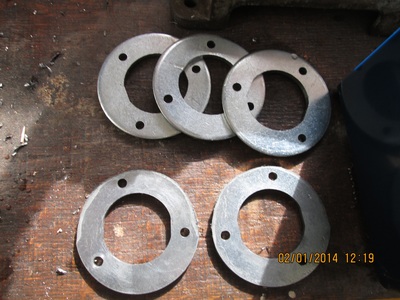
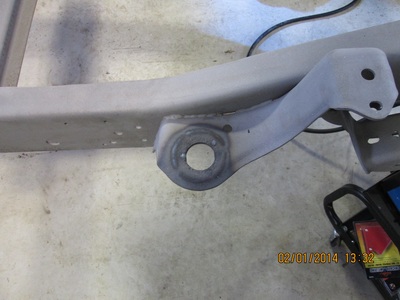
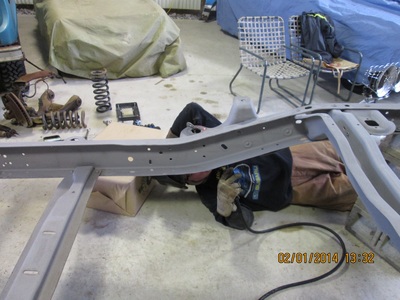
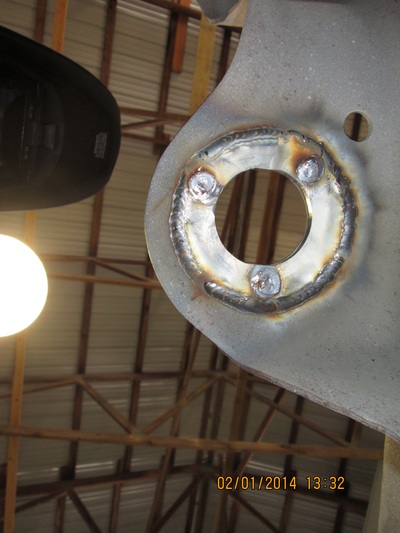
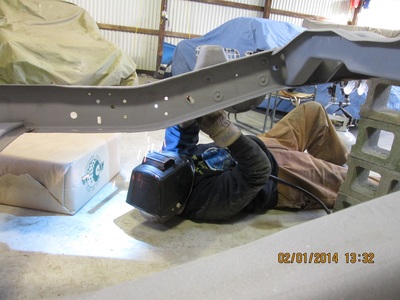
Though I haven't yet organized all my material on the '91 Chevy 1500 restoration I'm working on, I decided to post a little project I did to reinforce the body mount points on the frame of our '96 frame, which was acquired to replace the incredibly rusty '91 frame that was original to the truck. I bought large diameter washers from McMaster Carr and machined the inside profile to match that of the body mount. They came out great! I only needed one, and a racer friend of mine came and welded it in for me. Since he's a professional welder, he did a much better job than I could have.
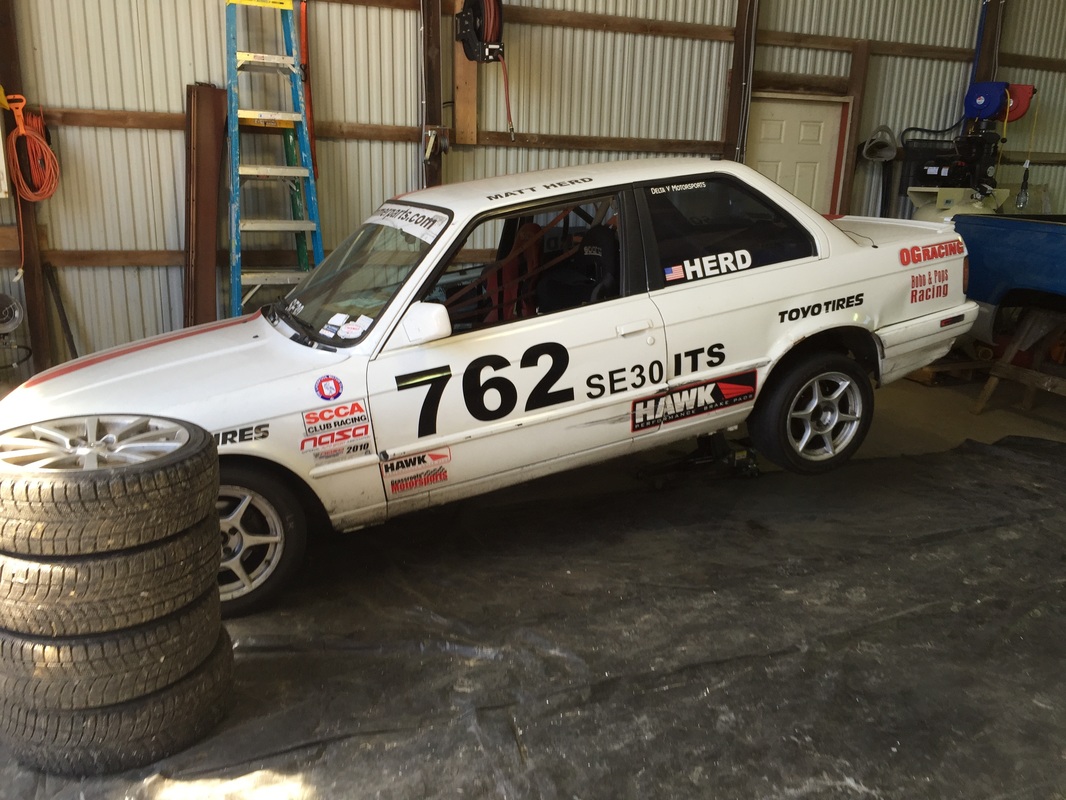
After discovering an issue with excessive toe out in the rear of my race car, I decided to drop the whole rear suspension and rebuild it. As another SpecE30 racer once said, "Toe out in the rear of an E30 will scare God." Seemed drivable to me! The bushings were pretty worn out and I found I had a bent left trailing arm when I went to reassemble everything. Fortunately I had a spare left trailing arm. It just needed reinforcements welded, bearings removed, and a little painting. I had to modify a pitman arm puller to get the subframe bushings replaced and the bearing replacement required a harbor freight service tool kit and my 20 ton press. But it went smoothly after some finagling.
 Hi! My name is Matt and I run ImprovedParts.com. Welcome to our new website! Here you can find information related to my various projects and products. Also, I will be posting information related to my racing activities here! Recently I competed at the 2012 Weatherly Hill Climb and the Pagoda Hill Climb in Reading, PA. Please take some time to check out our shop! |
About UsImproved Parts is all about exploring interesting and practical manufacturing techniques, solving unique problems that crop up in our everyday life, and GOING RACING! Archives
March 2016
Categories |

 RSS Feed
