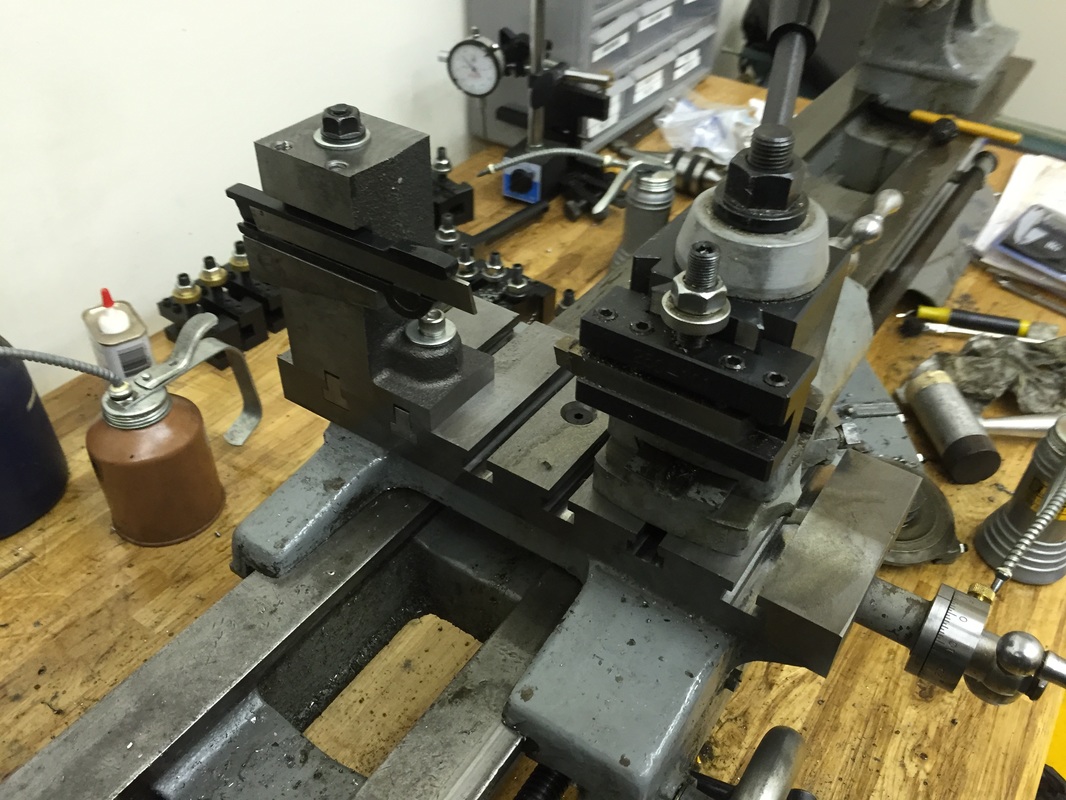
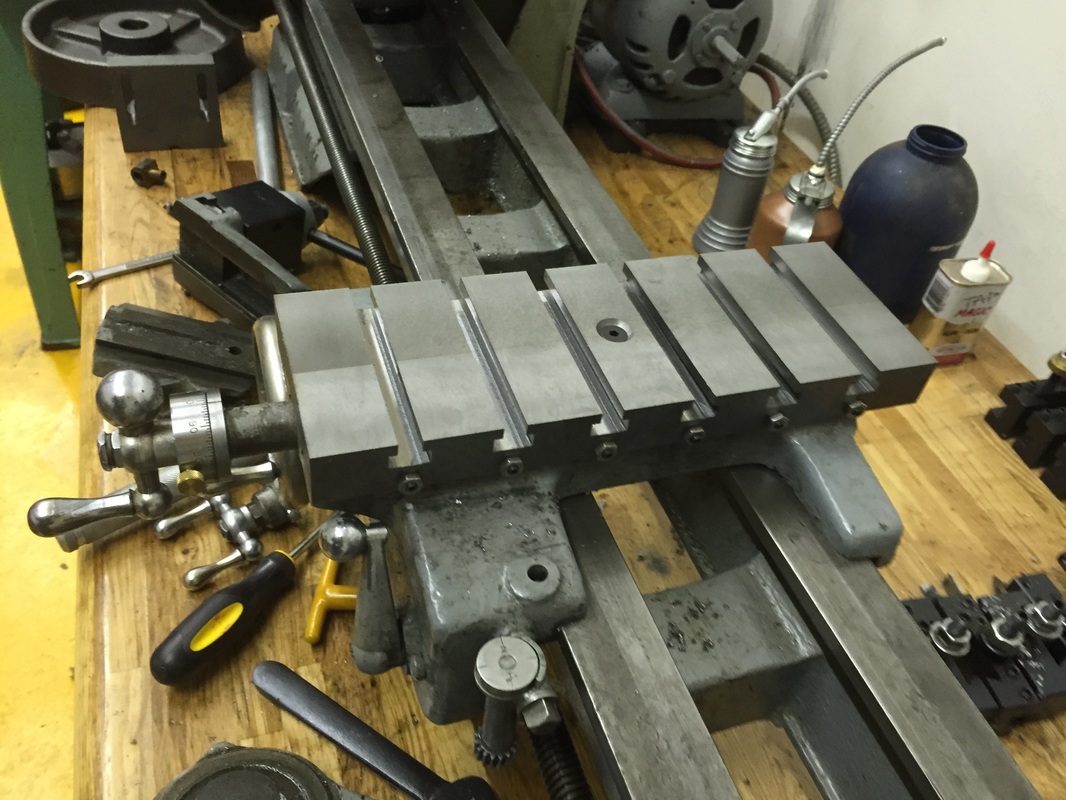
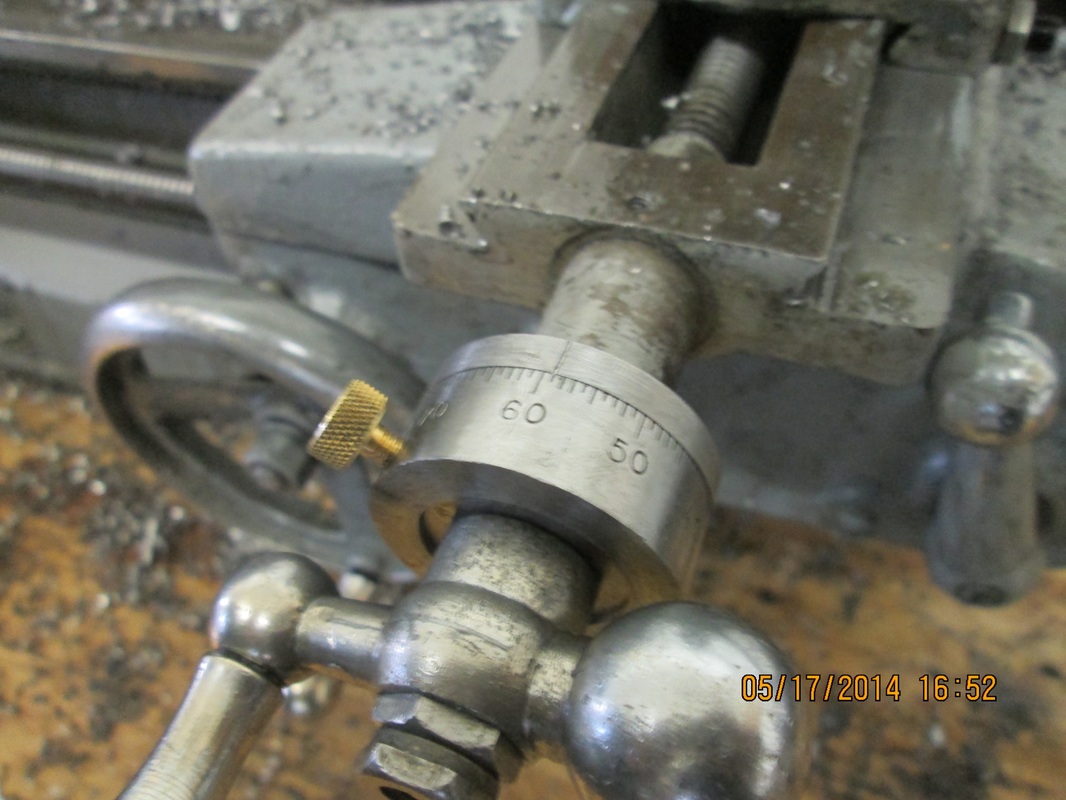
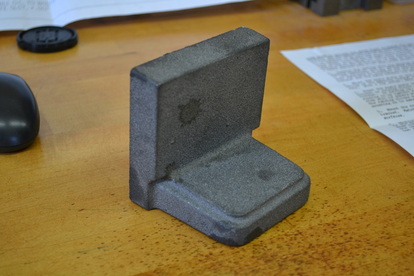
After I completed the cross slide, I moved on to the compound rest project. I made a pair of t-slot nuts to mount it in the cross slide t-slots, and did some machining. This was almost all done on the CNC mill. It went much faster than the cross slide, but was also relatively simple. Again, the 3" face mill ripped through the cast iron, and much of the project is machining the casting faces. There is some slotting and some drilling, but that wasn't a huge part of it. Finally, a wedge had to be made. That involved some shaper work (easier than fixturing the piece on the mill), which was delicate due to the setup, but came out excellently. Unfortunately, this part still has not been installed because I broke a tap on the last tapped hole. It's currently at a shop with EDM capabilities. It took quite a while to find one locally, so it sat on the bench for a while. A failed attempt to make my own EDM put this project on hold until the shop could be located. I hope to have it installed in a few weeks once it's back from the machine shop.
0 Comments
This was another casting I bought from Metal Lathe Accessories, as I mentioned before in the angle plate project. I don't appear to have photographed the complete machining process. The bulk of this was done on the CNC Bridgeport, so the hand programming was a bit painstaking. First I decked all 6 sides flat and perpendicular using my (at that time recently acquired) Glacern 3" face mill.
I decided that my Atlas Lathe needed larger dials on the cross slide and compound rest. This decision was made after discovering the Tallgrass Tools kits ... nothing like a good online discovery to prompt a purchase! I bought the pre-engraved dial kits for both the cross slide and the compound rest, which came looking excellent and have excellent instructions. The cross slide parts were easy to machine and I had the whole thing together in two days of weekend work at a leisurely pace. I decided to leave the compound rest kit for later machining. Though I could have gotten slight better fit and finish, I was reticent to take off too much metal on some of the operations so I left it on where not absolutely necessary.
In my internet travels, I saw that Metal Lathe Accessories had a number of interesting lathe castings and finally broke down and bought a few of them. The quality appears excellent, and they offer several great upgrades for small lathes, including my Atlas 10" lathe. The Atlas certainly isn't the same caliber as my Bridgeport, but it's a handy little machine. I wanted to make it more useful, so I decided to pick up a proper faceplate, angle plate (for use on the face plate), cross slide casting (with T-Slots), a parting tool holder that fits on the back of the cross slide, and, while I was at it, the MLA Diesel plans as a 'someday' project. I ordered via mail and am very pleased with the quality of the castings. Initially I debated about which one to start first. For instance, the cross slide casting should probably be done before the parting tool holder, as the height above the cross slide is determined by the cross slide itself. The cross slide requires dovetail and T slot cutters, which I don't have yet. Best to choose one that I already have the tools & equipment to finish as my first project, so the lathe faceplate it is! I had a little toe problem with the rear suspension of my race car. As another racer once said, "Toe out in the rear of an E30 will scare God!" Didn't bother me too much ... So I elected to drop the rear suspension and investigate. Turns out I had a bent trailing arm. And most of the bushings were shot. Fortunately I had a spare left trailing arm, so once I got the bearings out of it and replaced, welded some reinforcements, and did a little painting, we were back in business. Getting the bearings out of the replacement trailing arm was a bear at first, and the press came in handy. As you can see, I also had to modify a pitman arm puller to get the subframe bushings out.
Why would I want a spindle encoder, you might ask. After all, Bridgeport CNC mills of this type didn't have it through the 90's. The Interact mills, which are essentially the same machine with updated controls, still did not have spindle encoders. Why would you want one in any case, you may wonder. Why indeed! My standard answer to questions like these goes something like "why wouldn't you want X?" But this doesn't really answer the question, does it? Ever want to do rigid tapping? Oh yes, the ability to mount a tap in a collet and power tap perfect threaded holes without a need for tapping arms, special setups, etc, etc. All done in CNC. A true marvel of modern technology. Sounds wonderful, doesn't it? Ever think about how you might more fully automate the machine? What if your machine is in backgear and you load a tool that should be run in high gear? How do you automatically detect if the spindle is turning the right direction and adjust speed without any human intervention? A spindle encoder, of course! Though the coding to achieve this feat isn't trivial, it can be done thanks to LinuxCNC and a suitable spindle encoder! Me at The Jump! The weekend started off uneventfully. As is typical, Friday was spent debating the merits of inline 6 cylinder engines. Agreement was unanimous. A good time was had by all ... until the morning came! In the morning, we started off slow, as usual. In the second run, I captured the record by 2 tenths of a second. I was thrilled, until I discovered that Jason had gotten it by 5 tenths. Damn! Unfortunately, not a lot of pictures here. I didn't take screen shots either, so we're a bit graphically challenged! At any rate, this covers testing of the USC board per the Pico Systems procedure through all configs I needed to get the machine to a level that is equal or superior to original BOSS controls. If you aren't interested in automatic spindle speed control or rigid tapping, there's no need to do any more configuration, but I suspect you'll be tempted (like me) to keep tweaking it. That's the beauty of LinuxCNC ... full configuration should you so desire. If not, then you're done!
The next step is what we've all been waiting for ... putting it back together! Read on for a blow by blow of my adventures. This section includes key information like what to connect where, etc. I'll draw up a wiring diagram and publish my configuration files at the end, but for now, this is most of what you need to get cracking.
|
About UsImproved Parts is all about exploring interesting and practical manufacturing techniques, solving unique problems that crop up in our everyday life, and GOING RACING! Archives
March 2016
Categories |